Table of Contents
Install Windows 7 Service Pack 1 (SP1)
Windows 7 SP1 helps keep your PCs and servers on the latest support level. It also provides ongoing improvements to the Windows Operating System (OS) by including previous updates delivered over Windows Update and continuing incremental updates to the Windows 7 platforms based on customer and partner feedback.
Check if Windows 7 SP1 is already installed
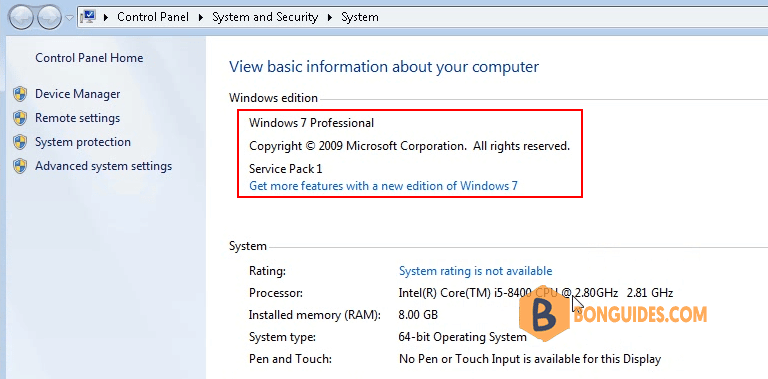
To check if Windows 7 SP1 is already installed on your PC, select the Start button, right-click Computer, and then select Properties.
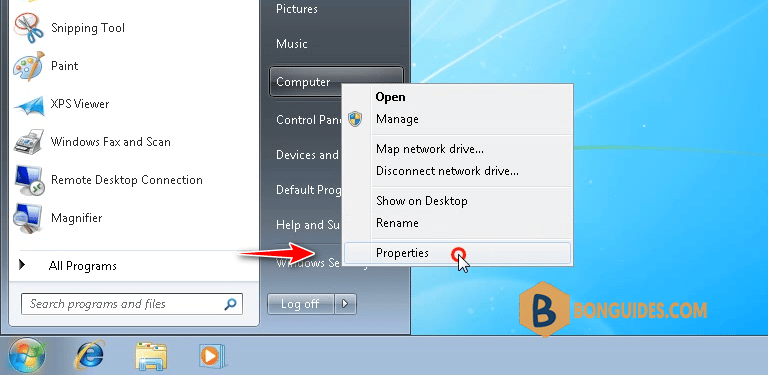
If Service Pack 1 is listed under Windows edition, SP1 is already installed on your PC.
Check if your PC is 32-bit or 64-bit
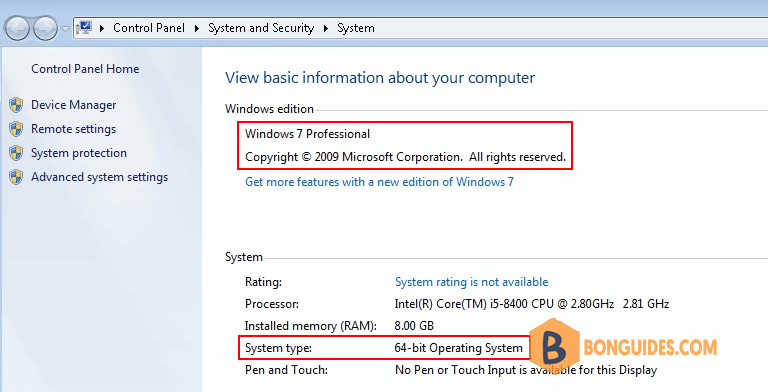
1. You’ll need to know if your PC is running a 32-bit (x86) or 64-bit (x64) version of Windows 7. Select the Start button, right-click Computer, and then select Properties. The version of Windows 7 is displayed next to System type.
2. Download Service Pack 1 for Windows 7 from:
Or you can download from Microsoft Update Catalog:
- Service Pack 1: https://www.catalog.update.microsoft.com/Search.aspx?q=KB976932
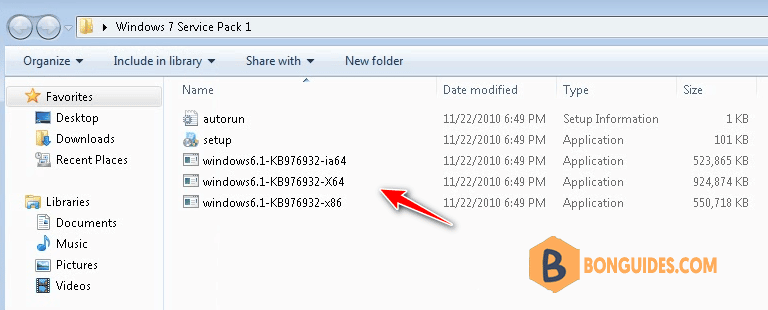
3. Open downloaded file to install Service Pack 1 for Windows 7 depending on your Windows architecture is x86 or x64.
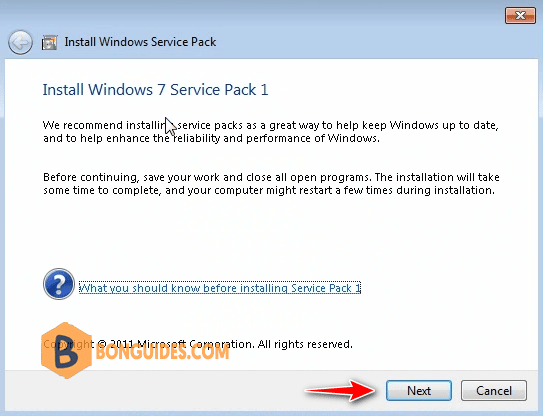
4. In Install Windows Service Pack wizard click Next.
5. Windows 7 Service Pack 1 now being install, it could take several minutes to complete, please be patient.
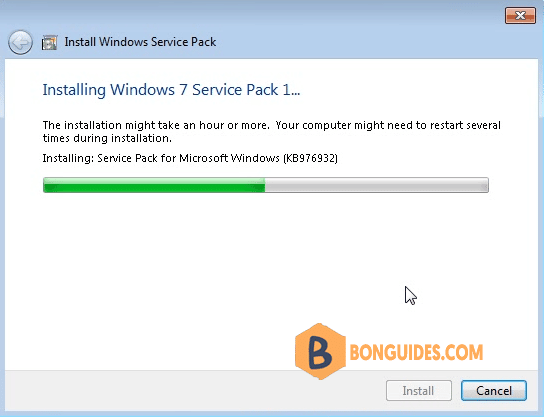
6. Once done, your computer restarts automatically. You might see a notification indicating whether the update was successful.
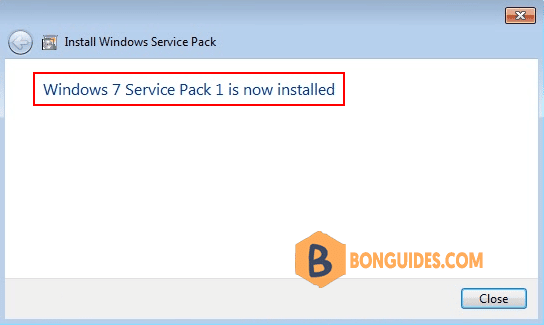
7. Select the Start button, right-click Computer, and then select Properties to verify it works.
Not a reader? Watch this related video tutorial:


