Table of Contents
What is Windows Package Manager?
Winget is the awesome Windows Package Manager CLI tool that lets you discover, install, upgrade, remove, and configure applications on Windows 10 and Windows 11 computers. Winget manages your software without having to deal with graphical interfaces or web browsers. You can just type a few commands in your terminal and get things done quickly and efficiently.
PS C:\> winget
Windows Package Manager v1.6.3482
Copyright (c) Microsoft Corporation. All rights reserved.

The winget enables installing applications and other packages from the command line.

usage: winget  [<command>] [<options>]

The following commands are available:
  install    Installs the given package
  show       Shows information about a package
  source     Manage sources of packages
  search     Find and show basic info of packages
  list       Display installed packages
  upgrade    Shows and performs available upgrades
  uninstall  Uninstalls the given package
  hash       Helper to hash installer files
  validate   Validates a manifest file
  settings   Open settings or set administrator settings
  features   Shows the status of experimental features
  export     Exports a list of the installed packages
  import     Installs all the packages in a file
  pin        Manage package pins
  configure  Configures the system into a desired state
  download   Downloads the installer from a given package

For more details on a specific command, pass it the help argument. [-?]
Launch Windows Sandbox with Winget Enabled
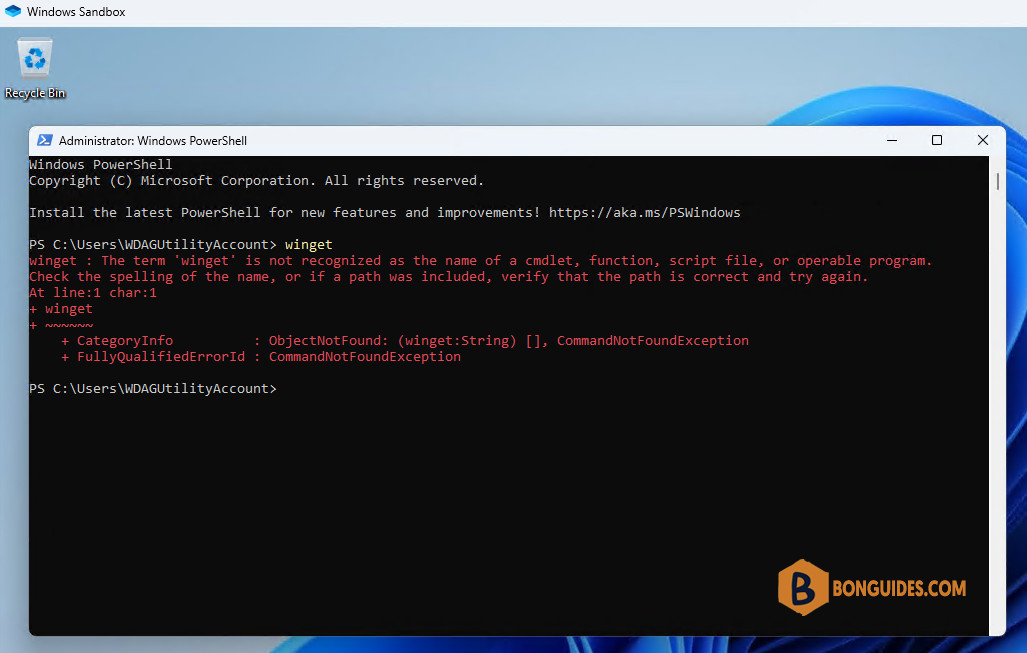
But what if you want to use Winget in a sandbox environment? Maybe you want to test some new software without affecting your system’s stability or security. Or maybe you just want to experiment with different versions of applications without messing up your configuration.
Well, unfortunately, Winget is not available in the sandbox by default. Neither is the Microsoft Store app that distributes Winget as part of the App Installer package. So how can we get Winget in the sandbox every time we start the sandbox automatically?
The answer is simple: we can create our own .wsb file. A .wsb file is a configuration file that specifies how Windows Sandbox should run. It can include settings such as networking options, shared folders, mapped drives, startup commands, and more. By creating a custom .wsb file, we can download and install Winget inside the sandbox automatically on boot:
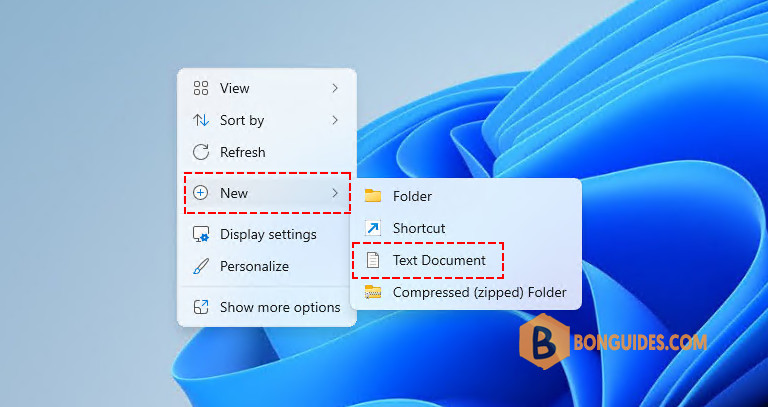
1. Right-click on the desktop and create a new text document.
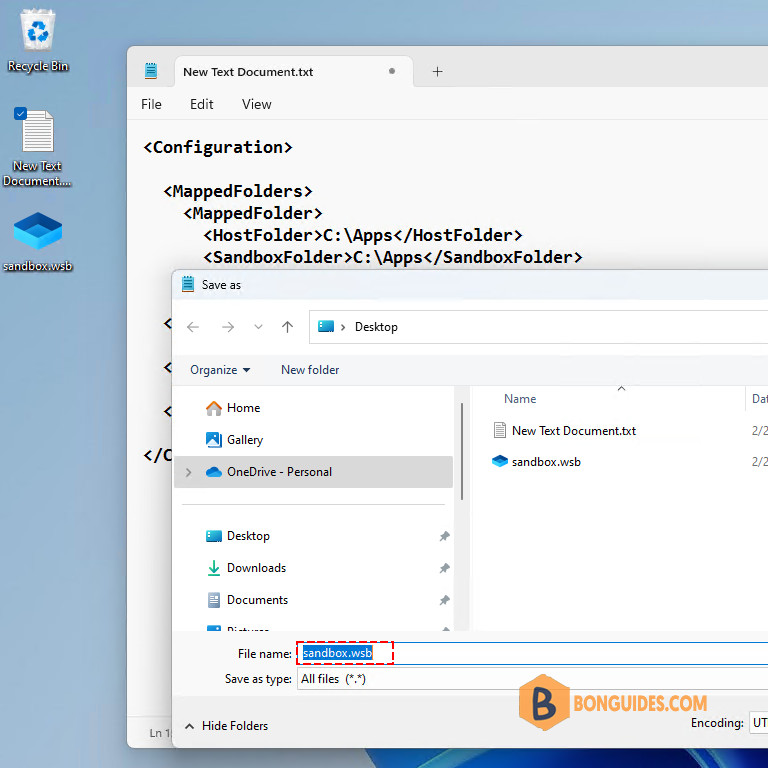
2. Below is an example of a sandbox configuration file. It takes effect when a sandbox instance is initiated.
- The folder C:\Apps would be mapped to the sandbox at C:\Apps.
- The PowerShell script in the mapped folder (C:\Apps\onboot.ps1) would be executed automatically.
<Configuration>

  <MappedFolders>
    <MappedFolder>
      <HostFolder>C:\Apps</HostFolder>
      <SandboxFolder>C:\Apps</SandboxFolder>
      <ReadOnly>false</ReadOnly>
    </MappedFolder>
  </MappedFolders>

  <LogonCommand>
    <Command>powershell -executionpolicy unrestricted -command "start powershell {-noexit -file C:\Apps\onboot.ps1}"</Command>
  </LogonCommand>

</Configuration>
3. Save the file with any name, but make sure the file extension is .wsb.
4. Next, create a PowerShell script onboot.ps1 for sandbox login, which is placed into C:\Apps on the host machine. This file would be executed every time the sandbox instance runs and below is its content:
Set-Location $env:temp
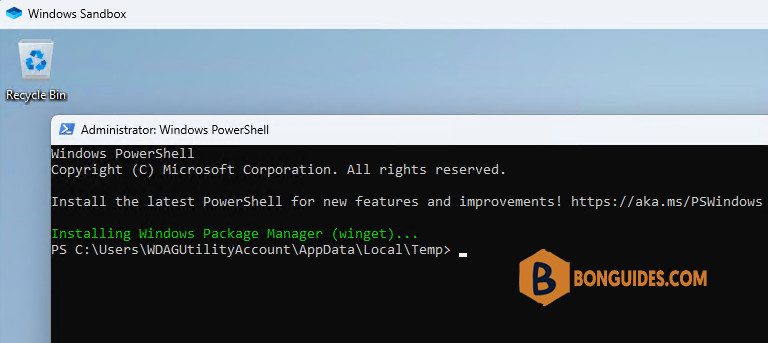
Write-Host "Installing Windows Package Manager (winget)..." -ForegroundColor Green
$progressPreference = 'silentlyContinue'
Invoke-WebRequest -Uri 'https://aka.ms/getwinget' -OutFile 'Microsoft.DesktopAppInstaller_8wekyb3d8bbwe.msixbundle'
Invoke-WebRequest -Uri 'https://aka.ms/Microsoft.VCLibs.x64.14.00.Desktop.appx' -OutFile 'Microsoft.VCLibs.x64.14.00.Desktop.appx'
Invoke-WebRequest -Uri 'https://github.com/microsoft/microsoft-ui-xaml/releases/download/v2.7.3/Microsoft.UI.Xaml.2.7.x64.appx' -OutFile 'Microsoft.UI.Xaml.2.7.x64.appx'
Add-AppxPackage Microsoft.VCLibs.x64.14.00.Desktop.appx
Add-AppxPackage Microsoft.UI.Xaml.2.7.x64.appx
Add-AppxPackage Microsoft.DesktopAppInstaller_8wekyb3d8bbwe.msixbundle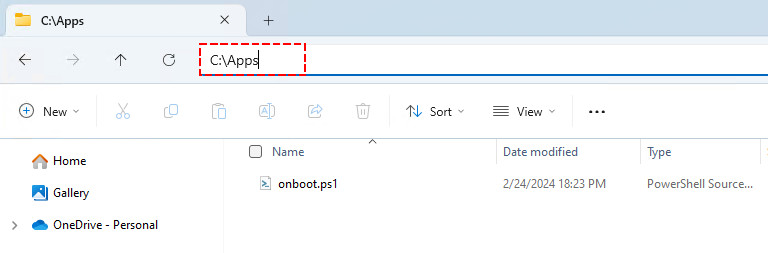
5. Now, start the sandbox using the .wsb configuration file instead of running it from the Start menu or Windows search.

Every time you run a new sandbox instance, the script will be executed and the winget should be installed automatically in the sandbox instance.
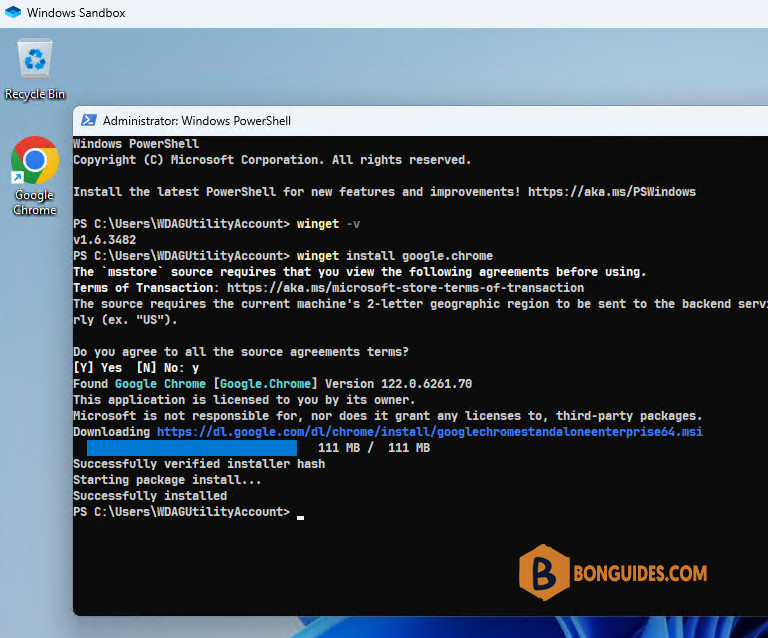
Below is an example of installing Google Chrome using winget in Windows Sandbox.
Alternatively, you can download all required files and put them in the shared folder on the host machine. Edit the PowerShell script to install winget using the local files instead of downloading them every time you start a new sandbox instance.
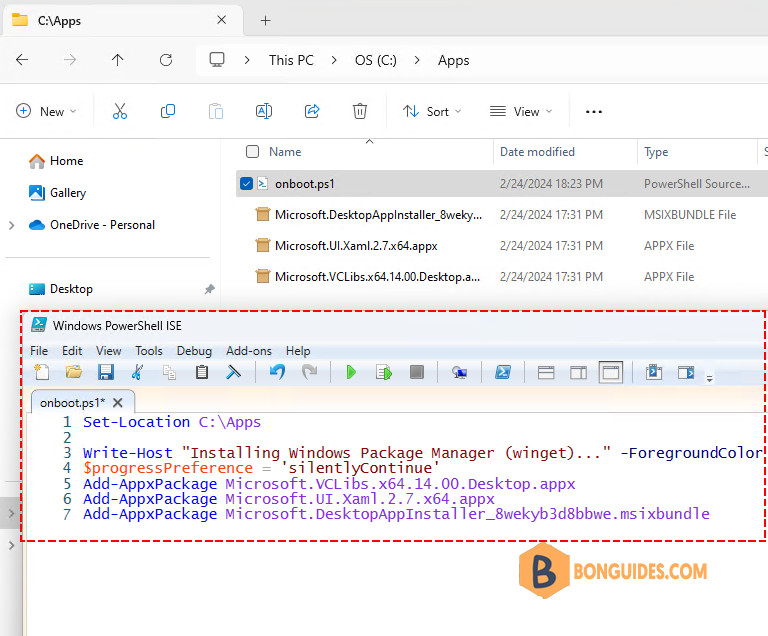
Set-Location C:\Apps

Write-Host "Installing Windows Package Manager (winget)..." -ForegroundColor Green
$progressPreference = 'silentlyContinue'
Add-AppxPackage Microsoft.VCLibs.x64.14.00.Desktop.appx
Add-AppxPackage Microsoft.UI.Xaml.2.7.x64.appx
Add-AppxPackage Microsoft.DesktopAppInstaller_8wekyb3d8bbwe.msixbundleNot a reader? Watch this related video tutorial:
Related Titles:
- How to Install macOS with a Broken MacBook Screen
- Installing macOS on MacBook with External Monitor
- MacBook Screen Broken? Install macOS Easily
- Guide to Installing macOS with a Non-Functional Screen
- How to Set Up macOS on MacBook Using External Display
- Install macOS on MacBook Without Working Screen
- Broken MacBook Screen? Here’s How to Install macOS
- MacBook Repair: Installing macOS with Broken Display
- How to Use External Monitor to Install macOS on MacBook
- Fix MacBook with Broken Screen: Install macOS
- Step-by-Step macOS Installation with Broken Screen
- Installing macOS Using External Monitor on MacBook
- How to Restore macOS with MacBook Screen Not Working
- Installing macOS on MacBook with Cracked Screen
- How to Use External Display for macOS Installation
Keywords: install macOS broken MacBook screen, macOS installation external monitor, install macOS MacBook cracked screen, MacBook broken screen OS installation, external monitor macOS setup, macOS install MacBook screen not working, macOS restore external display, install macOS without MacBook screen, broken screen MacBook macOS setup, macOS reinstall broken display.
Hashtags: #MacBookRepair, #macOSInstallation, #TechGuide, #MacTutorial, #BrokenScreenFix, #ExternalMonitor, #MacBookSetup, #DIYTech, #MacFix, #bonguides