
Table of Contents
Cannot Access CyberPanel After Change Default Port 8090
CyberPanel default port is your serverip plus port number example: 1.2.3.4:8090 when you type it on your browser it will take you to the login page for CyberPanel.
But if you have changed the port, you may get an error or your CyberPanel may not load. When you access the CyberPanel using the new port. The connection could not establish.
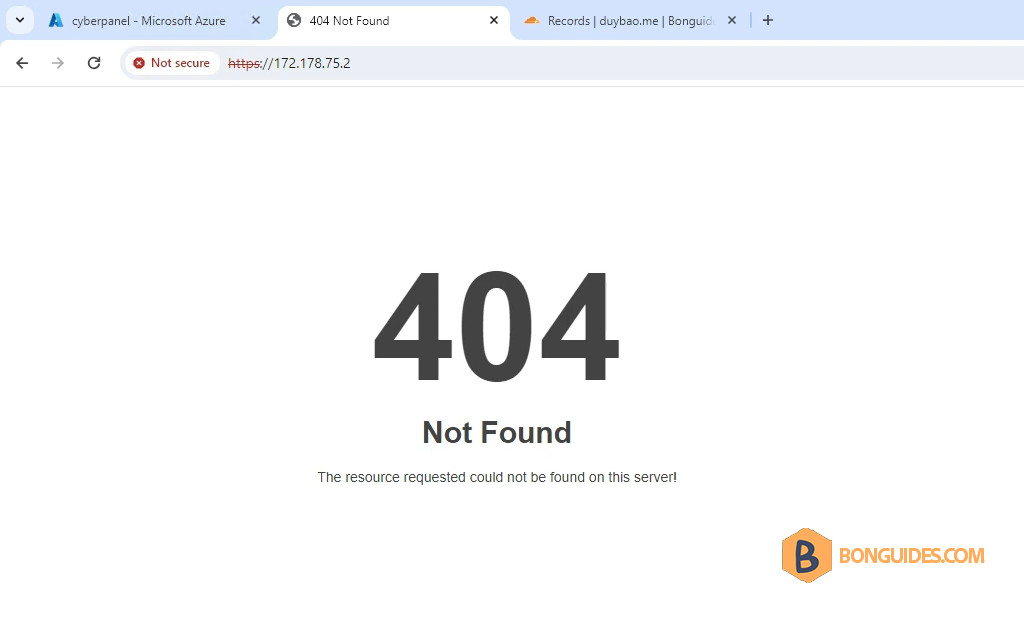
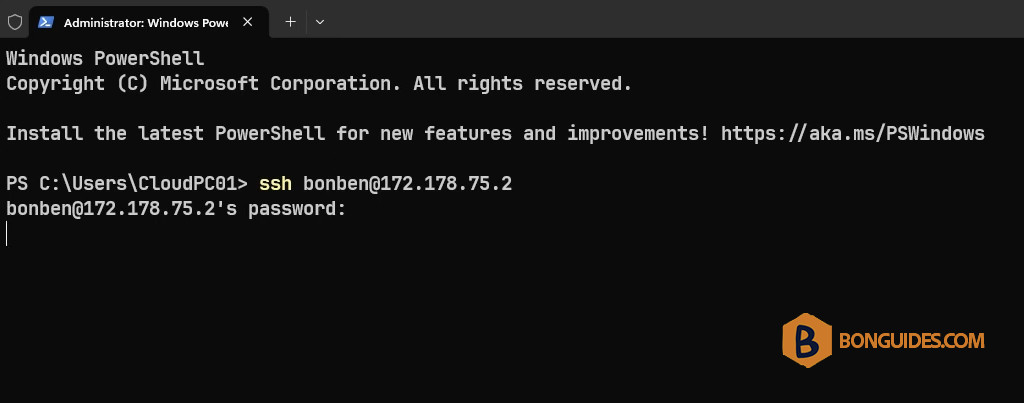
1. To restore the port to the default one. Let’s SSH to your server.
2. Switch to the root account.
sudo su -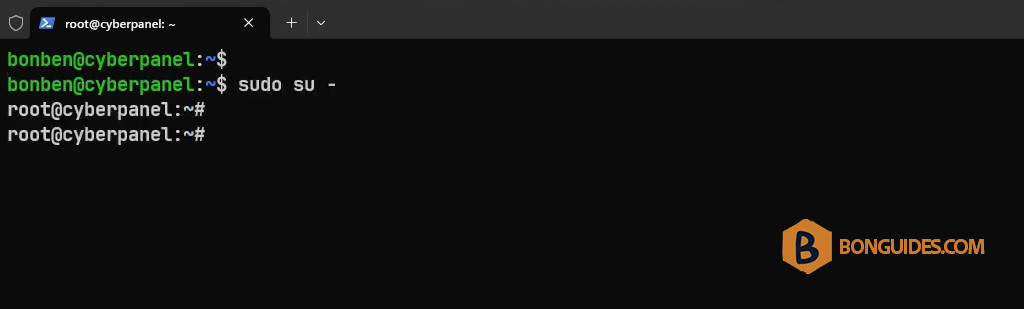
3. Next, run the following command to edit the file using the nano editor.
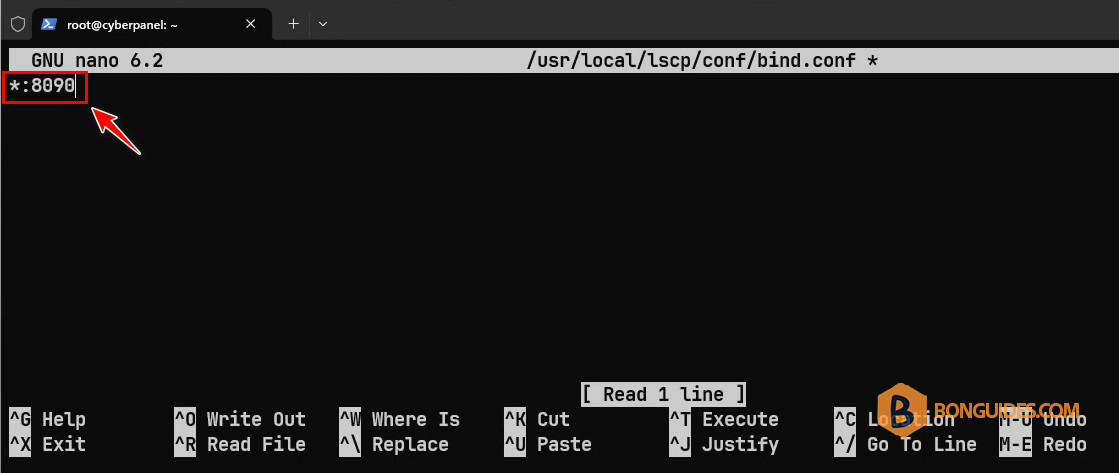
sudo nano /usr/local/lscp/conf/bind.conf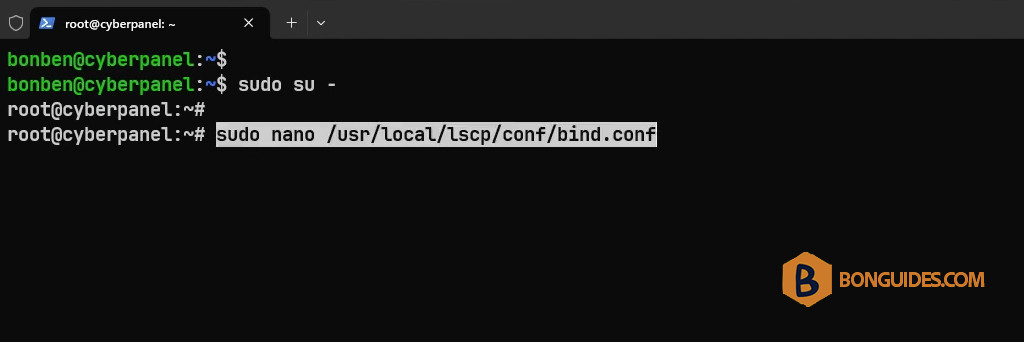
4. Use the nano editor to change the port to the default value 8090.
Note
Tip: To save and close the file in nano editor, press > followed by > and then
5. Save the file then restart the OpenLiteSpeed services.
sudo systemctl restart lsws && sudo systemctl restart lscpd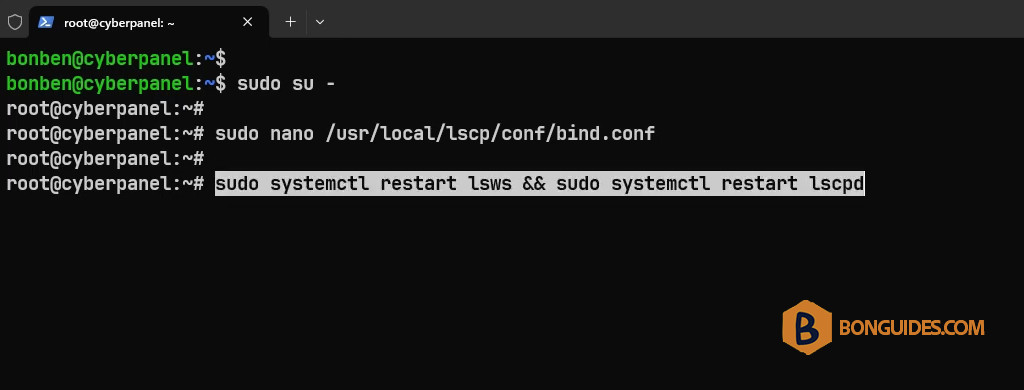
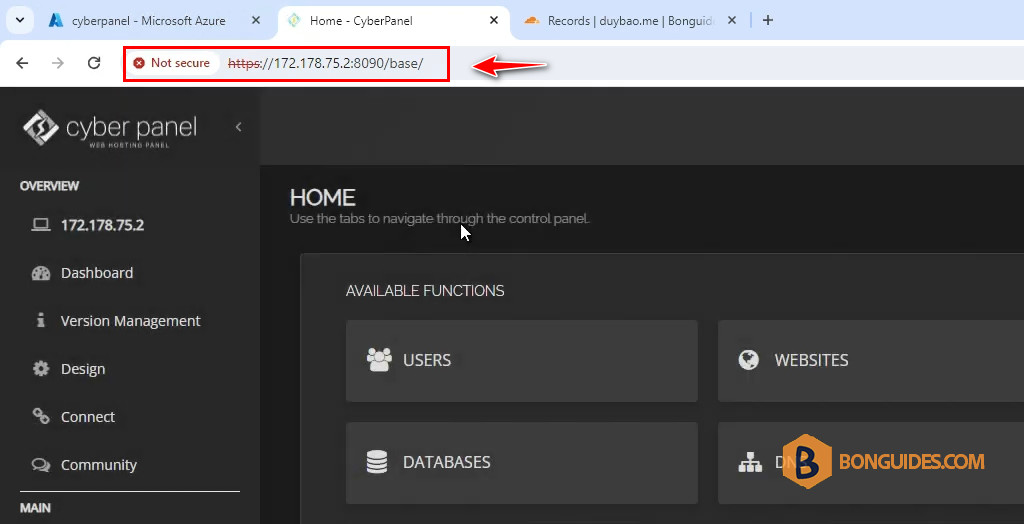
As you can see, the error was gone, and we can access the panel using the default port number.
Change Default Port for CyberPanel
If you want to change the default port (8090) to a custom port, you can follow the below post:


