Learning and Sharing
  • Home
  • Blog
  • Linux
  • macOS
  • Virtualization
    • VMware
    • VirtualBox
  • Windows
    • Windows 11
    • Windows 10
    • Windows Server
  • Series
    • Symantec
    • Intune
    • Microsoft Azure
    • Powershell
    • VirtualBox
    • VMware
    • PowerShell Learning
    • Microsoft Graph
  • More
    • Auto Installation
    • AEC Installation
  • Contact
No Result
View All Result
No Result
View All Result

How to Change the Theme of CyberPanel

July 2, 2024
in A, Blog, CyberPanel, Linux
0
ADVERTISEMENT

Table of Contents

Change the Theme of CyberPanel

CyberPanel UI might not be the most intuitive, but it is very workable and stable to use, even for a production setup. But be cautious about the server settings and harden the server for maximum security. Here is how CyberPanel usually looks like:

V7vHhAK48cOI1tVIa52Y7YCgmmvrrghdhcbyNPpgNVtJ20XDJgQ5PEXJ9BJs

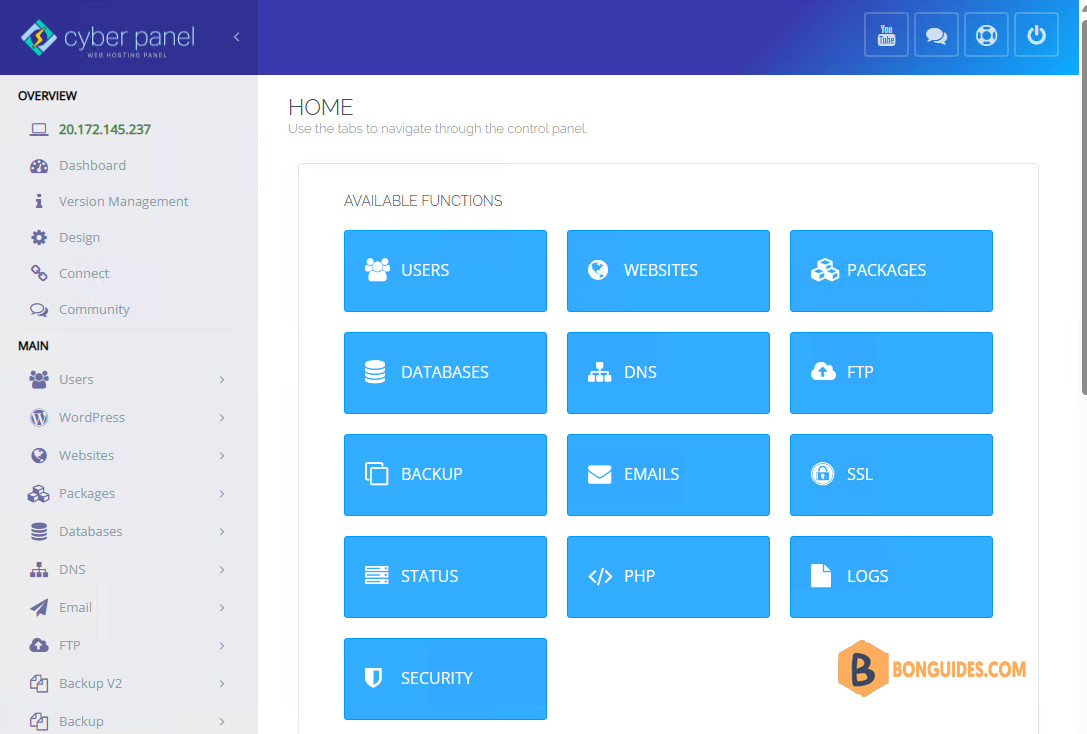
If you work long hours and stare at this screen, I think you can quickly get eye strains from it. This is why they have a panel called Design located on the left sidebar after the Version Management menu item.

Note Note: If the Design option is not available, please update the CyberPanel to the latest version.

To change the theme of CyberPanel:

  • Go to the Design Tab
  • Select the pre-designed theme from the drop-down list.
  • Press the Save Changes button
  • And, that’s it.
j1mlRQxwNxwYYrdjPE0Tq7ntPSgsDMYPxfXCzRYZBHhBB2PnnyTAwdkUFvr3

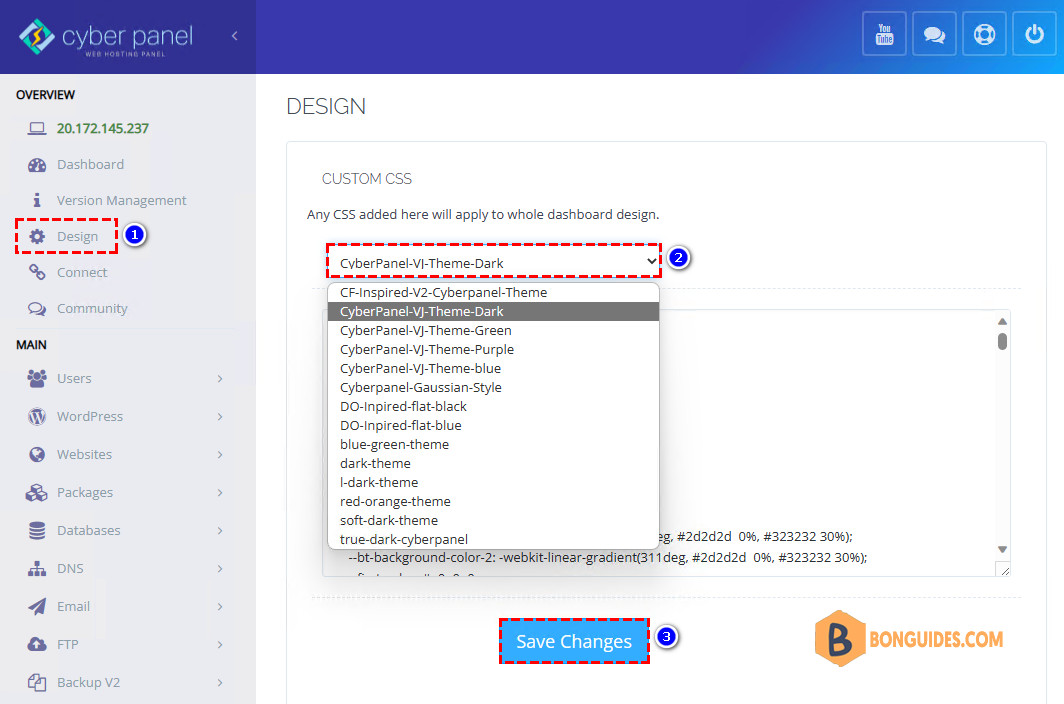
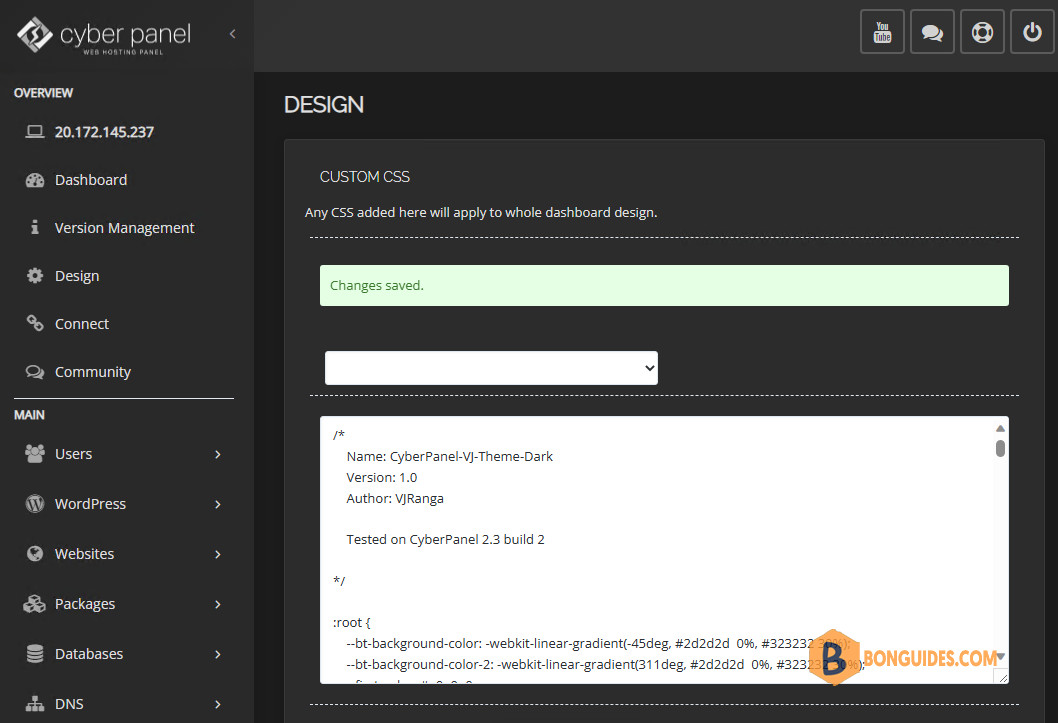
For example: CyberPanel-VJ-Theme-Dark

SrprIA4csEfJKNeiGZNAFcjv2nWKyZdOlNyN7qTLmJXS2Zft7wABIjW1MvDl

Change the Theme of CyberPanel with CSS

Alternatively, you can create your own theme using CSS. For example, copy the below code then paste into the text area then save the changes.

body {
    font-size: 14px;
    color: #ccc;
}  
.bg-gradient-9 {
    background: #000;
    background: -moz-linear-gradient(-45deg, #000 0%, #333 30%);
    background: -webkit-linear-gradient(
-45deg, #000 0%, #333 30%);
    background: linear-gradient(
-45deg, #000 0%, #333 30%);
    filter: progid:DXImageTransform.Microsoft.gradient(startColorstr='#333', endColorstr='#000', GradientType=1);
}
#sidebar-menu {
    background: #333;
}
#page-sidebar ul li.header {
    color: #fff;
    font-size: medium;
}
#page-sidebar ul li a .glyph-icon {
    color: #fff;
}
#sidebar-menu > li > a {
	color: #ccc;
}
.btn-primary {
    background: #333;
    border-color: #000;
}
.btn-primary:hover, .btn-primary:focus {
    background: #202020;
    border-color: #FFF;
}
.panel{
	background-color: #222;
	border-color: #666;
}
#page-content {
    background: #222;
}
#page-title h2 {
    font-size: 22px;
    color: #fff;
}
.table {
    background: #333;
}    
.bootstrap-timepicker-widget table td input, .chosen-container-multi, .chosen-container-single .chosen-search input, .dataTables_length select, .form-control, .input, .ui-toolbar input, .ui-toolbar select, div.dataTables_filter input{
	background: #333;
    color: #ccc;
    border: 1px solid #9b9b9b;
    -webkit-box-shadow: inset 1px 1px 3px #222;
    -moz-box-shadow: inset 1px 1px 3px #222;
    box-shadow: inset 1px 1px 3px #222;
}
.bootstrap-timepicker-widget table td input:focus, .chosen-container-active, .chosen-container-multi.chosen-container-active, .form-control:focus, .input:focus, .selector.focus, .ui-toolbar input:focus, .ui-toolbar select:focus, div.dataTables_filter input:focus {
    color: #fff;
    border-color: #fff;
}
ADVERTISEMENT

Not a reader? Watch this related video tutorial:

5/5 - (1 vote)
Previous Post

How To Add a Website in CyberPanel Step by Step

Next Post

The Uploaded File Exceeds The Upload_Max_Filesize CyberPanel

Related Posts

Images Hidden Due To Mature Content Settings In CivitAI

August 31, 2024

Azure OpenAI vs Azure AI Hub, How to Choose the Right One for Your Needs

August 20, 2024

Running Hyper-V and VMware Workstation on The Same Machine

August 15, 2024

How to Uninstall All Autodesk Products At Once Silently

July 29, 2024
Ftr5

How to Uninstall the Autodesk Genuine Service on Windows

July 29, 2024

How to Remove The Test Mode Watermark Without Disabling Test Mode

July 28, 2024

Leave a Reply Cancel reply

Your email address will not be published. Required fields are marked *

Recent Posts

  • How To Turn On uBlock Origin Extension in Chrome (2025)
  • Images Hidden Due To Mature Content Settings In CivitAI
  • Azure OpenAI vs Azure AI Hub, How to Choose the Right One for Your Needs

Categories

Stay in Touch

Discord Server

Join the Discord server with the site members for all questions and discussions.

Telegram Community

Jump in Telegram server. Ask questions and discuss everything with the site members.

Youtube Channel

Watch more videos, learning and sharing with Leo ❤❤❤. Sharing to be better.

Newsletter

Join the movement and receive our weekly Tech related newsletter. It’s Free.

General

Microsoft Windows

Microsoft Office

VMware

VirtualBox

Technology

PowerShell

Microsoft 365

Microsoft Teams

Email Servers

Copyright 2025 © All rights Reserved. Design by Leo with ❤

No Result
View All Result
  • Home
  • Linux
  • Intune
  • macOS
  • VMware
  • VirtualBox
  • Powershell
  • Windows 10
  • Windows 11
  • Microsoft 365
  • Microsoft Azure
  • Microsoft Office
  • Active Directory

No Result
View All Result
  • Home
  • Linux
  • Intune
  • macOS
  • VMware
  • VirtualBox
  • Powershell
  • Windows 10
  • Windows 11
  • Microsoft 365
  • Microsoft Azure
  • Microsoft Office
  • Active Directory