Table of Contents
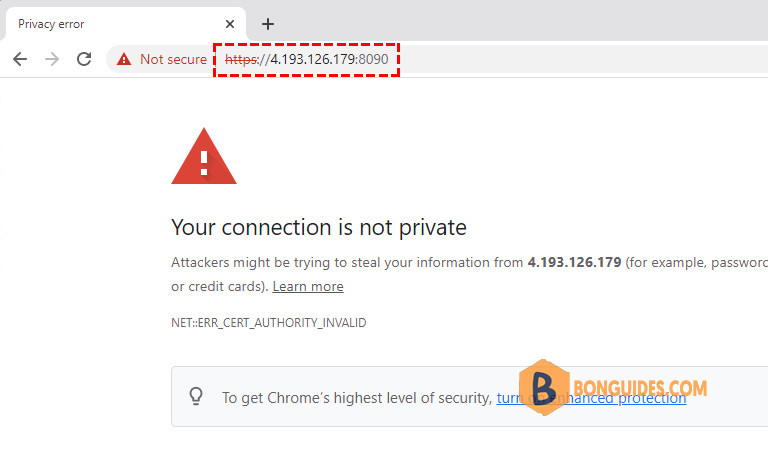
When we install CyberPanel on a server, we can access it using the server IP address. The CyberPanel runs on port 8090, so if your server IP address is 1.2.3.4, you can access it over https://1.2.3.4:8090. However, this will give you an SSL warning because SSL certificates are always issued for a hostname, not for an IP address.
CyberPanel Access over Hostname and HTTPS
Some of the possible reasons are:
- Remembering the hostname is easier than the IP address.
- We can set up SSL certificates for a hostname only.
- When we login to CyberPanel, we send the username and password over the network. It’s good to have SSL certificates in place so that the communication is encrypted and our credentials are secure.
- We can choose any website from the CyberPanel to setup as CyberPanel hostname. We can use any subdomain too for this purpose as long as it points to the server IP address. This way we can choose a random control panel URL, which is more secure than a static IP address.
Setting up CyberPanel Access over Hostname and SSL
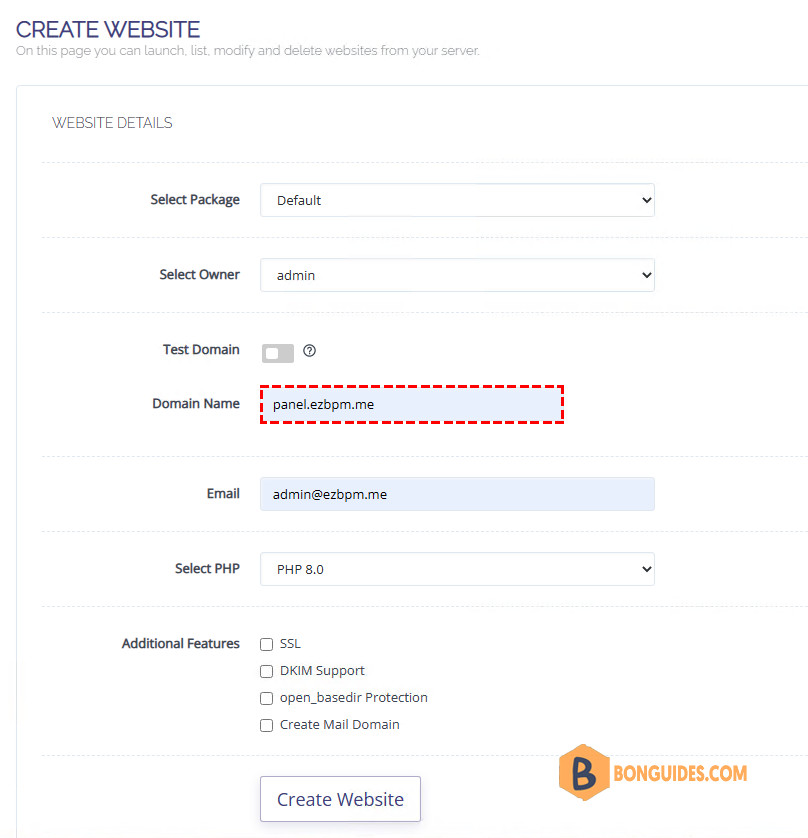
The first step is to create a website in the CyberPanel. You can go through Dashboard | Website | Create website.
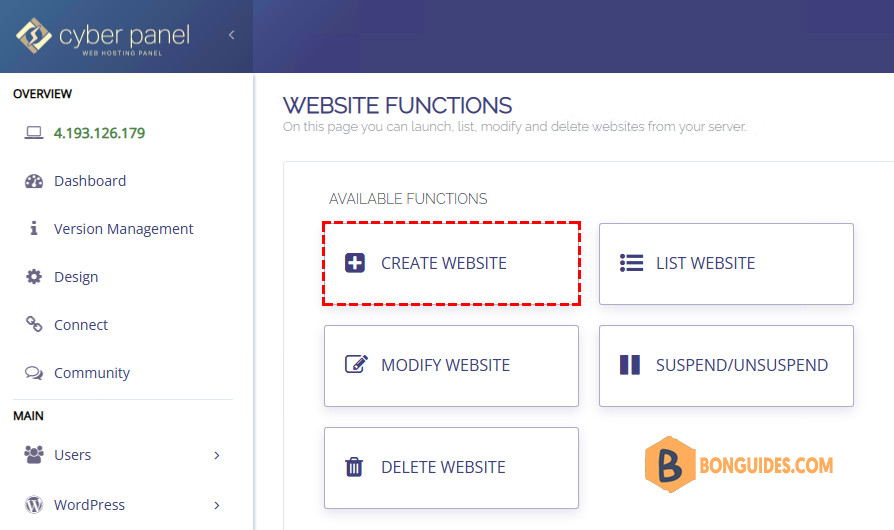
Fill in the required details then click Create Website.
Add the A Records
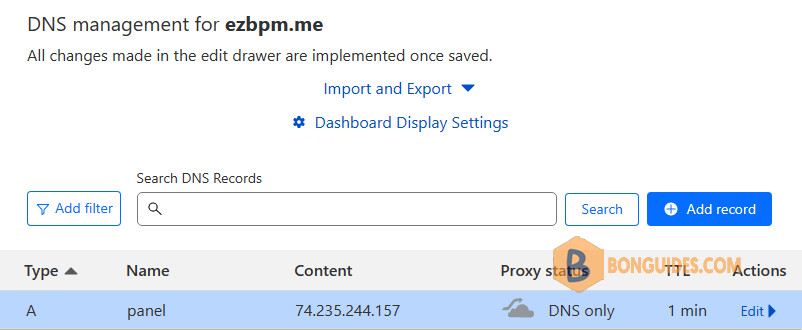
Next, we’ll add an A record. We will use Cloudflare to point the IP address we use to our domain. This step would be vary depending on the domain registrar.
Issue Hostname SSL
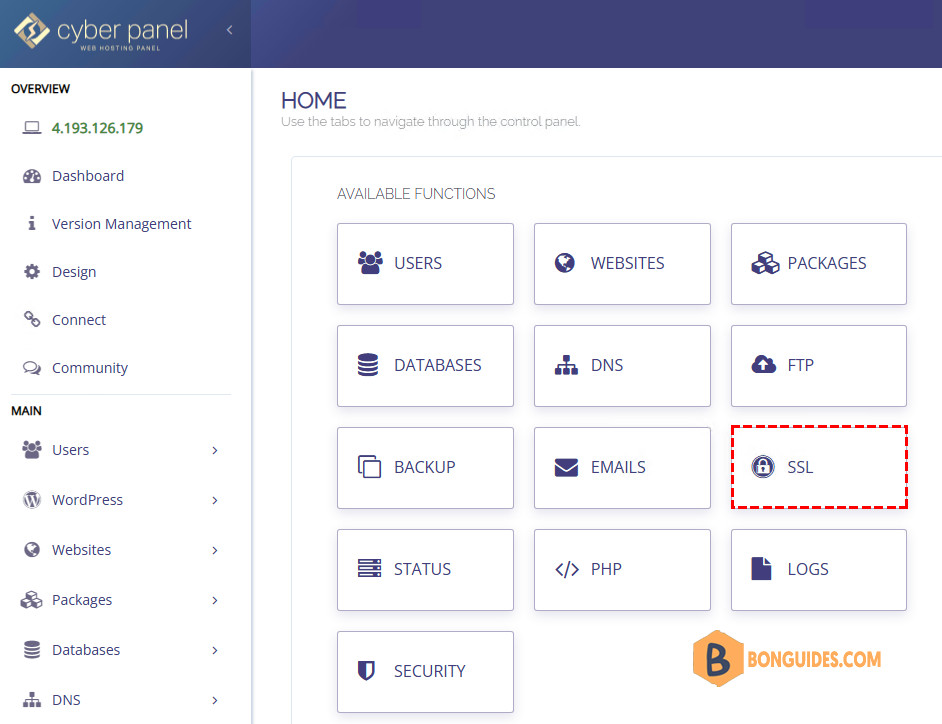
Once the website is ready for the CyberPanel, go to the Dashboard and click on the SSL button.
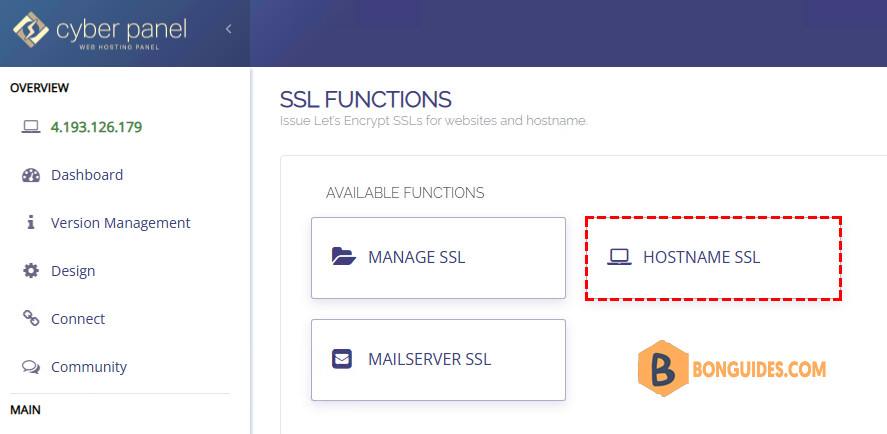
On the next page, click on the Hostname SSL button.
On the next page, select the website that you want to use for accessing CyberPanel and click on the Issue SSL button. You will get an alert message with the success message.
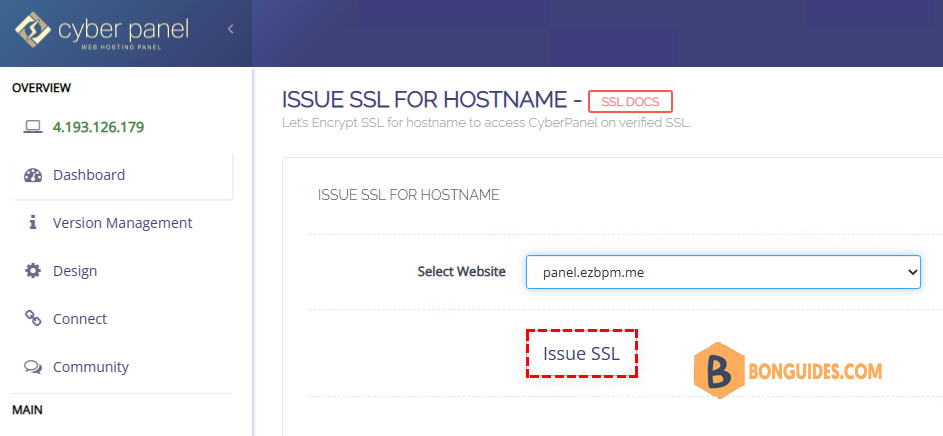
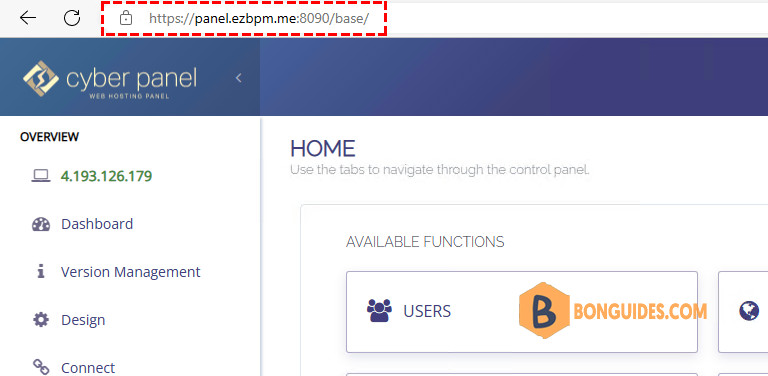
That’s it. We can now access CyberPanel using hostname over HTTPS.
Accessing CyberPanel using Hostname and HTTPS
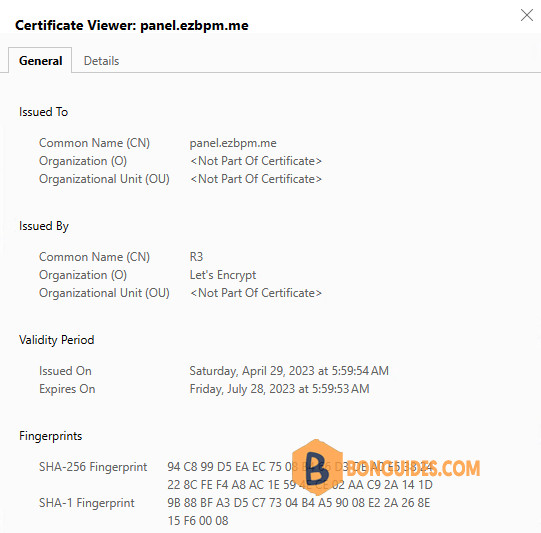
Go to the URL https://domain :8090 and you should see the CyberPanel login page with a valid SSL certificate from Let’s Encrypt.
