Table of Contents
If you’re using VMware Player, VMware Workstation Pro, VMware ESXi or vSphere, then VMware Tools is a very important tool for you. VMware Tools helps a VMware virtual machine (VM) integrate nicely with VMware hypervisor.

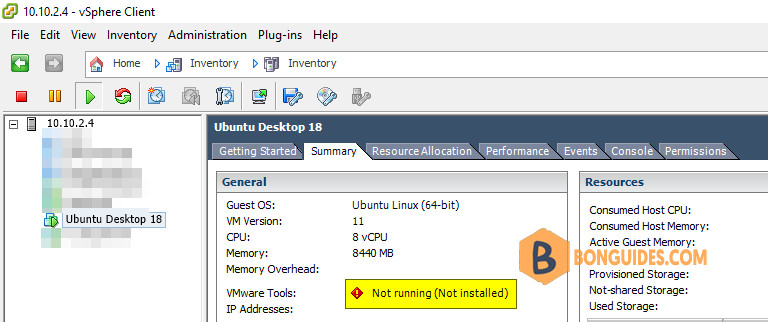
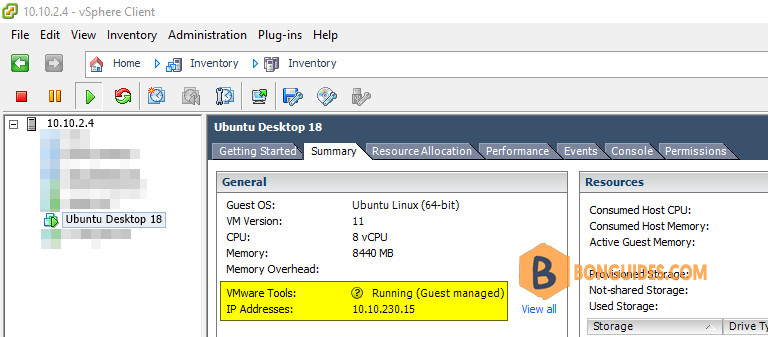
When VMware Tools is installed on a virtual machine (VM), it will report back to the VMware hypervisor it’s IP address and many more information such as CPU usage, disk usage, memory usage etc.
VMware Tools also provides many advanced features like:
- Drag and drop files between virtual machine and host computer.
- Better graphics support and 3D graphics acceleration.
- Multi monitor support and auto resize virtual machine window.
- Clipboard sharing between host and virtual machine.
- Virtual machine sound support.
- Time synchronization between the virtual machine and host.
- Shared folders in virtual machines and other performance enhancements.
Installing Open VM Tools on Ubuntu Linux
1. Open Terminal in Ubuntu machine.
2. Refresh the repository and package lists, and perform the necessary upgrades with the following commands:
sudo apt update -y && sudo apt upgrade -y3. Open VM Tools is currently the official VMware recommended way to install VMware Tools on Ubuntu Linux. You can easily install it using the following command:
sudo apt install open-vm-tools open-vm-tools-desktop -yOpen VM Tools should be installed.
bonben@ub18:~$ apt list | grep open-vm

open-vm-tools/bionic-updates,bionic-security,now 2:11.0.5-4ubuntu0.18.04.2 amd64 [installed]
open-vm-tools-desktop/bionic-updates,bionic-security 2:11.0.5-4ubuntu0.18.04.2 amd64
open-vm-tools-dev/bionic-updates,bionic-security 2:11.0.5-4ubuntu0.18.04.2 amd64
Now, restart your virtual machine for the changes to take effect with the following command:
reboot
So, that’s how you install VMware Tools on Ubuntu VMware virtual machines.


