Table of Contents
CyberPanel is one of the well-reviewed free control panels for Linux to install and manage webservers, serving websites using PHP and MySQL languages.
System requirements of CyberPanel
In this article will install CyberPanel on your VPS server, to install VPS need to meet the following minimum requirements:
- Ubuntu 18+
- User privileges: root or non-root user with sudo privileges
- Minimum 1GB RAM
- Hard drive at least 10GB
bonben@vps01:~$ cat /etc/os-release
NAME="Ubuntu"
VERSION="18.04.6 LTS (Bionic Beaver)"
ID=ubuntu
ID_LIKE=debian
PRETTY_NAME="Ubuntu 18.04.6 LTS"
VERSION_ID="18.04"
HOME_URL="https://www.ubuntu.com/"
SUPPORT_URL="https://help.ubuntu.com/"
BUG_REPORT_URL="https://bugs.launchpad.net/ubuntu/"
PRIVACY_POLICY_URL="https://www.ubuntu.com/legal/terms-and-policies/privacy-policy"
VERSION_CODENAME=bionic
UBUNTU_CODENAME=bionic
Update the System
1. Log in to your server via SSH as root.
sudo su -[bonben@vps01 ~]$ sudo su -
[root@vps01 ~]# whoami
root
[root@vps01 ~]#2. Before we start with installing CyberPanel along with OpenLiteSpeed we need to update the system:
sudo apt update -y && sudo apt upgrade -yInstall CyberPanel
3. Run the following command. It will initiate an automated installation script, which will prompt you for a few decisions about which version of LiteSpeed and which add-ons you would like to install.
sudo su - -c "sh <(wget -O - https://cyberpanel.net/install.sh)"4. Select the option Install CyberPanel by entering 1 on the prompt.
CyberPanel Installer v2.3.3

1. Install CyberPanel.
2. Exit.

  Please enter the number[1-2]: 1
5. Select the version of LiteSpeed that you would like to use. In the most cases, type 1 then hit Enter to install the free version of LiteSpeed (OpenLiteSpeed).
CyberPanel Installer v2.3.3

RAM check : 253/3925MB (6.45%)
Disk check : 1/29GB (6%) (Minimal 10GB free space)

1. Install CyberPanel with OpenLiteSpeed.
2. Install Cyberpanel with LiteSpeed Enterprise.
3. Exit.

  Please enter the number[1-3]: 1
6. Select options and add-ons. You will be presented with a series of prompts for different options and add-ons that are available.
#Install Full service for CyberPanel? This will include PowerDNS, Postfix and Pure-FTPd.
Full installation [Y/n]: Y

#Do you want to setup Remote MySQL? (This will skip installation of local MySQL)
(Default = No) Remote MySQL [y/N]: N

#Choose to install a previous version of CyberPanel, or press Enter to install the latest
Press Enter key to continue with latest version or
Enter specific version such as: 1.9.4 , 2.0.1 , 2.0.2 ...etc

#Enter s to set your own strong password, for the admin user.
Choose [d]fault, [r]andom or [s]et password: [d/r/s] s

Please enter your password:
Password: Confirm Password:
Do you wish to install Memcached process and its PHP extension?Do you wish to install Memcached process and its PHP extension?
Please select [Y/n]: Y
Do you wish to install Redis process and its PHP extension?
Please select [Y/n]:Y
Would you like to set up a WatchDog (beta) for Web service and Database service ?
The watchdog script will be automatically started up after installation and server reboot
If you want to kill the watchdog , run watchdog kill
Please type Yes or no (with capital Y, default Yes): Y8. After confirming the above steps, the installation will run for about 20-30 minutes depending on the speed of your server. At the end of the installation process, you will be presented with the following screen which contains important information about your configuation. Select and copy it to a safe location for future reference.
###################################################################
CyberPanel Successfully Installed

Current Disk usage : 9/12GB (87%)
Current RAM  usage : 411/3931MB (10.46%)
Installation time  : 0 hrs 21 min 0 sec

Visit: https://20.169.170.126:8090
Panel username: admin
Panel password: *****

###################################################################
If your provider has a network-level firewall
Please make sure you have opened following port for both in/out:
TCP: 8090 for CyberPanel
TCP: 80, TCP: 443 and UDP: 443 for webserver
TCP: 21 and TCP: 40110-40210 for FTP
TCP: 25, TCP: 587, TCP: 465, TCP: 110, TCP: 143 and TCP: 993 for mail service
TCP: 53 and UDP: 53 for DNS service
9. After the installation, it is recommended to restart the server.
Would you like to restart your server now? [y/N]: yAccess CyberPanel GUI
10. After the successful installation you can access CyberPanel using the details below:
URL: https://<Your Server's IP Address>:8090
Username: admin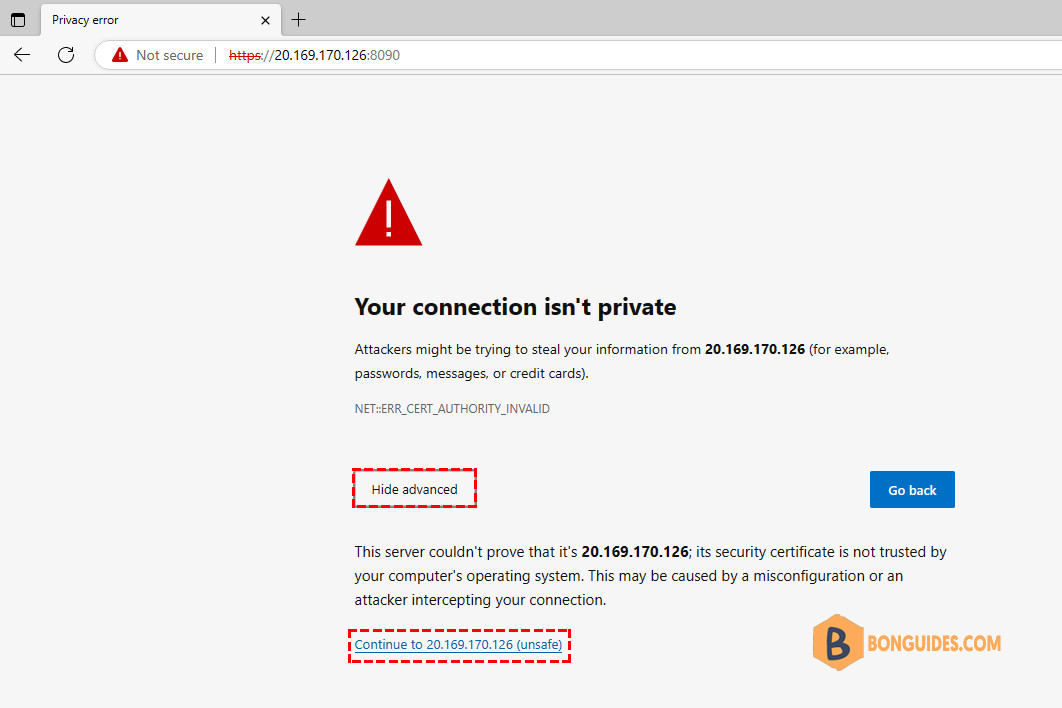
Password: <the password you set during installation>11. You should see the following screen. Let click on the Advanced button then click on the link to continue.
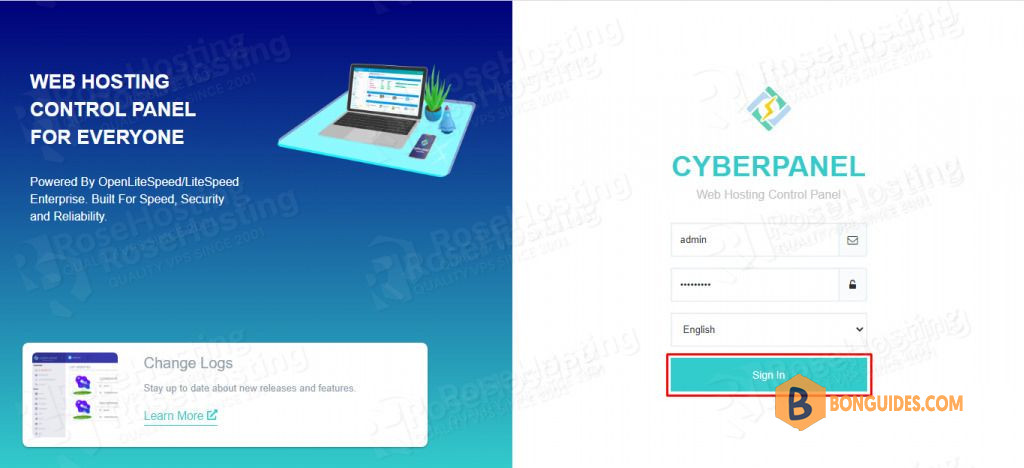
12. Enter the admin username and the password you set before while installing the CyberPanel.
13. After successful login, you will be redirected to the GUI of the CyberPanel as described in the picture below:
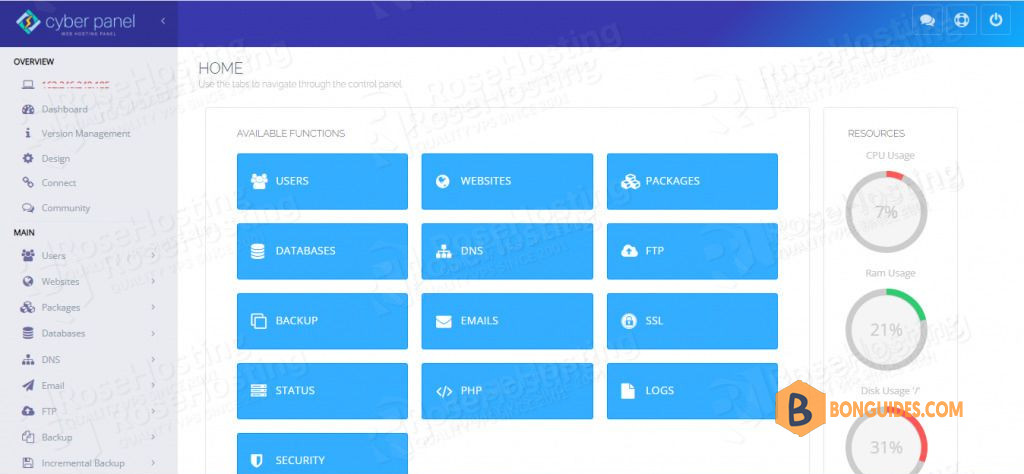
That’s all. You successfully installed CyberPanel with OpenLiteSpeed on Ubuntu 18.04.


