Table of Contents
Let’s imagine this scenario: you’ve created a virtual disk, created partitions, and installed a guest operating system on one of the partitions on that virtual disk. Later, as you’re working, you realize that performance is suffering because there’s not enough disk space. Insufficient disk space on a system partition degrades performance.
With VỉrtualBox virtualization software providing flexible options to configure virtual hardware such as CPU, memory, and disk devices, you can extend the size of an existing virtual disk. However, you must resize a partition manually after that. Disk space added after you extend a virtual disk is unallocated.
In this post, we’ll expand the virtual disk from 32GB to 100Gb.
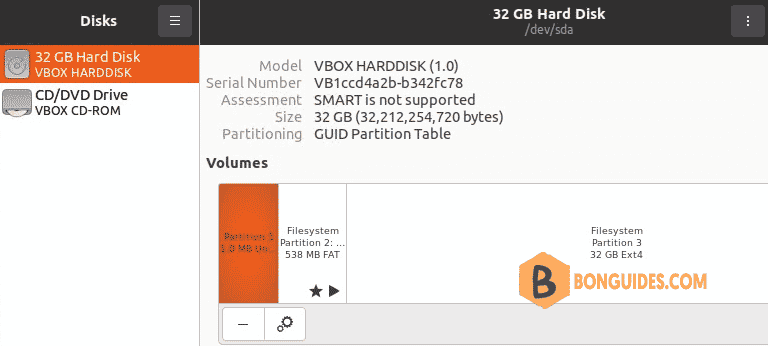
Prerequisites
Some conditions must be met before you resize a virtual disk and the partitions on that disk.
To be resized, a virtual disk must not have snapshots. If your virtual machine has snapshots, delete them before you resize a virtual disk and adjust disk partition size.
It is recommended that you back up your VM before doing operations with disks. Changing disk partition size may be risky if you make a mistake during the configuration process.
Using parted to extend Linux partitions
1. Turn off the virtual machine.
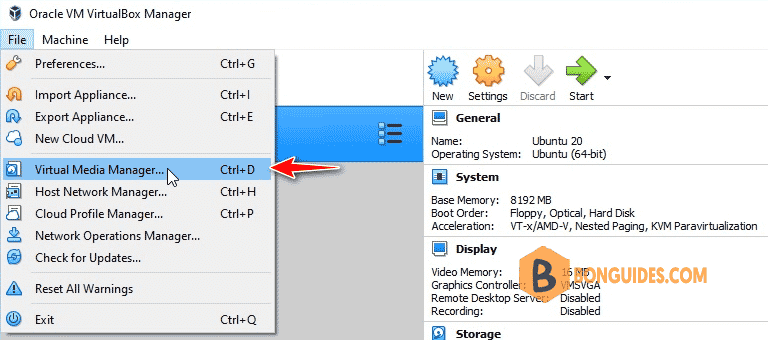
2. Open VirtualBox Manager | Navigagte to the File menu | Then select Virtual Media Manager…(Ctrl+D).
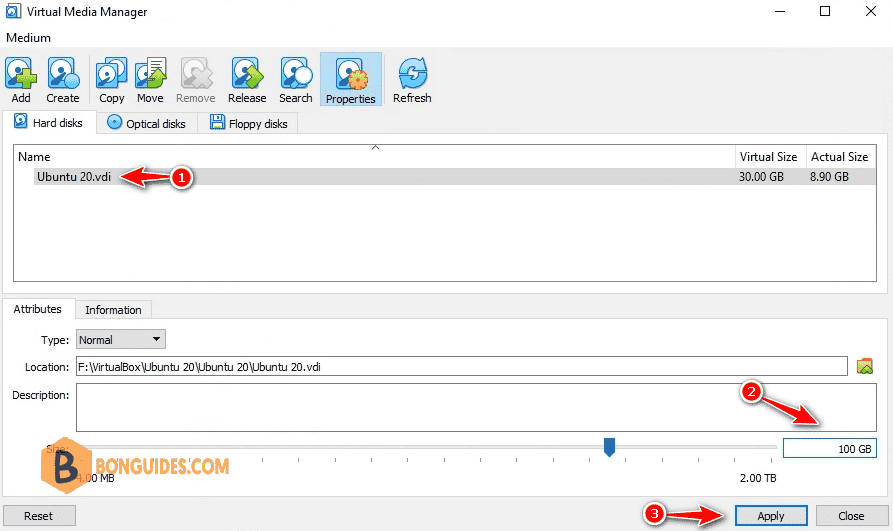
3. In the Virtual Media Manager page, under Hard Disk tab | select the vm’s virtual disk | Enter new disk size as you need then click Apply button.
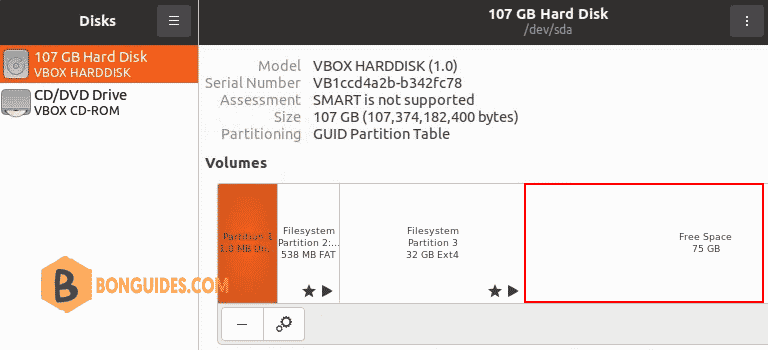
3. Start your virtual machine, after resizing a virtual disk, Linux partitions are not extended automatically, and you see the unused (unpartitioned) space on the disk
4. Open Terminal then switch to root account using sudo -s command.
sudo su -5. Install Gparted using this command: sudo apt install gparted -y. After installed, open the app using gparted command.
sudo apt install gparted -y
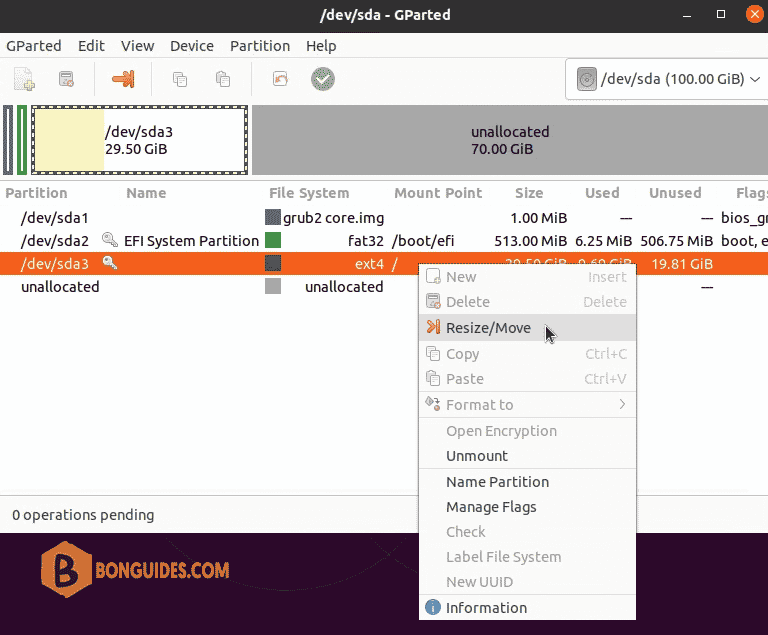
6. Next, let’s expand the partition on the virtual disk. When the partition is extended on the virtual disk whose size was increased.
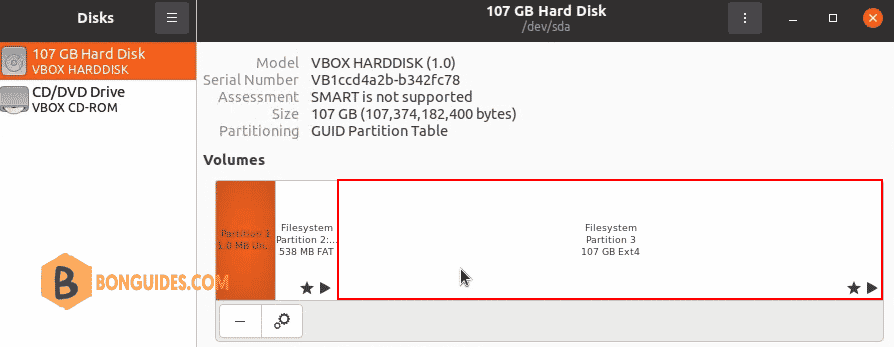
Finally, From Dash > Utility > Disks you can verify it worked.
Not a reader? Watch this related video tutorial:


