Table of Contents
Remote Desktop Protocol (RDP) is a network protocol developed by Microsoft that allows users to remotely access and interact with the graphical user interface of a remote Windows server. RDP works on the client-server model, where an RDP client is installed on a local machine, and an RDP server is installed on the remote server.
In this post, you will install and configure an RDP server using xrdp on an Ubuntu Desktop and access it using an RDP connection.
Installing xrdp on Ubuntu
xrdp is an open-source implementation of the RDP server that allows RDP connections for Linux-based machine. In this step, you will install the xrdp on your Ubuntu Desktop.
1. To install xrdp, run the following command in the terminal:
sudo apt install xrdp -y2. After installing xrdp, run the following commands to start xrdp, enable on boot and add a firewall rule.
sudo systemctl start xrdp
sudo systemctl enable xrdp
sudo ufw allow 3389
3. Verify the status of xrdp service using systemctl:
sudo systemctl status xrdpThis command will show the status as active (running):
● xrdp.service - xrdp daemon
     Loaded: loaded (/lib/systemd/system/xrdp.service; enabled; vendor preset: enabled)
     Active: **active (running)** since Sun 2022-08-07 13:00:44 UTC; 26s ago
       Docs: man:xrdp(8)
             man:xrdp.ini(5)
   Main PID: 17904 (xrdp)
      Tasks: 1 (limit: 1131)
     Memory: 1016.0K
     CGroup: /system.slice/xrdp.service
             └─17904 /usr/sbin/xrdp
Fix black screen when remote desktop to Ubuntu
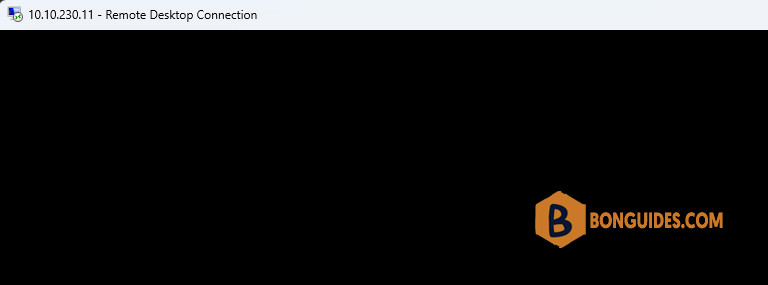
In some cases, you would get the black screen when remote desktop from Windows to the Ubuntu machine.

This situation will happen (or can happen) when the same user account is used concurrently locally and remotely. In other words, the problem is related to the fact that the same user account is already logged in locally and a remote connection is attempted at the same time.
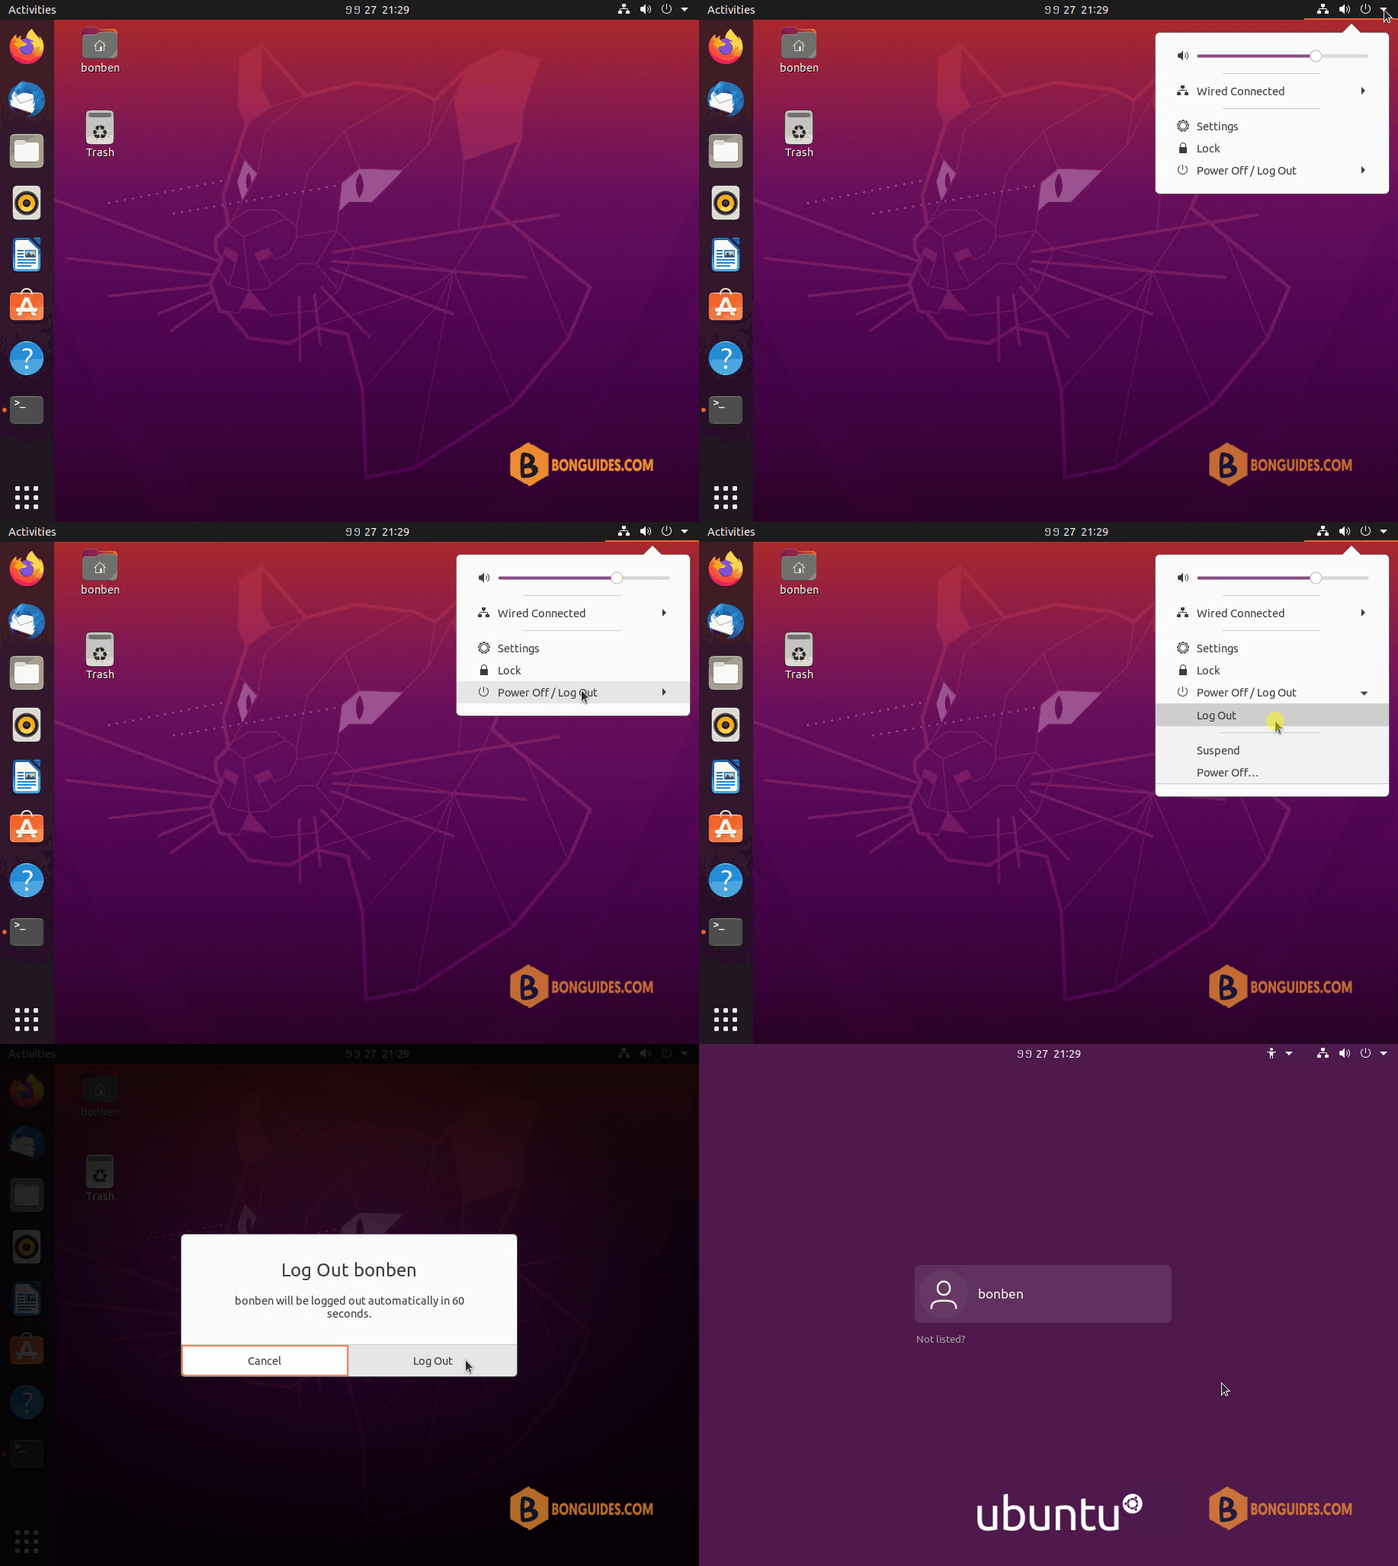
To solve this issue, there is a simple fix. You need to ensure the account you are using to login via the remote desktop client is not currently logged on locally on the Ubuntu target machine. If this is the case, perform a logout operation.

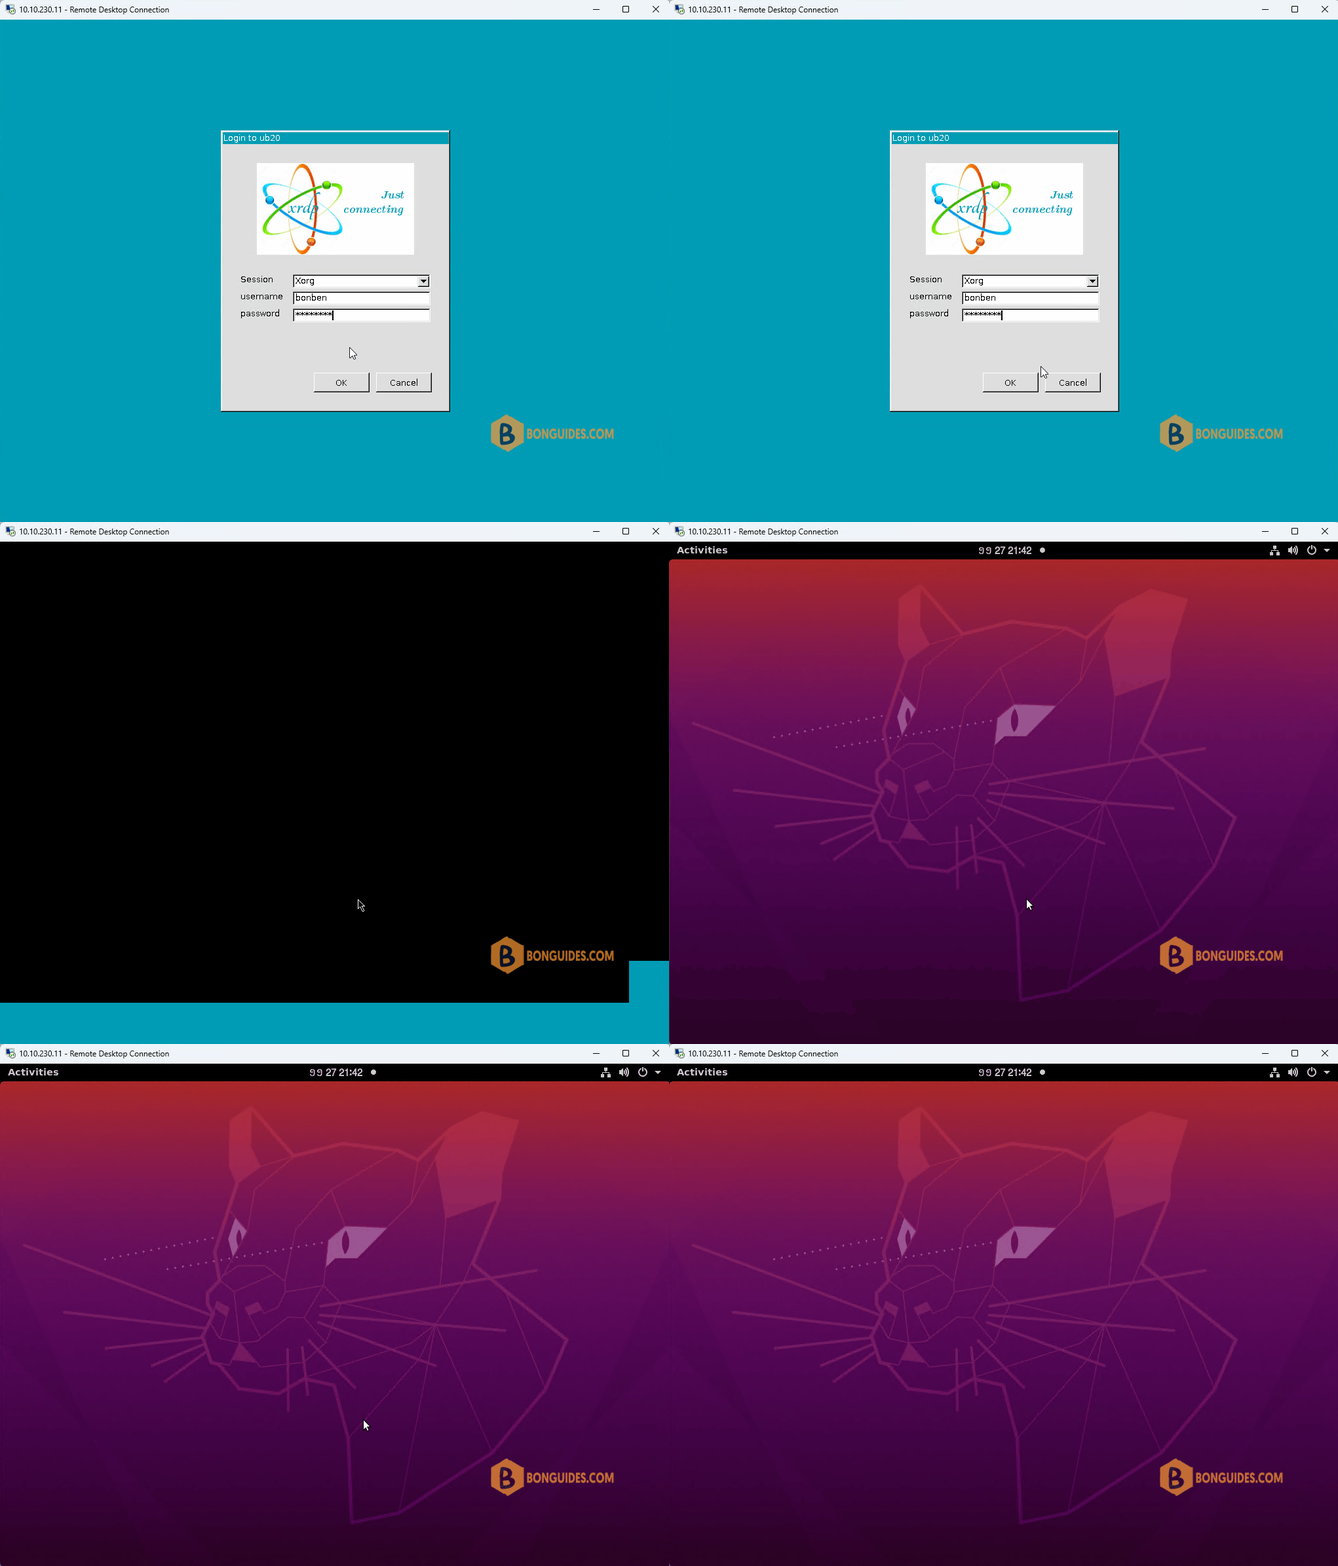
Try again the remote desktop session and you will be able to perform your remote desktop connection and that your desktop interface will be loaded and made available for you.

Alternatively, you can modify your /etc/xrdp/startwm.sh file and appending a one liner that will allow you to basically acquire the desktop while performing your remote connection even if you are already logged on locally.
sudo nano /etc/xrdp/startwm.shAt the below line before this line test -x /etc/X11/Xsession && exec /etc/X11/Xsession. Then save the file.
export $(dbus-launch)#!/bin/sh
# xrdp X session start script (c) 2015, 2017 mirabilos
# published under The MirOS Licence
if test -r /etc/profile; then
. /etc/profile
fi
...
export $(dbus-launch)
test -x /etc/X11/Xsession && exec /etc/X11/Xsession
exec /bin/sh /etc/X11/XsessionThen restart the xrdp to take the change goes into effect.
sudo systemctl restart xrdpNow, you can give it a try. Stay logged on locally on the machine and initiate your remote session.
#/bin/sh
###Update the system
sudo apt update -y && sudo apt upgrade -y

###Install xrdp
sudo apt install xrdp -y

###Enable on boot and add firewall rule
sudo systemctl start xrdp
sudo systemctl enable xrdp
sudo ufw allow 3389

###Fix black screen
sudo sed -i '32 i export $(dbus-launch)' /etc/xrdp/startwm.sh


