Table of Contents
Hardware accelerated GPU scheduling feature in Windows 11 represents a fundamental redesign in how Windows Display Driver Model (WDDM) works. While Microsoft says users won’t see any significant changes after activating it now, some believe that the feature will eventually reduce input lag on low-end and mid-core processors.
In theory, Windows 11 hardware accelerated GPU scheduling feature passes most GPU scheduling tasks to a dedicated GPU-based scheduling processor, which should free up the CPU a little and can potentially result in a small input lag improvement.
Once you’ve got the latest version of Windows 11 and drivers, you can turn on or off the feature using Settings and Windows Registry.
Turn On or Off Hardware Accelerated GPU Scheduling in Settings
1. Right-click on the Start Menu then select Settings.

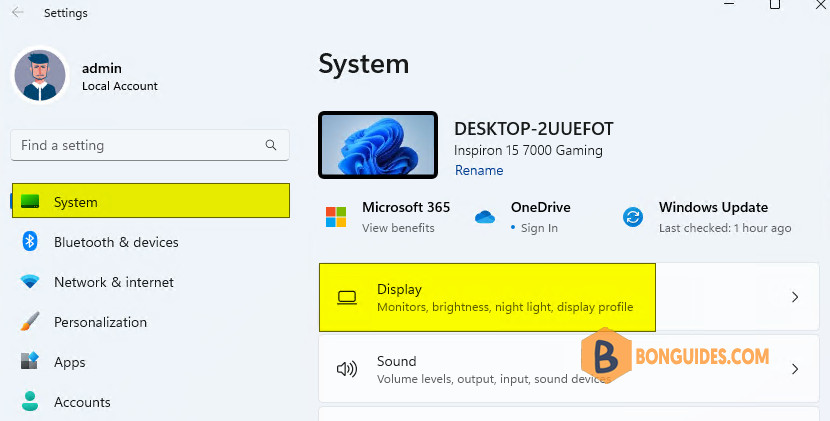
2. In Settings, click on System tab in the left side then click Display option on the right side.
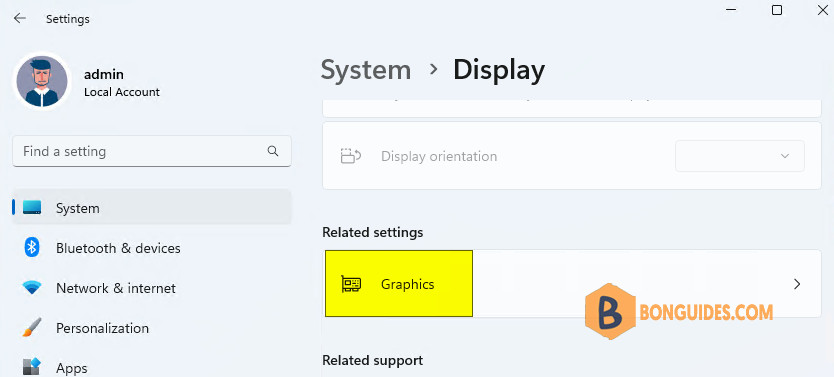
3. Select Graphics option under the Related settings section.
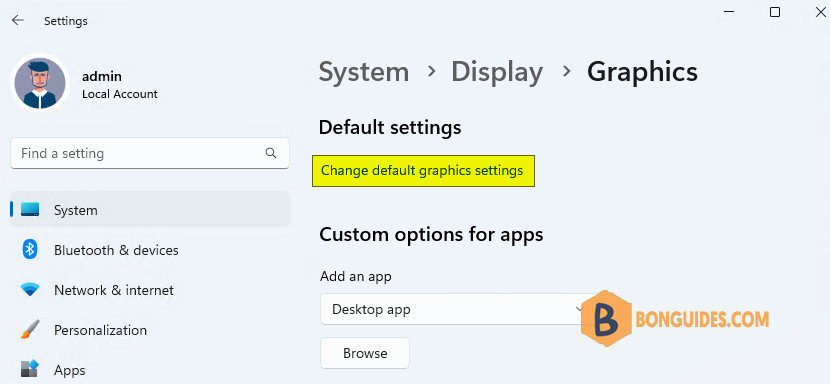
4. Under Default settings section, click on the link Change default graphics settings.
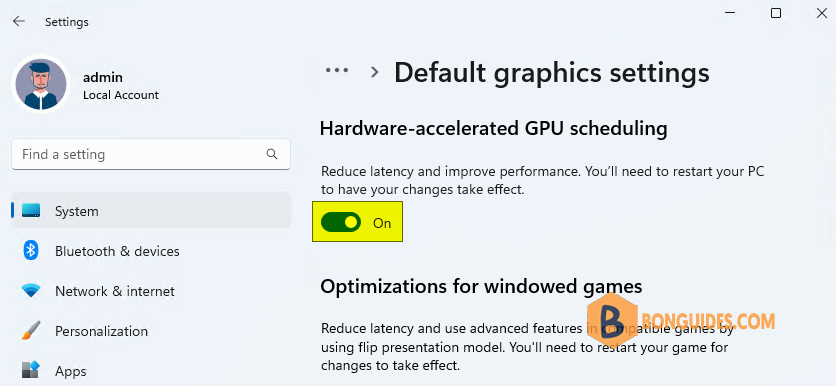
5. Toggle the switch to turn on or off Hardware-accelerated GPU scheduling option then restart your computer to take the changes go into effect.
Enable Hardware Accelerated GPU Scheduling using Registry
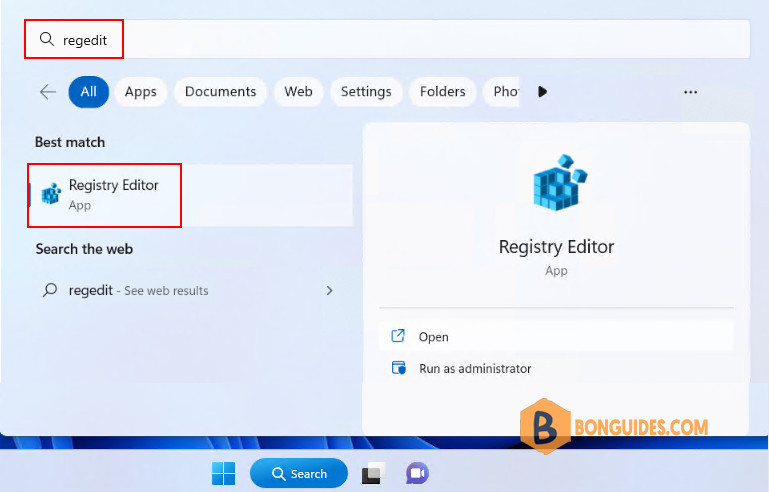
1. Type regedit into the Windows search box then click Registry Editor from the result to open it.
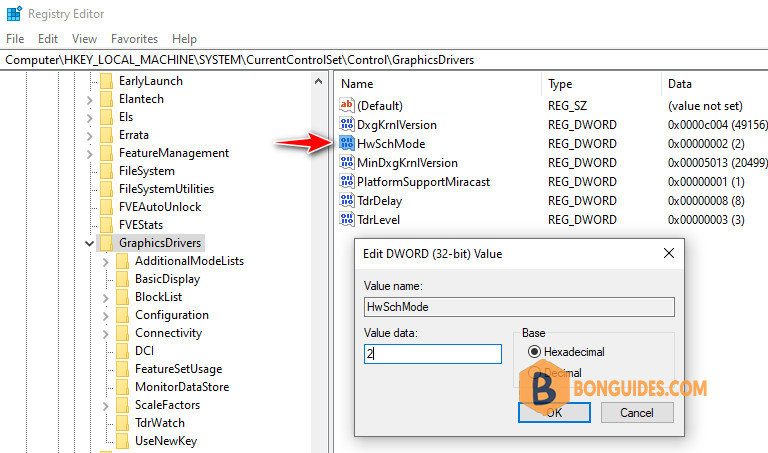
2. Navigate to the following key in the left sidebar or you can paste it into the address bar then hit .
HKEY_LOCAL_MACHINE\SYSTEM\CurrentControlSet\Control\GraphicsDrivers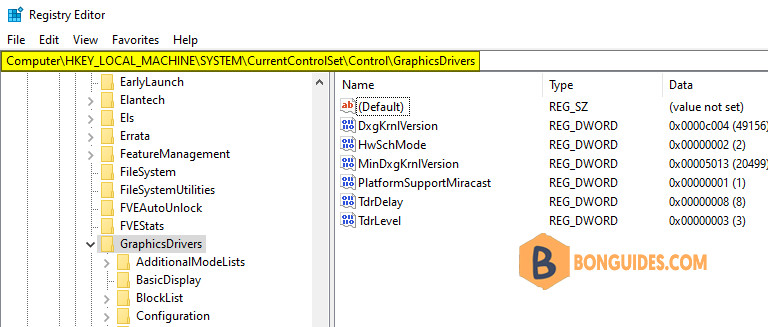
3. Locate DWORD named HwSchMode. Use value 2 to turn it On and 1 to turn it Off.
