Table of Contents
Etcher (also known by its full name, balenaEtcher) is a free, open-source image flasher, a utility for creating bootable SD cards or USB flash drives from .img and .iso files. Simple and user-friendly, Etcher is a good choice even for those who are not particularly tech-savvy.
In this tutorial, we will install Etcher on CentOS 9 using the AppImage format.
Before you begin
The latest version of Etcher requires Fuse package to run. So, let’s open Terminal then run the following commands to install it:
sudo dnf install fuseOnce done, you can close the Teminal window then go to the next steps to download Etcher.
Installing Etcher on CentOS Using AppImage
Etcher is available for download as an AppImage, a portable software distribution format. AppImage makes it easy to run applications without having to go through a complicated installation process.
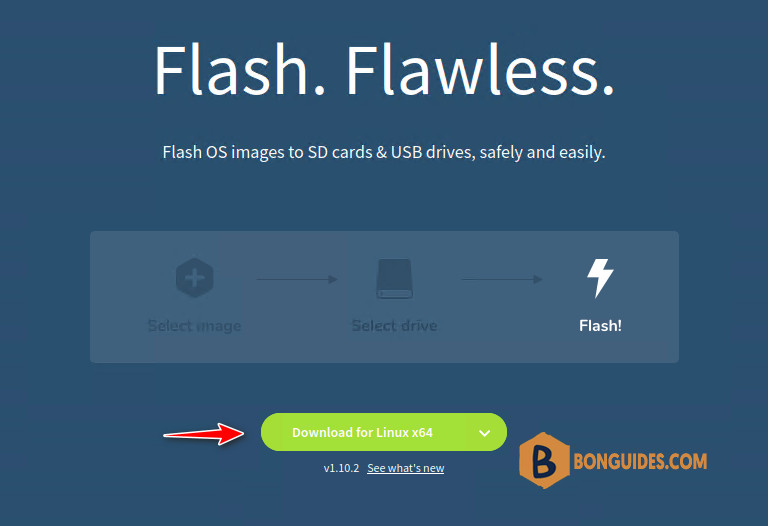
1. Visit Etcher’s official website and download the AppImage for Linux.
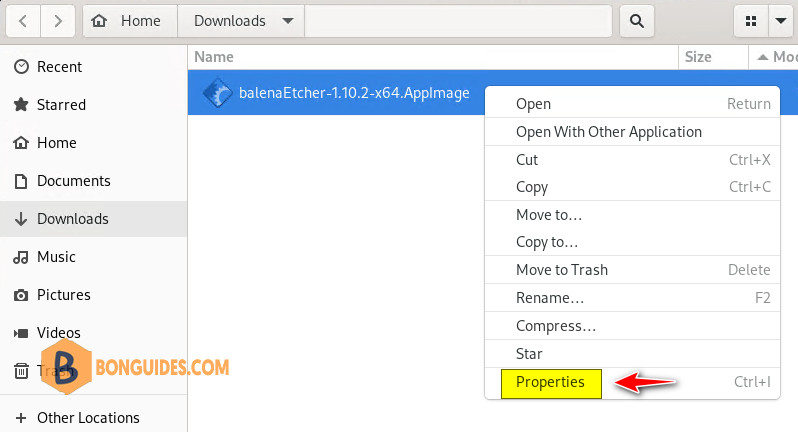
2. Right-click on the downloaded file and select Properties.
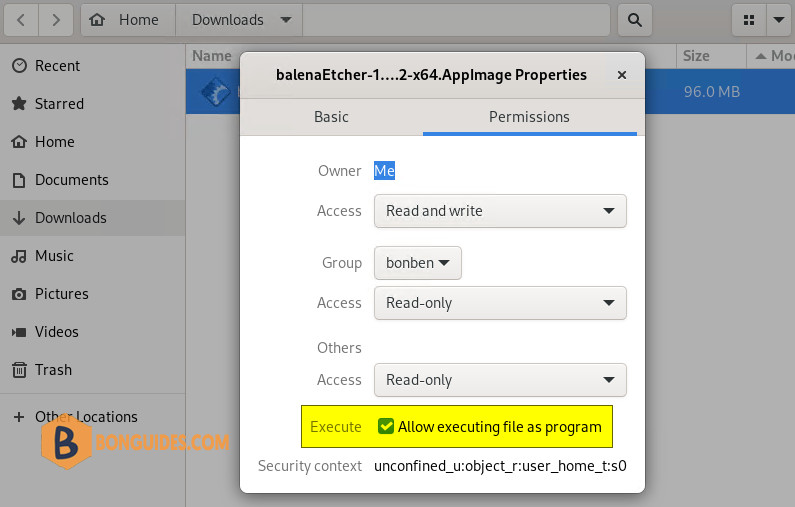
3. In Properties, click the Permissions tab. Then select the checkbox Allow executing file as a program. Close the Properties dialogue.
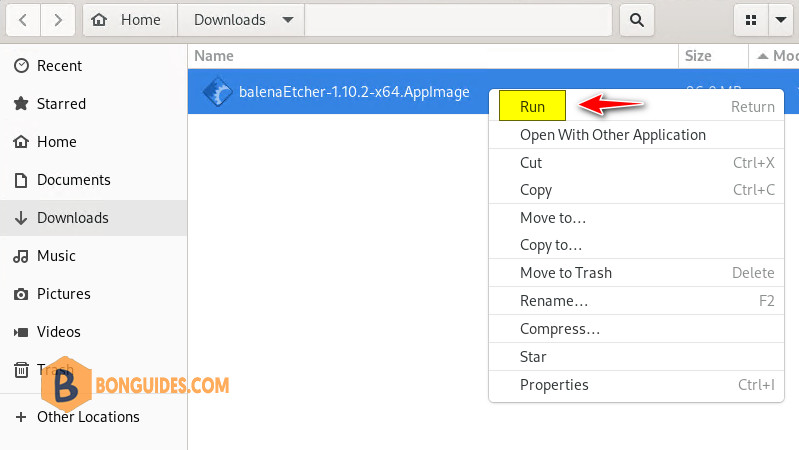
4. After you give the AppImage permission to run as an application, all you have to do is right click on the app then select Run or you can double-click the app icon and Etcher will start.
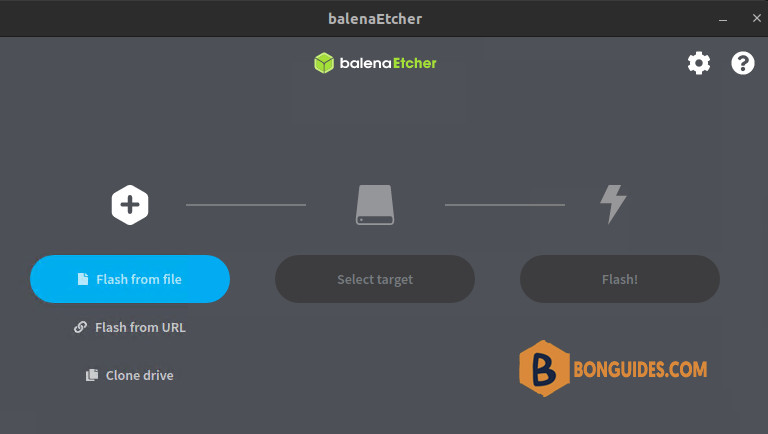
Etcher not running on Ubuntu 22.04
In some cases, Etcher not open when you run it from GUI. When you double-click on it, nothing happened.
It’s a bug of the Etcher app, to overcome this you can open Terminal from Downloads folder then run one of the following commands:
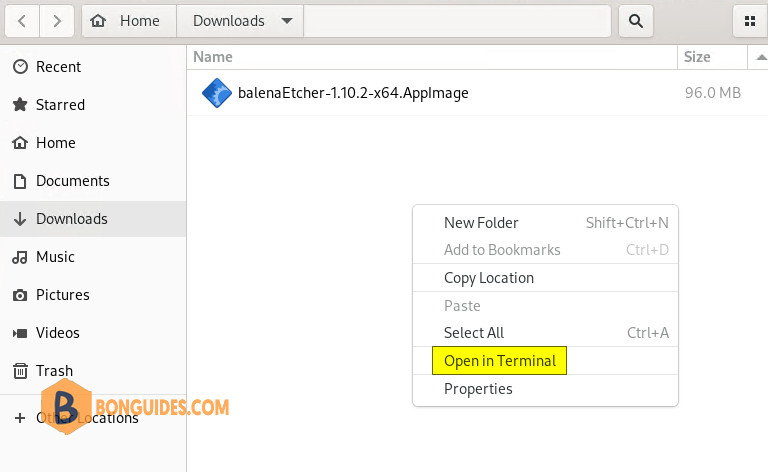
sudo ./balenaEtcher-* --disable-gpu-sandboxsudo ./balenaEtcher-* --no-sandbox --disable-gpu-sandbox --disable-seccomp-filter-sandbox


