Table of Contents
The new Windows Terminal is a great replacement for the command prompt on Windows 11 PCs.
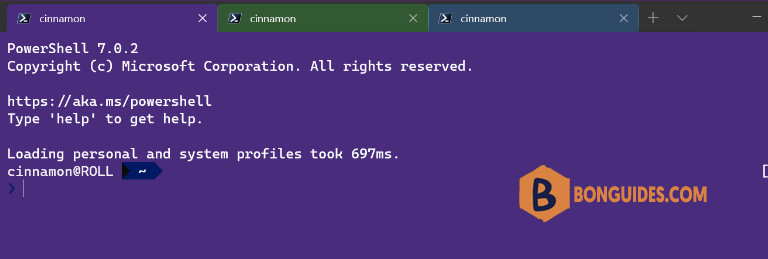
Unlike the old cmd.exe, Windows Terminal is customizable, allowing you to open PowerShell windows, connect to remote Azure terminals, and more. You can even customize Windows Terminal to look how you want.

If you’re struggling to see the text results for commands you launch, you might want to know how to customize the Windows Terminal app to suit your needs. This guide will show you how.
How to Change Font in Windows Terminal?
By default, the Windows Terminal app uses Cascadia Mono as the default font face for new Windows PowerShell tabs. You can customize Windows Terminal to use any supported system font on Windows 11.
1. Right click on the Start menu and open the Terminal app.
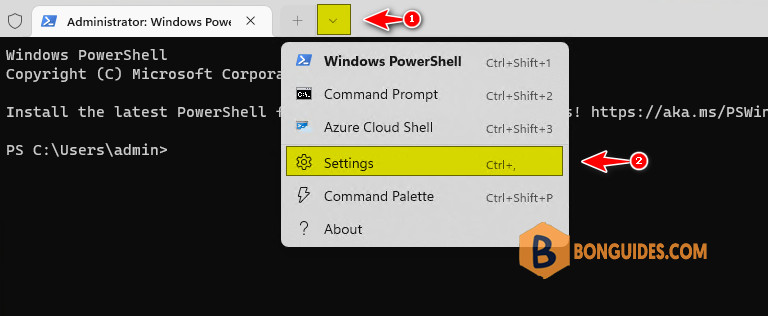
2. In the Terminal window, press the drop-down arrow on the tab bar then select Settings.

3. In Settings page, select your default profile in the menu on the left then select Appearance on the right.

4. In Appearance page, choose a new font from the Font face drop-down menu. If you want to use a custom font, select the Show all fonts checkbox and choose a font afterward.

Additionally, in the Appearance page, you can configure the color scheme, font size and font weight as well.
5. Press Save to confirm. Your chosen font should appear automatically. If it doesn’t, close the Terminal window and restart it.
Change the Windows Terminal font face with settings.json
Alternatively, you can set a new default font face for the Terminal with the settings.json file.
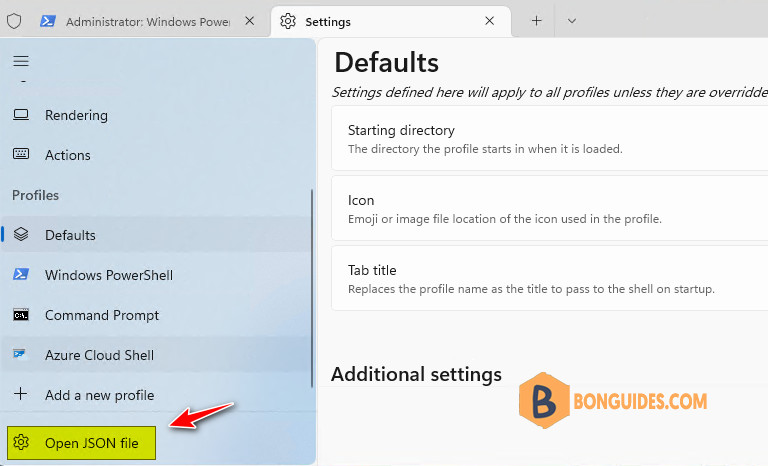
1. Open the Setting page then select Open JSON file at the left bottom corner. Or you can press the Ctrl + Alt + , (comma) keyboard shortcut to open the settings.json file with the default code editor.

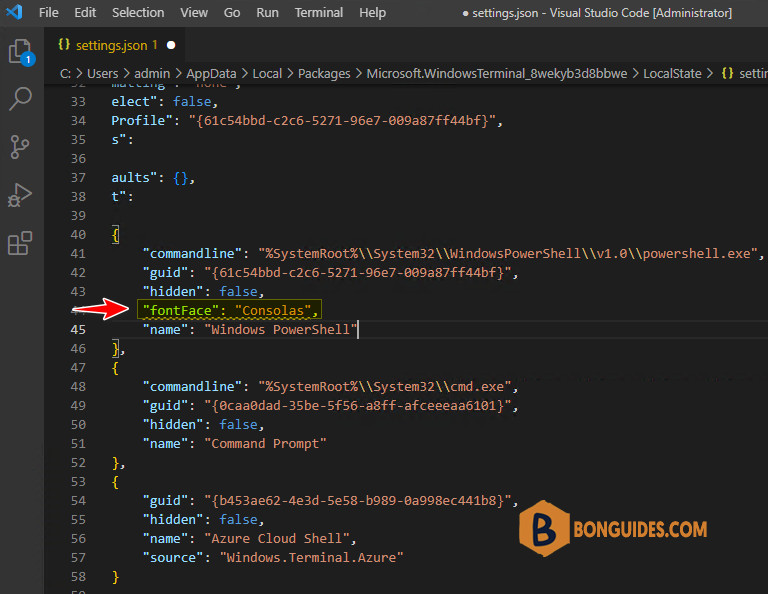
2. Under the profiles section, inside a profile brackets, for example PowerShell profile. Add this command to change the font face for this profile:
"fontFace": "Consolas",
3. Save the file then the font settings will apply automatically.


