Table of Contents
The terminal always opens somewhere on the top-left side of the screen, but if you find yourself always moving it to the center of the screen, you can change the Settings.json file to avoid the extra step every time you open the console.
This guide will show you how to change the settings to always open the Windows Terminal app at the center of the screen on Windows 10/11.
Always open Windows Terminal center on screen from Settings.json
To always open the Windows Terminal at the center of the screen, use these steps:
1️⃣ Open Windows Terminal.
2️⃣ Use the Ctrl + Alt + , (comma) keyboard shortcut to open the settings.json file with the default code editor.

3️⃣ Before the “profiles” settings section, type the following code to enable the terminal to open in the center of the screen:
"launchMode": "default",
"centerOnLaunch": true,
"initialPosition": ",",
4️⃣ Save the settings file. After you complete the steps, the next you launch the terminal on Windows 11 or even on Windows 10, the app will open in the center of the screen.
Always open Windows Terminal center on screen from Settings
To always open the Windows Terminal at the center of the screen, use these steps:
1️⃣ Open Windows Terminal.
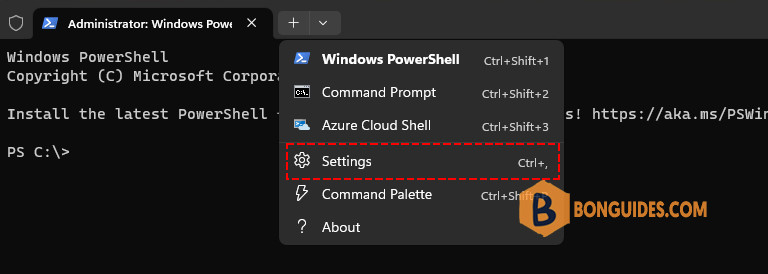
2️⃣ Click the menu (down-arrow) button and select the Settings option.

3️⃣ Click on Startup.
4️⃣ Click the Launch parameters setting.
5️⃣ Turn on the “Center on launch” toggle switch.
6️⃣ Click the Save button.
Once you complete the steps, the terminal will now always launch at the center of the screen.
Not a reader? Watch this related video tutorial:


