Table of Contents
In this guide, we’ll walk through adding a domain to Office 365 and verifying it. Once the domain is added, you can update usernames from @tenant.onmicrosoft to @domain.com.
Before you begin
To manage domains—whether adding, modifying, or removing—you need to be a Domain Name Administrator or Global Administrator of a Microsoft 365 business or enterprise plan. These changes impact the entire tenant.
Add a custom domain into Microsoft 365
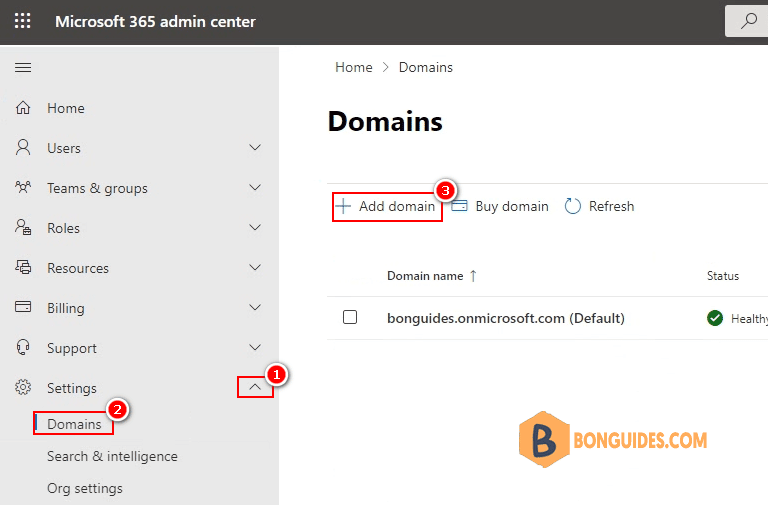
1. Before adding a domain to Office 365, it’s necessary to sign in Microsoft 365 admin center.
2. In the navigation pane, go to Settings and select Domains. Then, click on +Add domain.
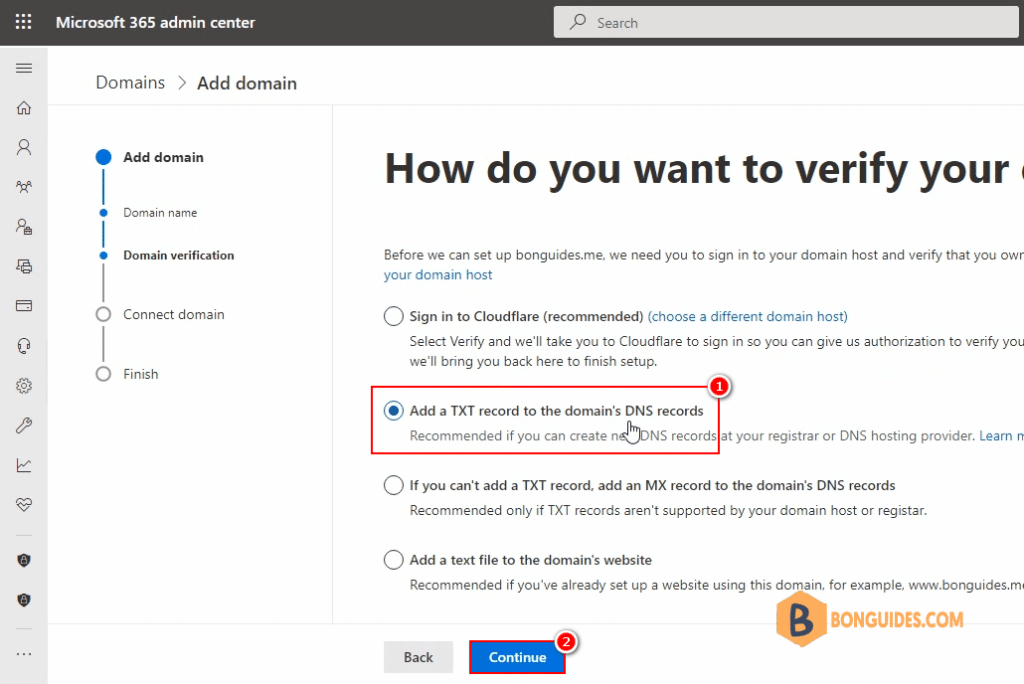
3. Select Add a TXT record to the domain’s DNS records. Click .
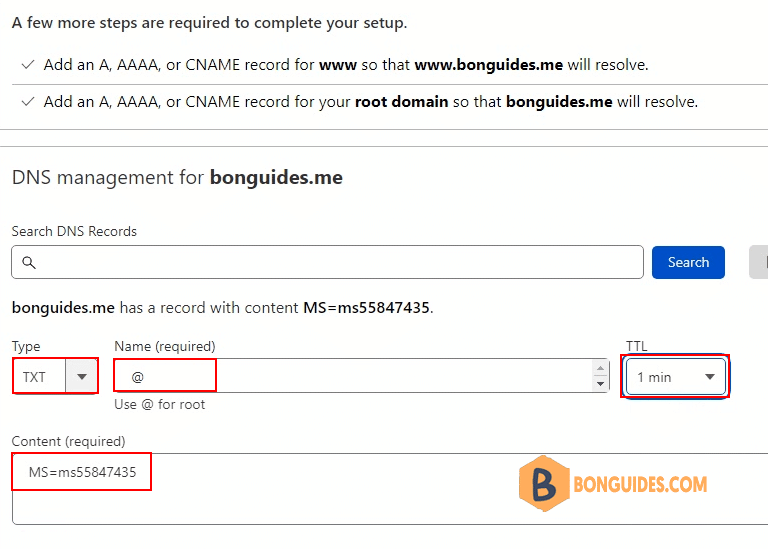
4. Copy the TXT value; in this case, it’s the TXT value. MS=ms55847435.
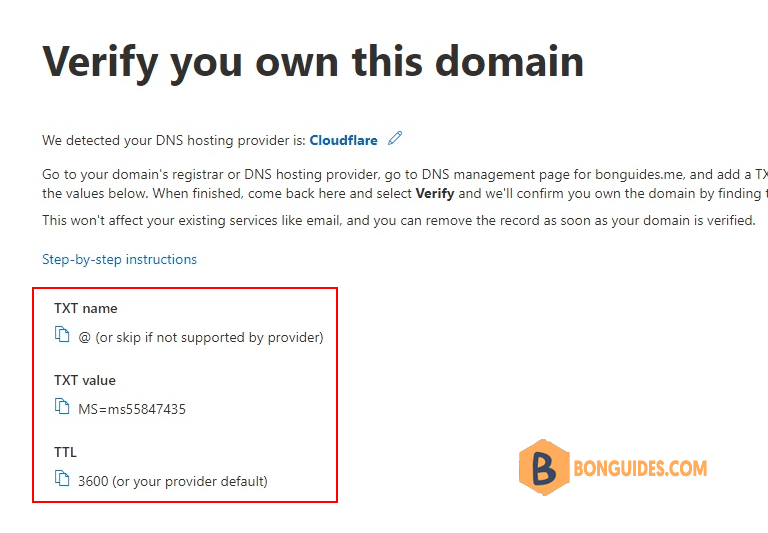
5. Log in to your domain’s registrar or DNS hosting provider and set up the Name, TTL, Type, and Value for the domain.
6. Go back to the Microsoft 365 admin portal to proceed. Click .
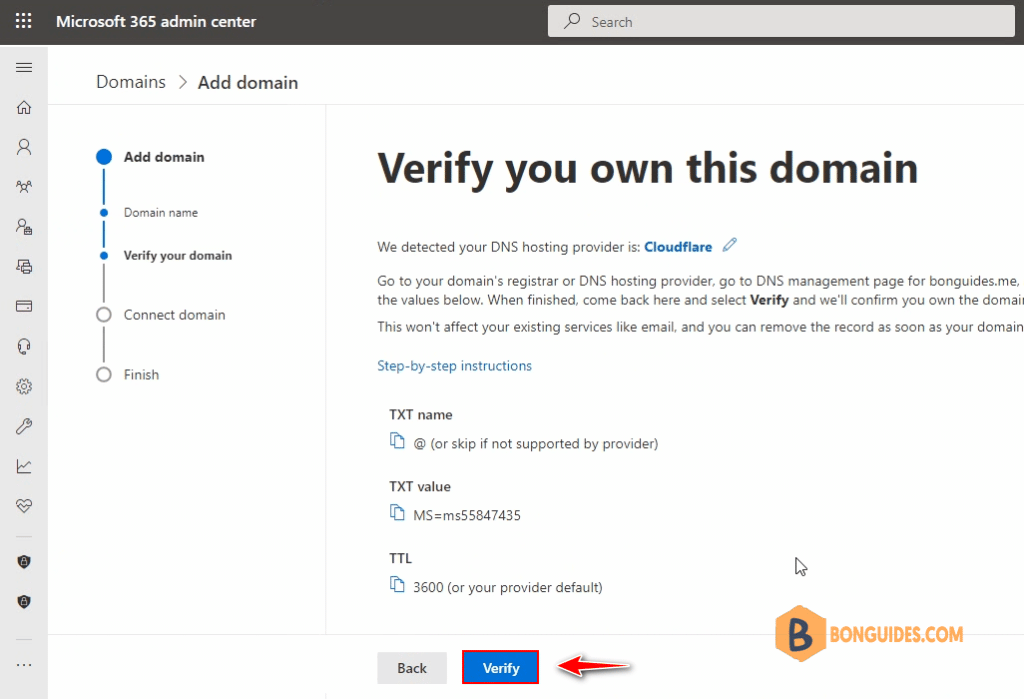
7. If you see “Connect Domain,” which is the next step, it means the domain has been verified successfully. If you encounter an error, wait a bit longer before clicking. .
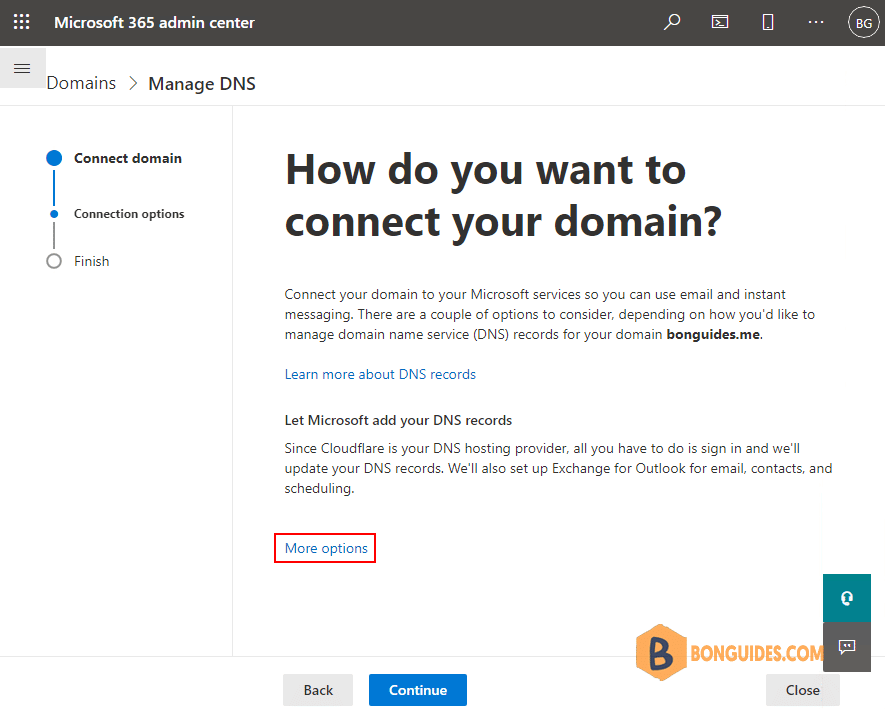
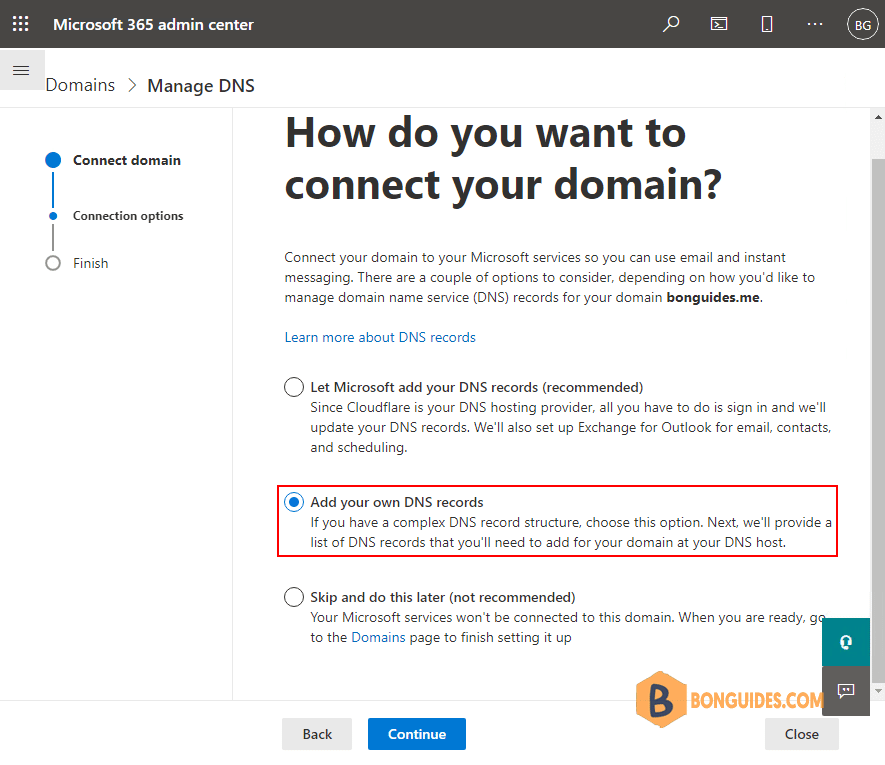
8. There are three options to choose from. Select “Add your own DNS records.” Click
Add DNS records
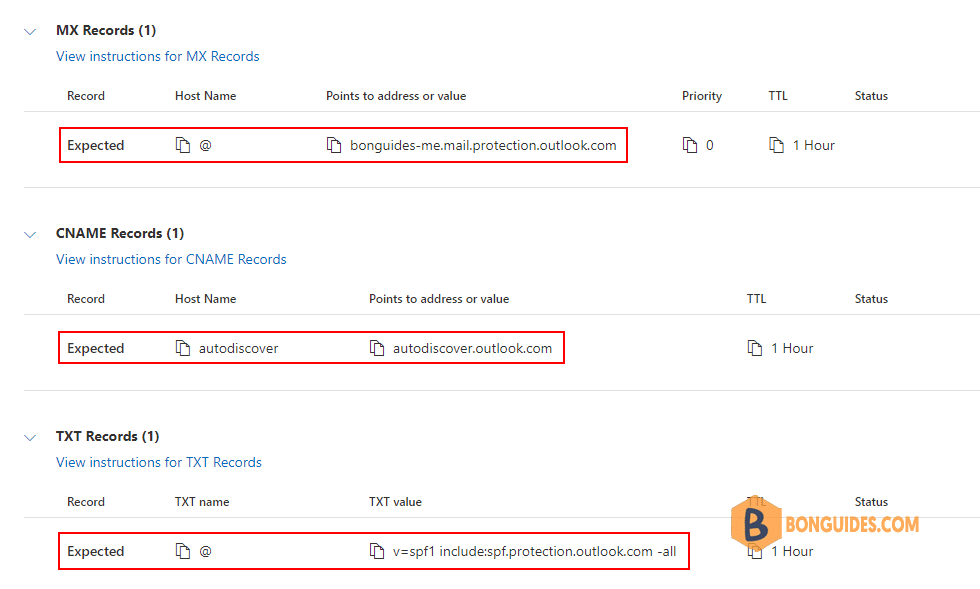
9. Exchange Online Protection will provide three DNS records that need to be added to your domain at your DNS host.:
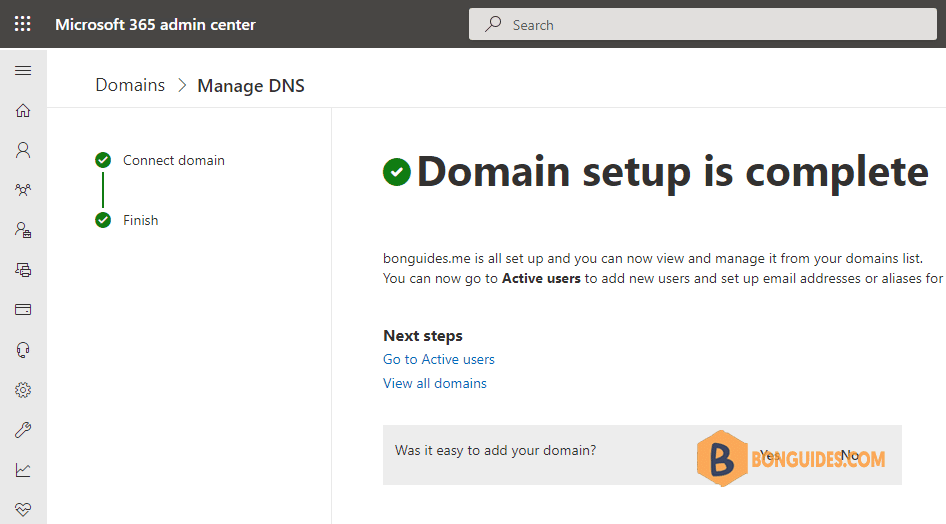
10. The domain configuration has been successfully completed.
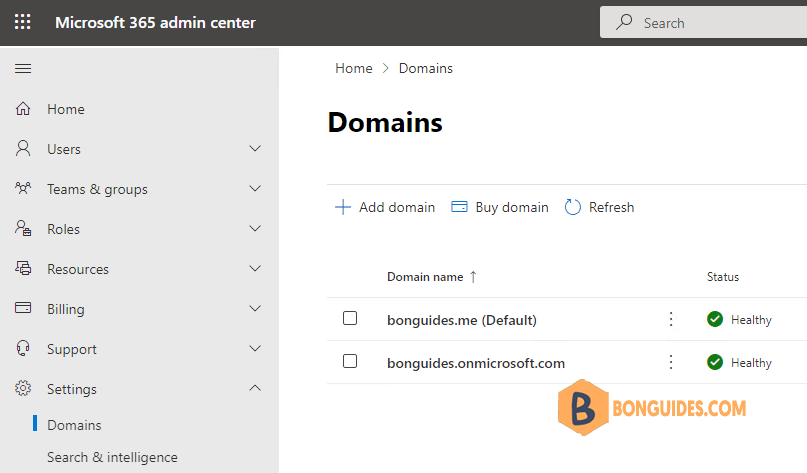
11. You can find the domain in the domain list, where its status is marked as Healthy.
Conclusion
You’ve learned how to add a domain to a Microsoft 365 tenant. Simply navigate to Settings in the Microsoft 365 admin portal and add the domain.
After verifying the domain with the TXT value, complete the setup process. In the final step, you’ll see a few DNS records that need to be added to the DNS server.


