Table of Contents
If you are using CyberPanel, you may have noticed that the administration interface is accessible via port 8090 by default. In some cases, it may be desirable to hide or remove port 8090 for security reasons or to simplify access to your control panel.
In this article we will see how to remove or access CyberPanel without using port 8090.

Create a website for the hostname
1. First of all, you need to decide which domain you want to access CyberPanel on without adding the port.
In this example we will use https://admin.ezbpm.me
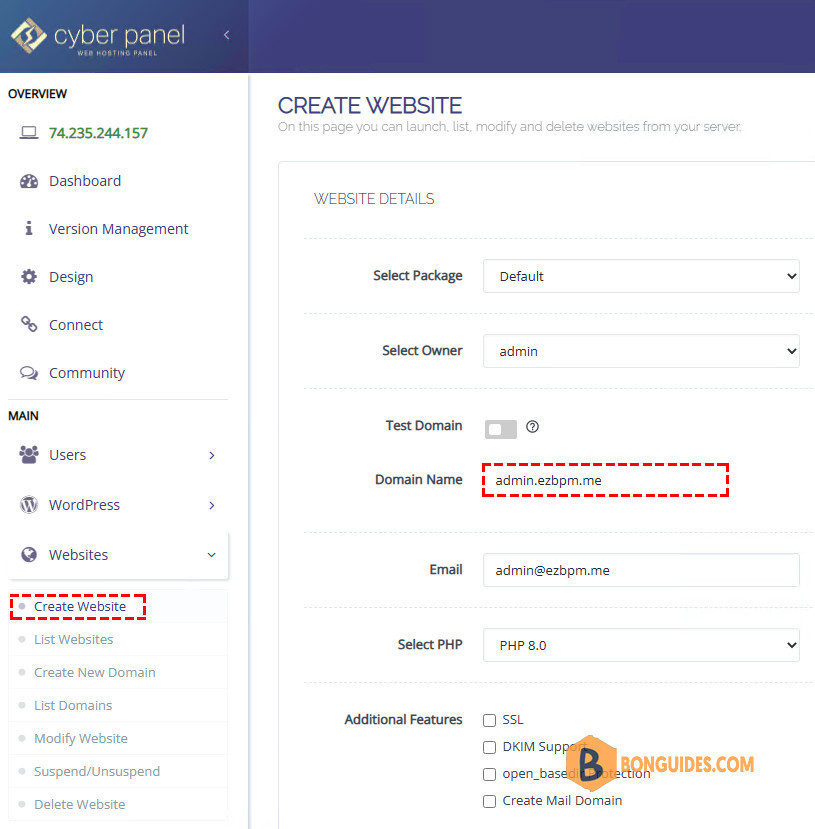
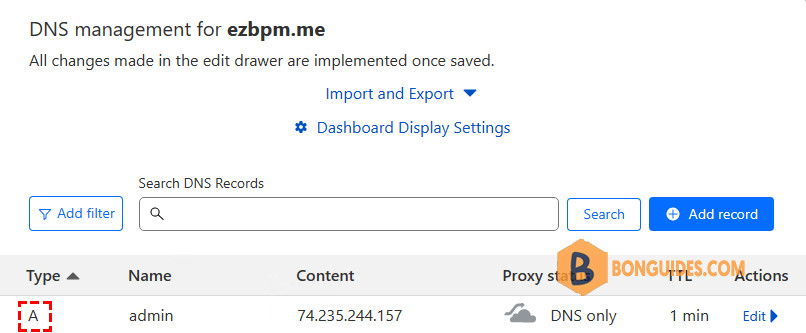
2. Make sure that the A record of this domain already points to your server.
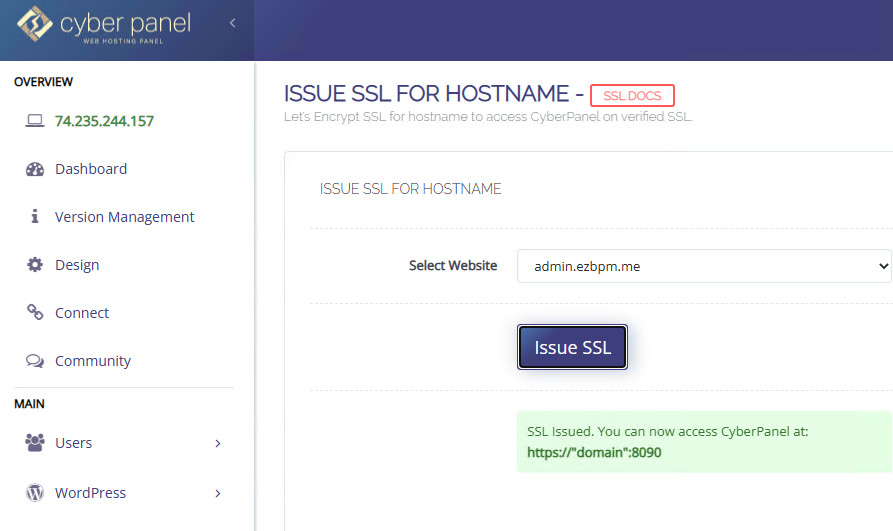
3. It is now necessary to issue an SSL certificate for the previously chosen domain. In our example, it is https://admin.ezbpm.me. You can do it from Dashboard | SSL | Hostname SSL.
Configure CyberPanel without port 8090
1. Make sure you have opened an SSH connection to your server with root privilege.
bonben@ub20:~$ sudo -s
[sudo] password for bonben: ********
root@ub20:/home/bonben# whoami
root
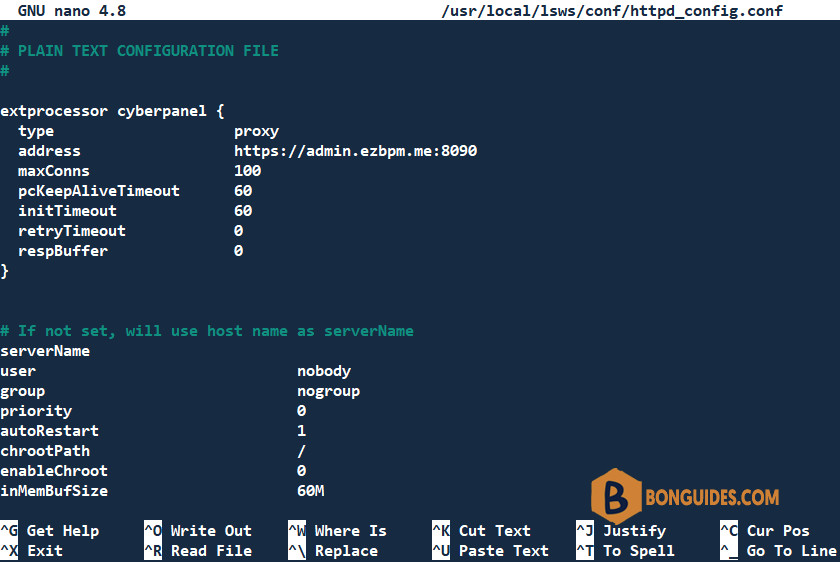
root@ub20:/home/bonben#2. We will use the following command to open then edit the OLS configuration file.
nano /usr/local/lsws/conf/httpd_config.conf3. Paste the following lines and don’t forget change the address of your domain name.
extprocessor cyberpanel {
  type                    proxy
  address                 https://admin.ezbpm.me:8090
  maxConns                100
  pcKeepAliveTimeout      60
  initTimeout             60
  retryTimeout            0
  respBuffer              0
}
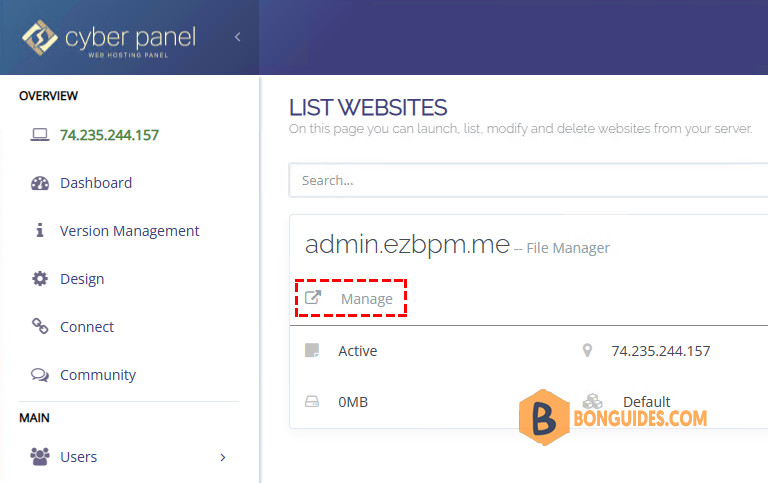
4. In your CyberPanel user interface, go to Websites and then List of Websites. To the right of the panel with your domain, click on Manage.
5. At the bottom of the list, you will find an option “Rewrite rules”, click on it.

6. You can now use rewrite rules to direct traffic to port 8090. You can use these rules:
### Rewrite Rules Added by CyberPanel Rewrite Rule Generator

RewriteEngine On
RewriteCond %{HTTPS}  !=on
RewriteRule ^/?(.*) https://%{SERVER_NAME}/$1 [R,L]
RewriteRule ^(.*)$ HTTP://cyberpanel/$1 [P]

### End CyberPanel Generated Rules.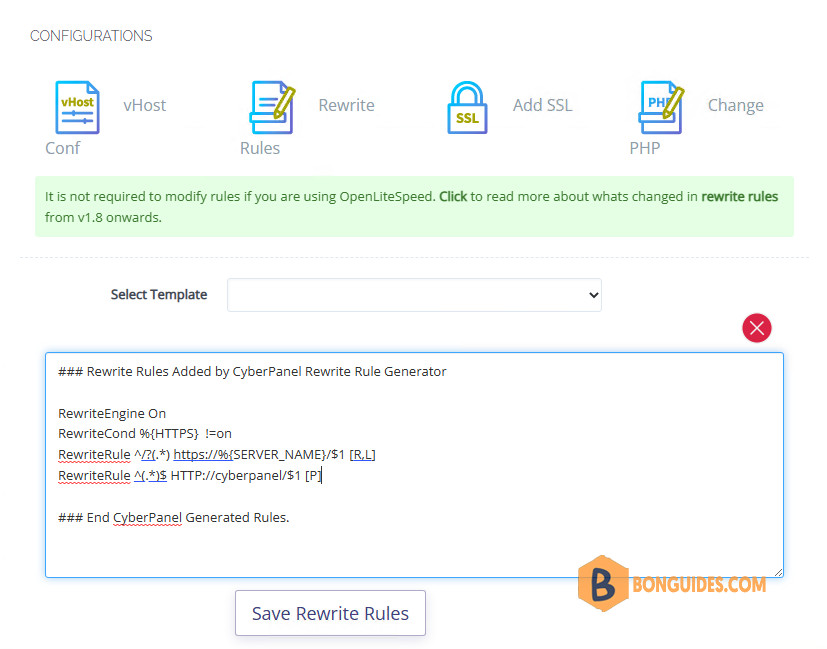
To better understand the rewrite rules, consult the CyberPanel documentation.
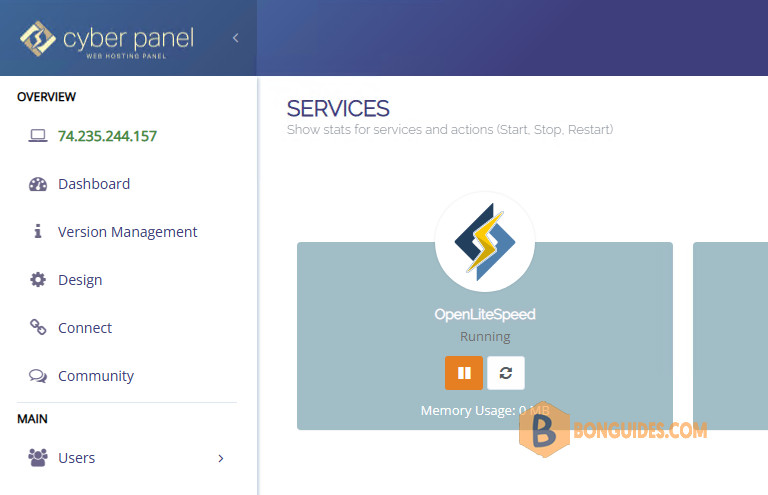
7. Restart OLS service from Dashboard | Status | Service Status.
Congratulations! You should now be able to visit CyberPanel with the domain you created in Step 1.
Block CyberPanel port 8090 (Optional)
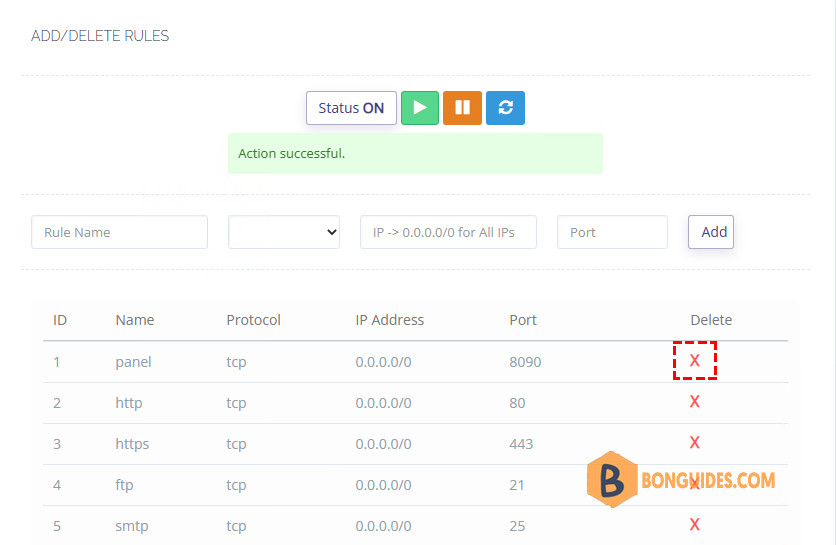
Since you no longer use port 8090, you can block it for security reasons. To do this, on the Dashboard | Security | Firewall. Then you can block the port by deleting them.
Not a reader? Watch this related video tutorial:


