Table of Contents
In Azure, every resource must be assigned to a resource group. In some cases, you may want to set a specific resource group as the default for all new Azure resources.
This can be done with PowerShell. This blog post will show you how to set the Azure default resource group with PowerShell.
Connect to Microsoft Azure PowerShell
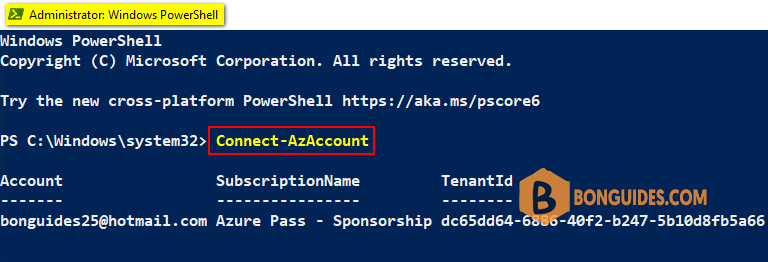
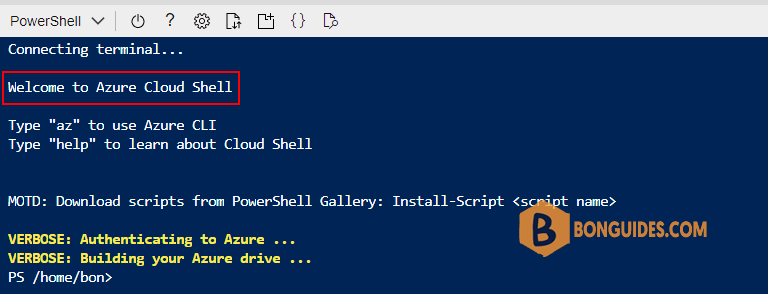
First, you need connect to Microsoft Azure PowerShell, there’re two ways to run PowerShell commands in Microsoft Azure:
Method 1: From Azure PowerShell modules installed in a computer.

Method 2: From Azure Cloud Shell using browsers.

Set Default Resource Group
Run the following command to set the default resource group. Once done, all resources created without specify -ResouceGroupName parameter would be created in the default resource group.
Set-AzDefault -ResourceGroupName "BonBen"Set-AzDefault -ResourceGroupName "BonBen"
Id : /subscriptions/089d4ee9-0b8d-4bac-ab78-c120f115e79e/resourceGroups/BonBen
Name : BonBen
Properties : Microsoft.Azure.Management.Internal.Resources.Models.ResourceGroupProperties
Location : eastus
ManagedBy :
Tags : {}How do you know it works ?
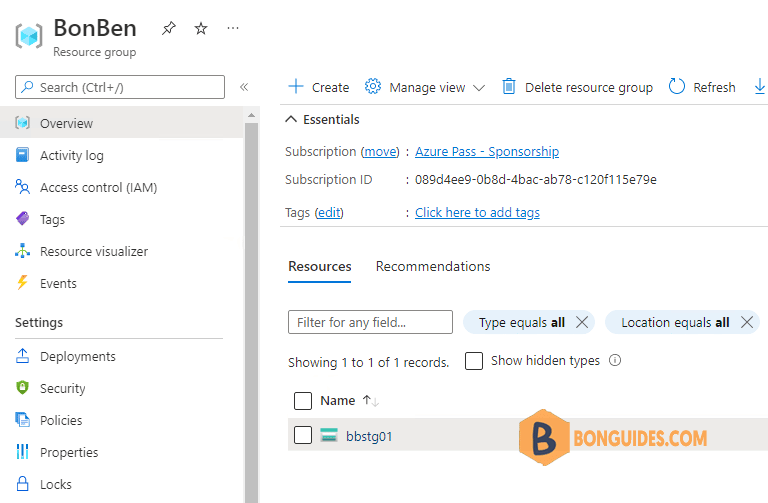
To verify it works, let’s go ahead and create a storage account without specifying the resource group parameter.
The cmdlet creates a storage account, and Az PowerShell is using default resource group is set and doesn’t require it.
New-AzStorageAccount `
-Name 'bbstg01' `
-Location 'EastUS' `
-SkuName 'Standard_RAGRS' `
-Kind 'StorageV2'
Get-AzResource -ResourceGroupName "bonben" | ft

Name    ResourceGroupName ResourceType                      Location
----    ----------------- ------------                      --------
bbstg01 BonBen            Microsoft.Storage/storageAccounts eastus


