In some cases, you want to reset or revert the Windows 11 account picture to default one.
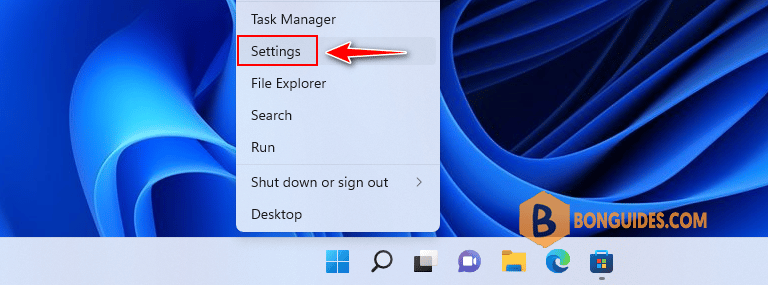
1. Right click on the Windows start icon then open Settings.
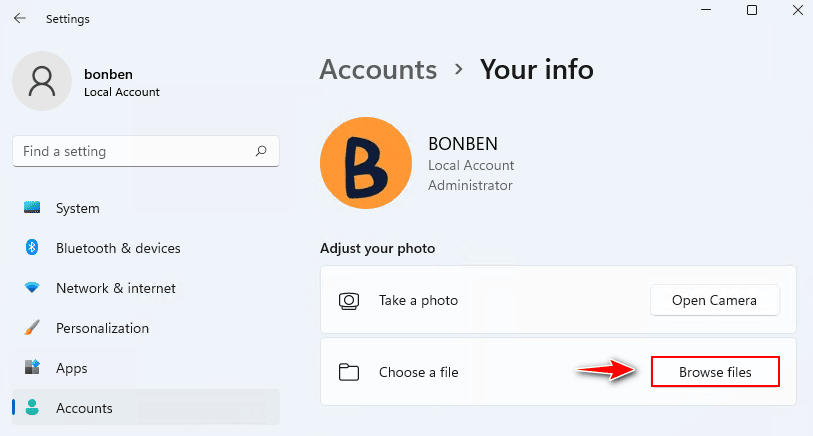
2. In the Settings page, select Accounts section then select Your info option in the right side.

3. Now, inside Choose a file, select Browse files button.
4. In the address bar, navigate to the following location then select the default picture.
C:\ProgramData\Microsoft\User Account Pictures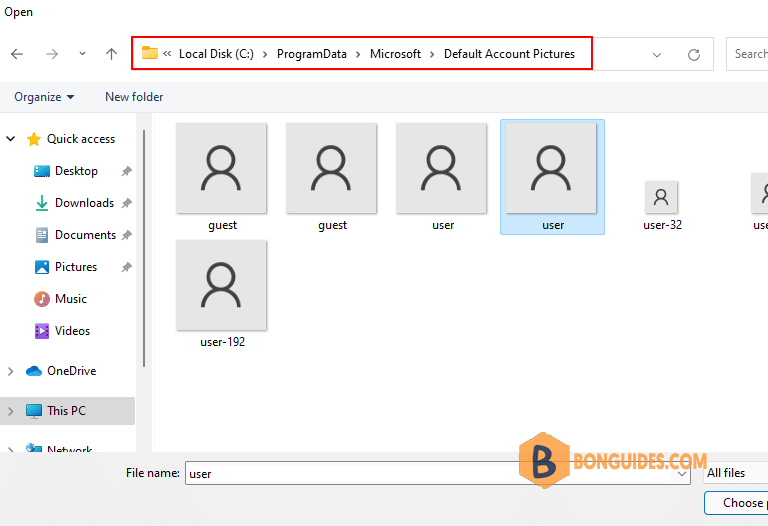
Finally, sign out the current login account to verify it works.

ADVERTISEMENT
5/5 - (2 votes)


