Table of Contents
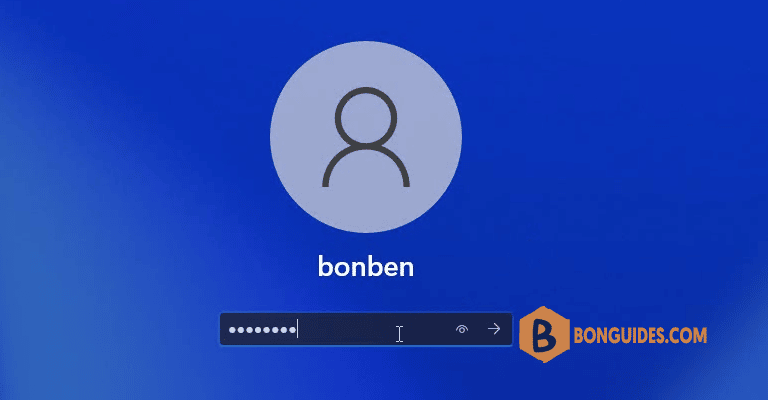
Logins and passwords provide an excellent means of protecting your information from unauthorized access, particularly when using public workspaces.
If you’re using your computer in a secure location with a private network, constantly logging in can become tiresome. To bypass this hassle and access your desktop screen more quickly, setting up auto logins is a viable solution.

Enabling auto-login in Windows 11 lets you skip the password screen and access your desktop immediately.
How to Enable Auto Login in Windows 11
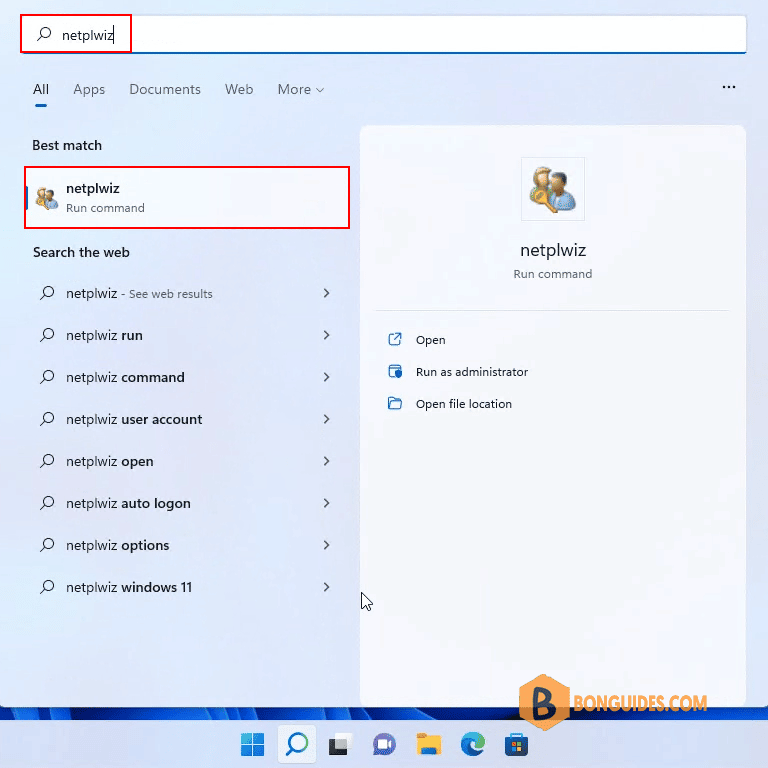
1. Type netplwiz into the search box and then open it.

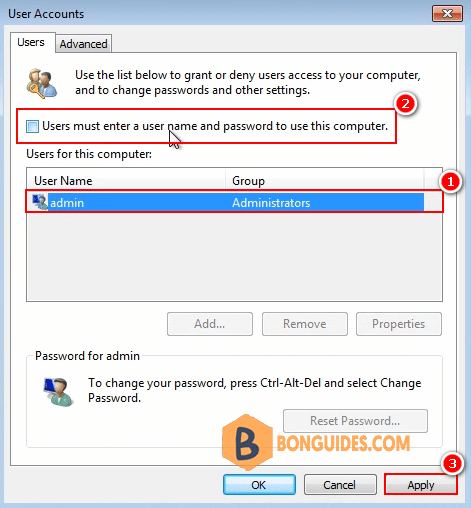
2. At the very top, there’s a box that says Users must enter a username and password to use this computer.
- Select a user under Users for this computer.
- Uncheck the checkbox.
- Then click OK button.

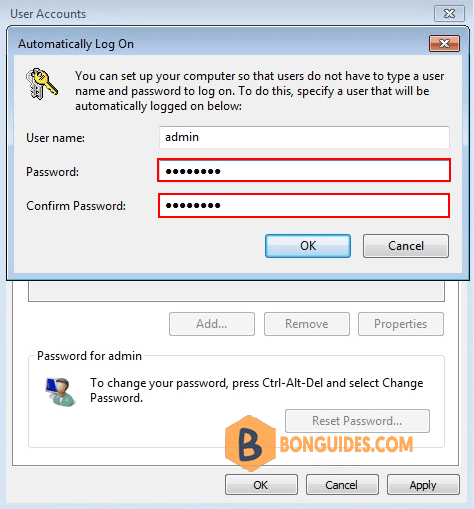
3. Another window appears that asks for your username and password for confirmation. Enter the required information and select OK a final time.

To complete the process, please reboot your computer to ensure that the changes take effect.
If the checkbox “Users must enter a username and password to use this computer” is not visible, you can restore it by following the instructions in this guide.
Not a reader? Watch this related video tutorial:


