Table of Contents
Did you know Azure provides a browser-accessible shell for managing Azure resources? You can use both PowerShell and Bash commands directly in your browser using the Azure Cloud Shell.
In this tutorial, you will learn all about the Azure Cloud Shell, configuring the shell, and additional capabilities included in the shell.
What is Azure Cloud Shell?
Azure Cloud Shell is a browser-based shell command-line experience for managing Azure resources in your tenant. Cloud Shell supports both PowerShell for running Azure PowerShell module commands and Bash for running Azure CLI commands. Azure Cloud Shell automatically authenticates to your tenant using the current browser credentials, so there is no need to log in using separate commands.
Configuring Azure Cloud Shell
There are two ways to access Cloud Shell:
- Direct link: Open your browser and navigate to https://shell.azure.com.
- Azure Portal: Select the Cloud Shell icon when accessing the Azure portal.

Creating the File Share
If this is your first time accessing Cloud Shell, you must create a file share or associate an existing one. In this tutorial, you will create a new file share.
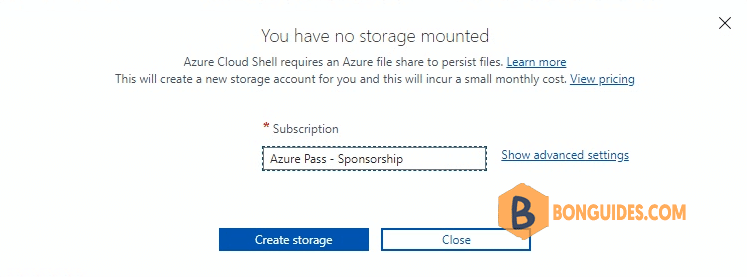
Azure should recognize you do not have any storage mounted and prompt to create a new storage account. From here, you can select the subscription for Azure to automatically create the storage account.
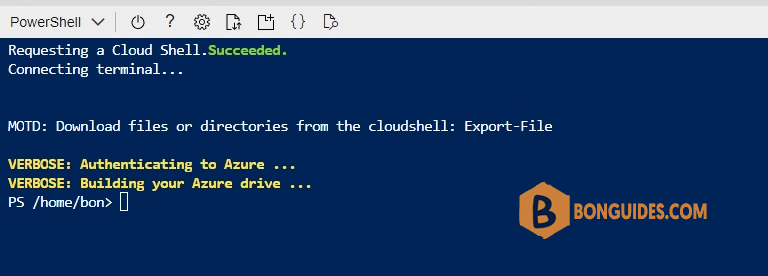
Once Azure creates the file share, the Cloud Shell sessions starts up. In this case, the PowerShell environment opened on first run.
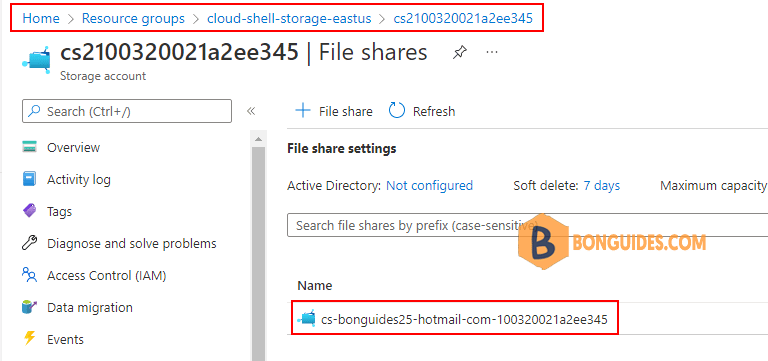
As a bonus step, navigate to the subscription and resource group you selected when configuring the Cloud Shell storage in previous step. Open the storage account and navigate to File shares. Here you should see the new file share that Cloud Shell uses to store files across sessions.
Once you create the file share, Cloud Shell automatically attaches the file share as a folder named clouddrive in your home directory ($HOME). Files and folders saved to the clouddrive are stored in the file share, and Cloud Shell stores any files and folders in the root of $HOME in the container image.
PS /home/bon> ls -l
total 0
lrwxrwxrwx 1 bon bon 22 Aug  7 14:11 clouddrive -> /usr/csuser/clouddrive
Upload your script to the storage account
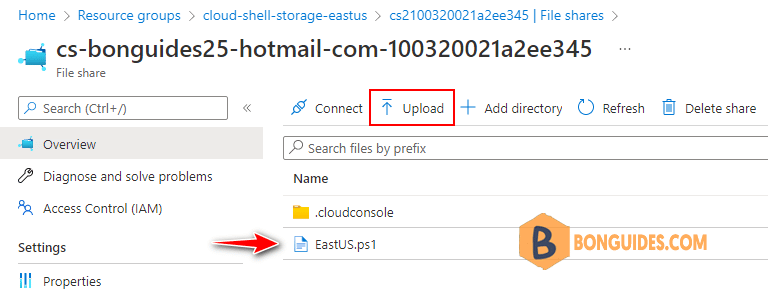
You can upload your PowerShell scripts to the storage account to run it from anywhere in any browser. In this post, i’ve uploaded a script to create a Windows VM using PowerShell.
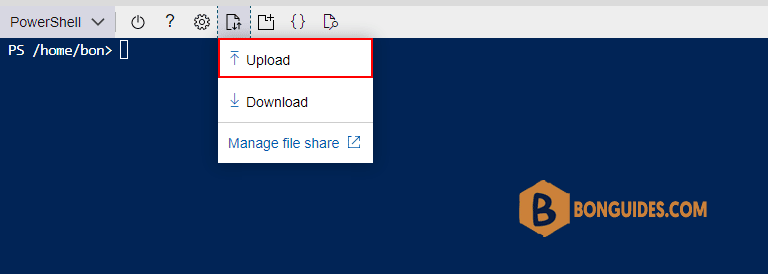
Once done, you can see the file in the storage account from cloud shell session.

The script should be exist in the storage account, you can upload script from storage account as well.
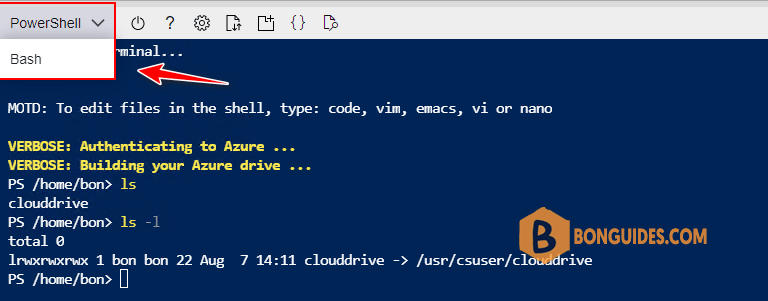
Switch between Bash and PowerShell
Use the environment selector dropdown menu to switch between the Bash and PowerShell environments. Switching between environments connects to the same running container but with a new shell session. Any running processes will go to the background, and Cloud Shell does not preserve your state when switching.


Restart Cloud Shell Session
Use the restart icon in the toolbar to reset the container machine state. Any files not saved in your Azure file share will be lost.

Manage Text Size and Font
Use the gear icon to select your text size (small, medium, large) and font preferences (Monospace or Courier New). Changes here are persisted across new sessions.

Open a New Session
You can have multiple concurrent sessions across browser tabs. Each session exists as a separate process on the same container machine. Select the new session icon, and the browser opens a new tab with a separate Cloud Shell session.

Edit Files with Cloud Shell Editor
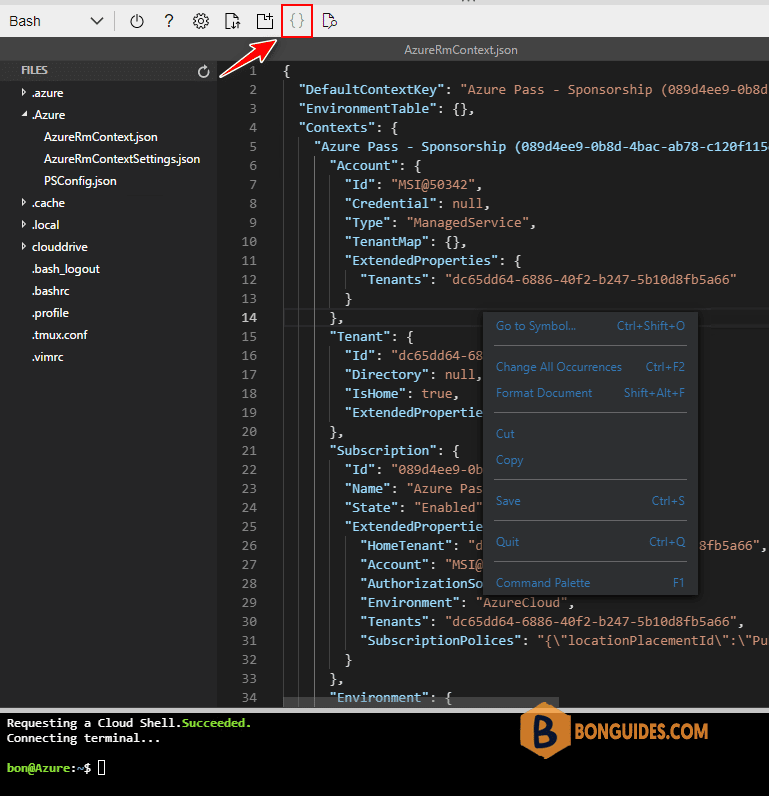
Cloud Shell has an integrated file editor built from the open-source Monaco Editor. The Cloud Shell editor support language highlighting, command palette, and file explorer. You can open the editor using the code editor icon { } from the menu, which opens the editor and defaults to your /home/<user> directory. You can also use the code command to open a directory or a specific file for editing.
