Table of Contents
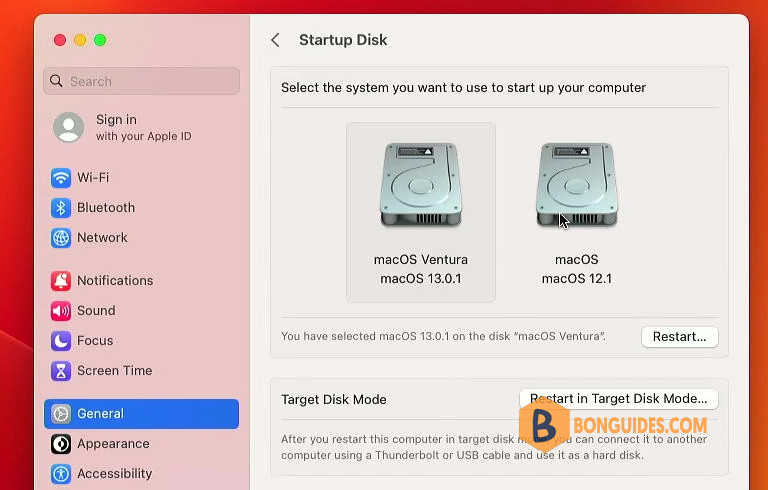
If you install a compatible macOS on a new volume of your built-in startup disk, your Mac can start up from either volume. It’s an easy way to use a newer macOS while keeping a previously installed macOS for software that might require it.
In this post, we’ll install dual boot macOS Monterey and macOS Ventura.
Before you begin
- Back up your Mac, especially if you plan to install a beta version of macOS. Beta software is software that is still in development, so some apps and services might not work as expected.
- Download a macOS installer from Apple.
Add an APFS volume
1. Open Disk Utility, which is in the Utilities folder of your Applications folder, or you can open it from Spotlight.
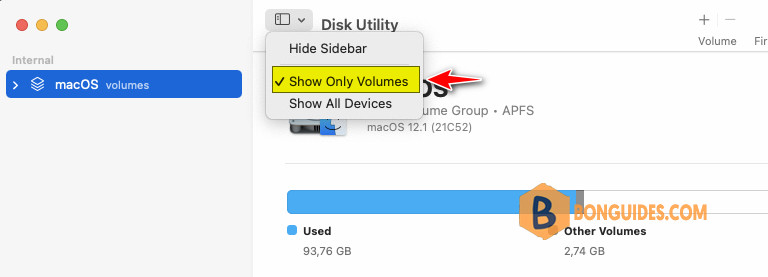
2. Change the view mode to Show Only Volumes.
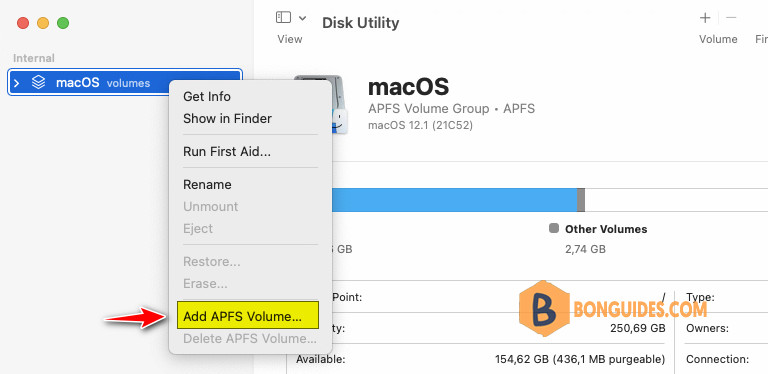
3. In the sidebar, select your existing APFS volume and right click on it then select Add APFS Volume…
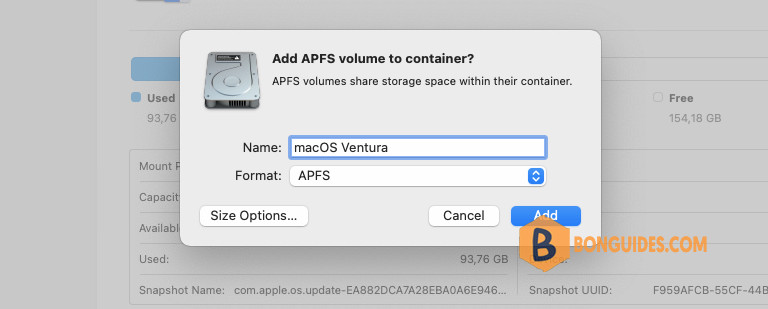
4. Type any name for the new volume, then click Add.
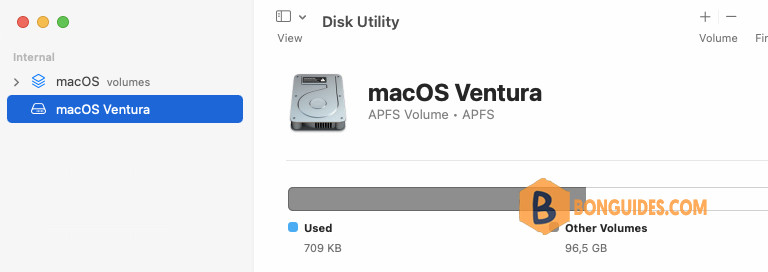
Once done, the new APFS volume was created. You can see it in the left panel.
Install a compatible macOS on the new volume
1. Open the downloaded macOS Ventura installer in the Applications folder.

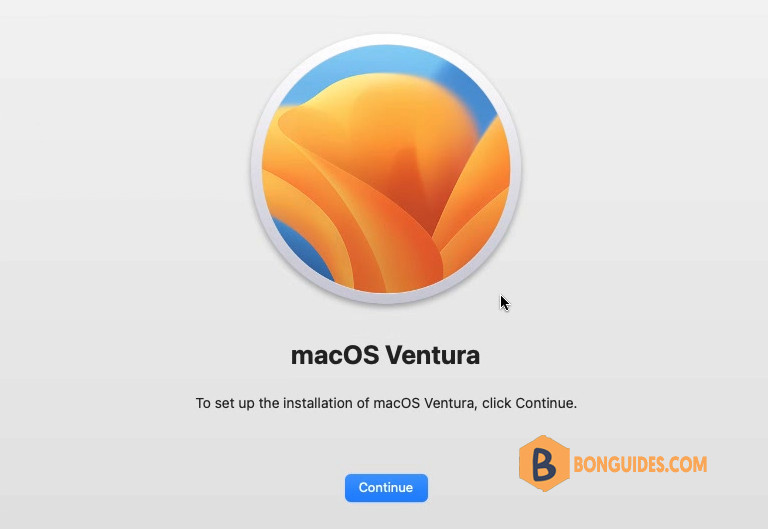
2. Follow the installation wizard to install macOS Ventura.
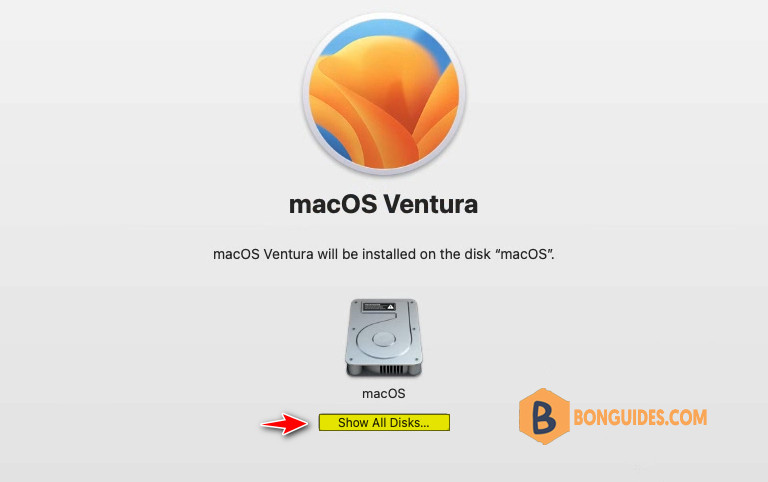
3. Click Show All Disks…
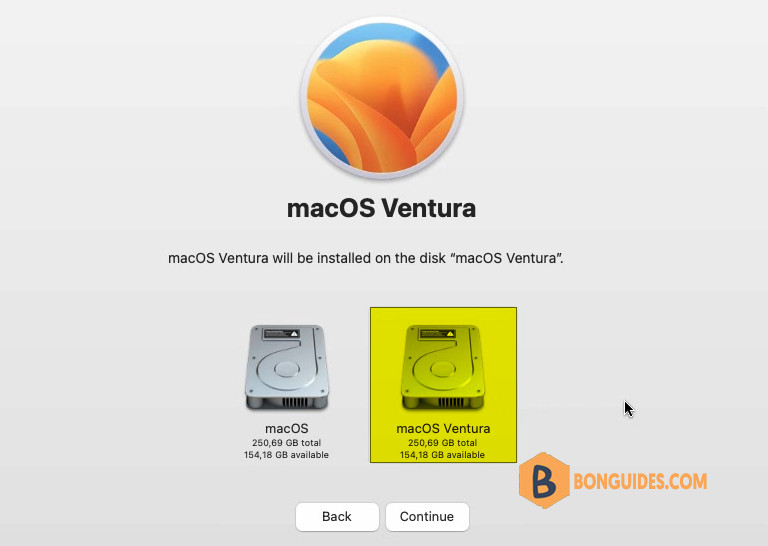
4. Now, select the volume that you’ve created in the previous step.
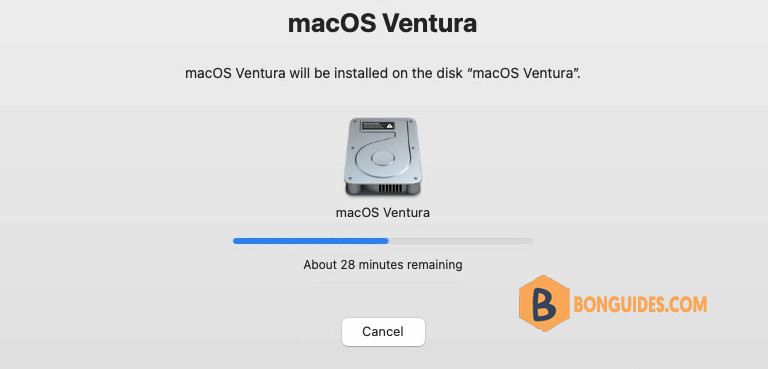
5. It could take several minutes to complete, please be patient.
6. Once done, restart your Mac.
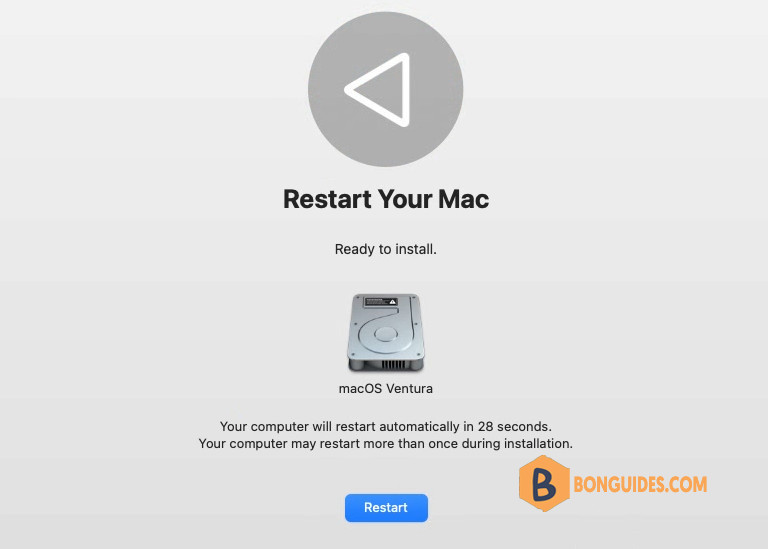
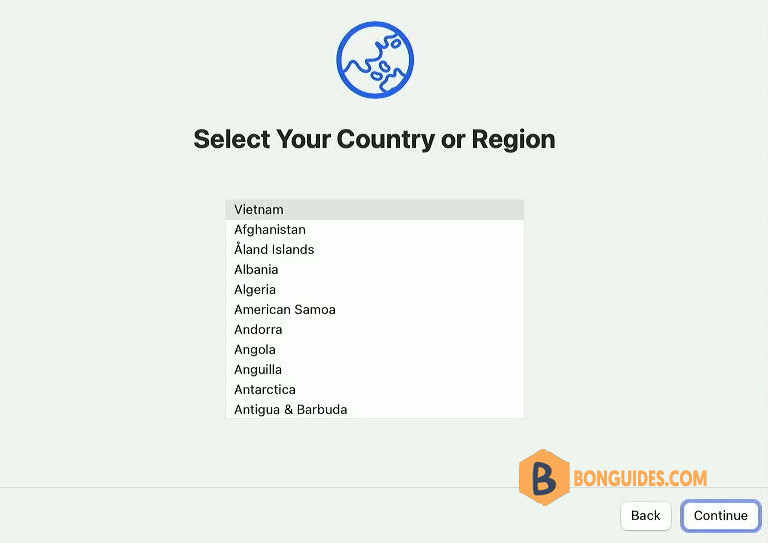
7. Initial setup for the first time in new macOS.
8. You can choose the macOS version to startup in Startup Disk in System Settings.
If you need to dual boot with lower version of macOS, you must use a bootable USB drive to install instead of running the installer directly.


