Table of Contents
SQL Server 2019 Evaluation
Installing SQL Server Evaluation is not overly complicated, but it is helpful to know what to expect before you walk through the installation process. This article will show you the various screens and options that are part of the install process for SQL Server Evaluation.
Download SQL Server 2019 Evaluation ISO Image
1. Visit this link to download SQL Server 2019 Evaluation installation media https://www.microsoft.com/en-us/evalcenter/download-sql-server-2019.
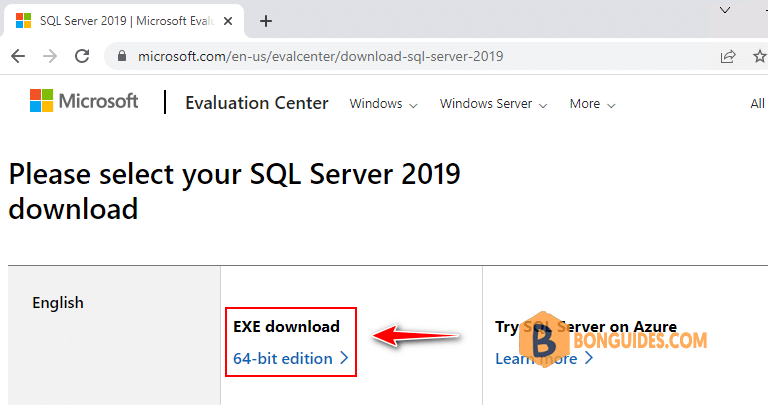
2. Open downloaded file to run download and installation wizard.

3. Select Download Media option.
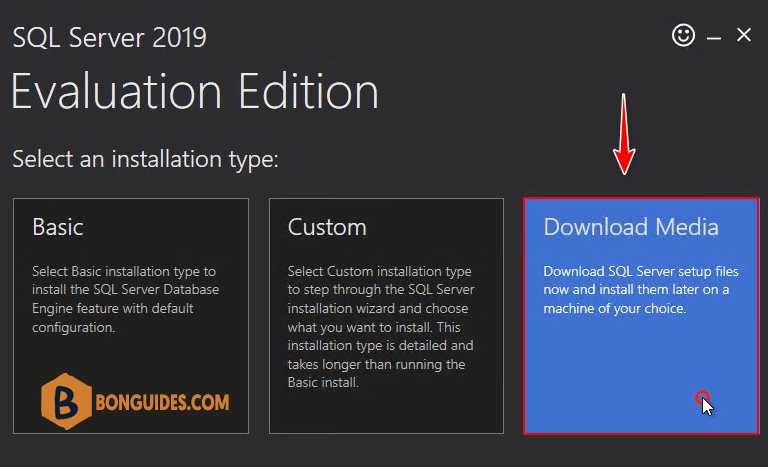
4. Select ISO image media then set the download location as you need.
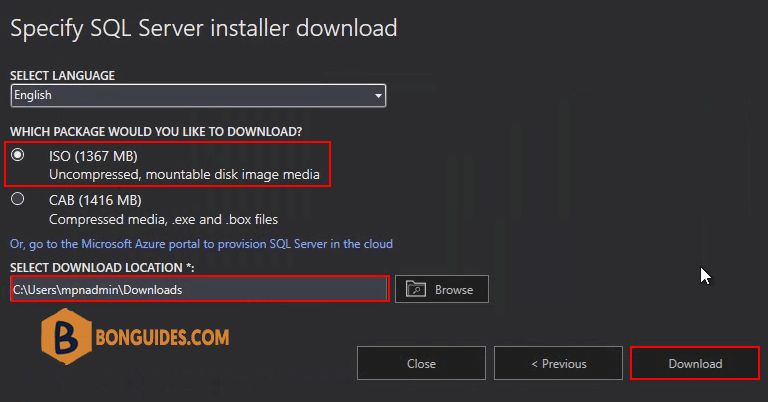
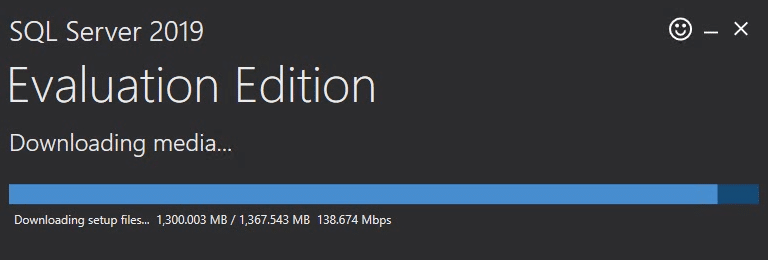
5. Downloading SQL Server 2019 Evaluation media, it could take a while depending on your internet speed.

Installing SQL Server 2019 Evaluation
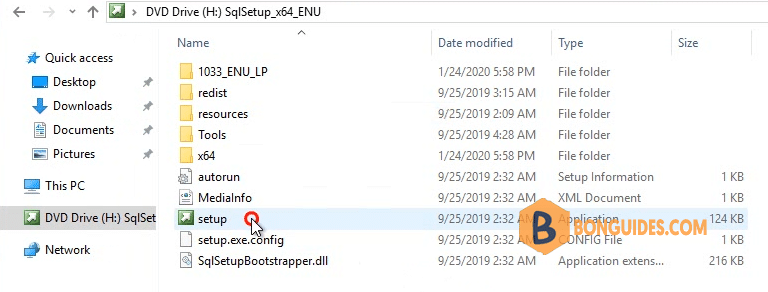
7. Right click on downloaded image file then Mount it into your server.

8. To start the install, double click on setup.exe and the SQL Server Installation Center screen will open.
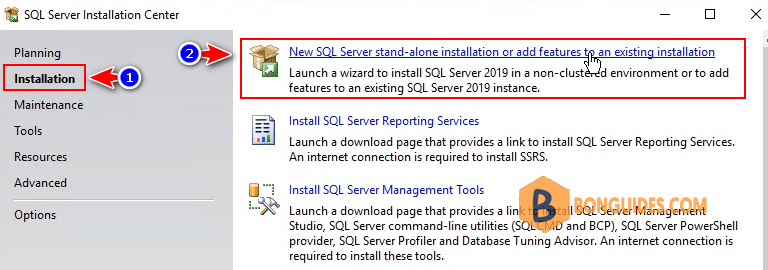
9. Select Installation tab then select New SQL Server stand-alone installation…
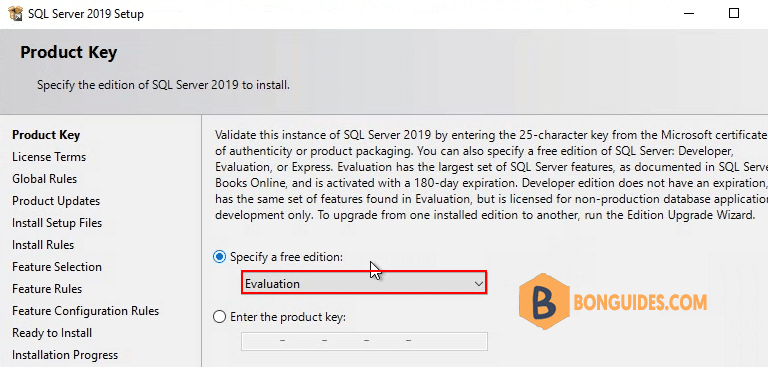
10. Select Evaluation edition.
11. Select features to install, you can click Select All button to install all features.
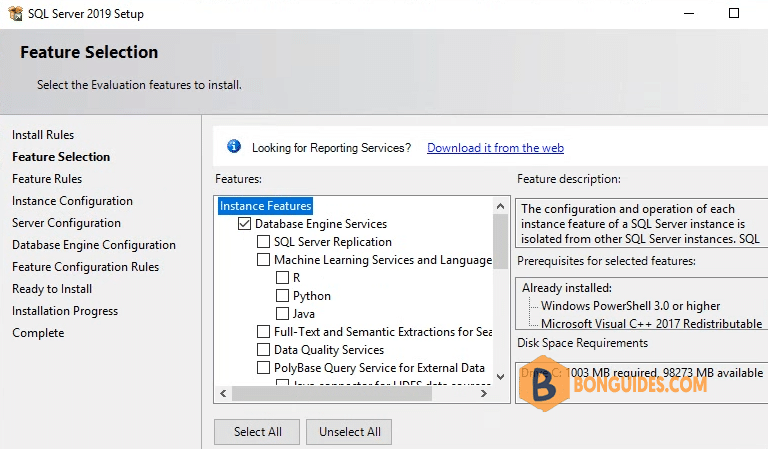
12. Leave ‘Default instance‘ radio button selected to install as the primary instance. Or you can type any instance name as you need.

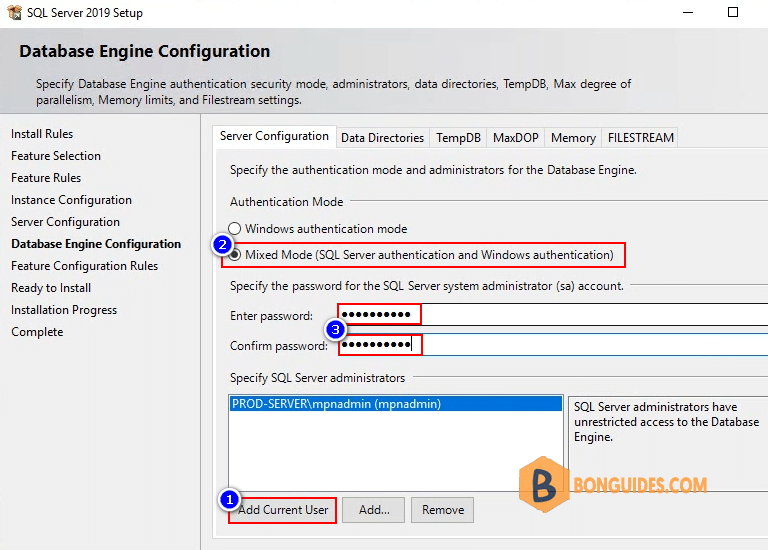
13. Select Mixed Mode to allow login using Windows authentication and SQL Authentication. Enter and confirm strong password for the sa login. How to check SQL Server Authentication Mode.
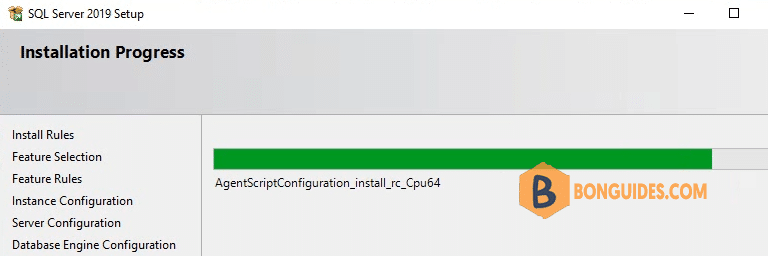
14. Installing SQL Server 2019 Evaluation.
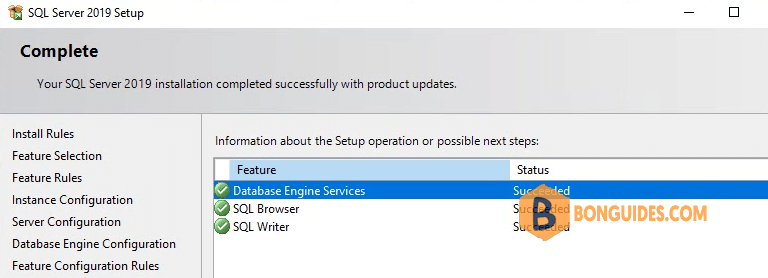
15. The installation was successful, click link to open setup log file and review for any issues.
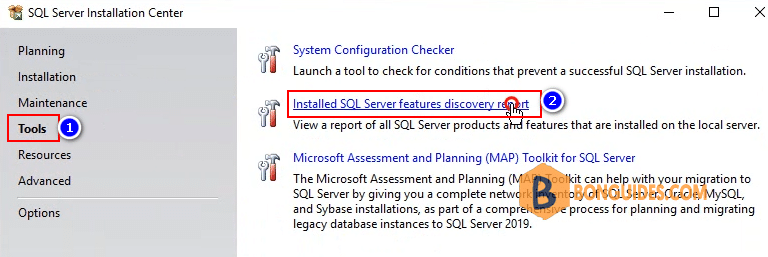
16. In SQL Server Installation Center, select Tool | Install SQL Server features discovery report to check instance status.
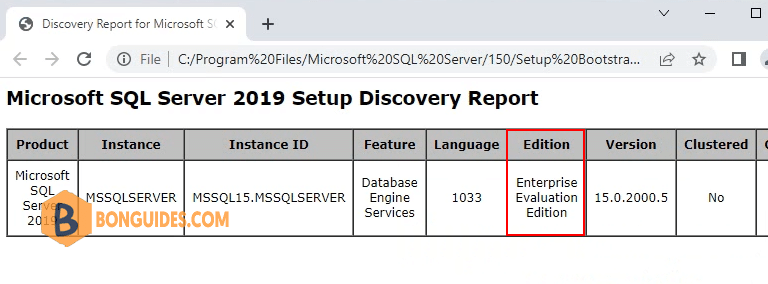
17. In the report page, you can see the SQL Server 2019 Evaluation has been installed.
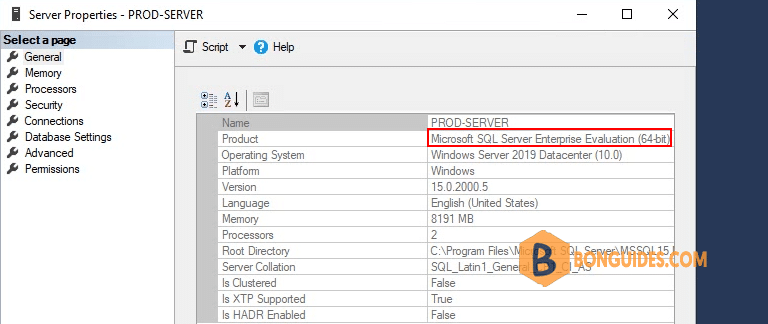
18. Or you can verify it works using SSMS SQL Management Studio.
