Table of Contents
Download Office Deployment Tool
1. Open downloaded file then extract it to a folder on desktop. You can click button to create a folder then extract downloaded file into it.
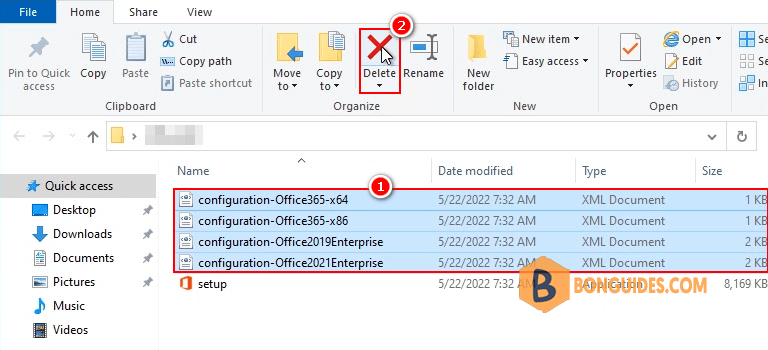
2. Open extracted folder then delete all xml configuration files, we’ll create a configuration file in next step.
Create a configuration file for Office Deployment Tool
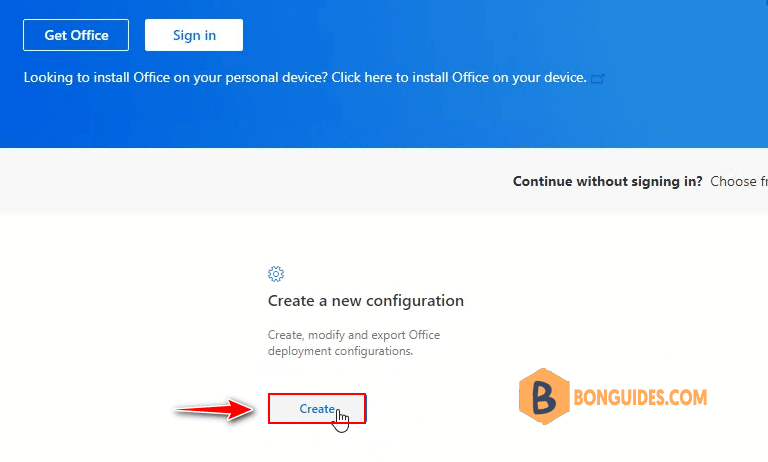
3. Visit this site https://config.office.com/deploymentsettings to create a xml configuration file.
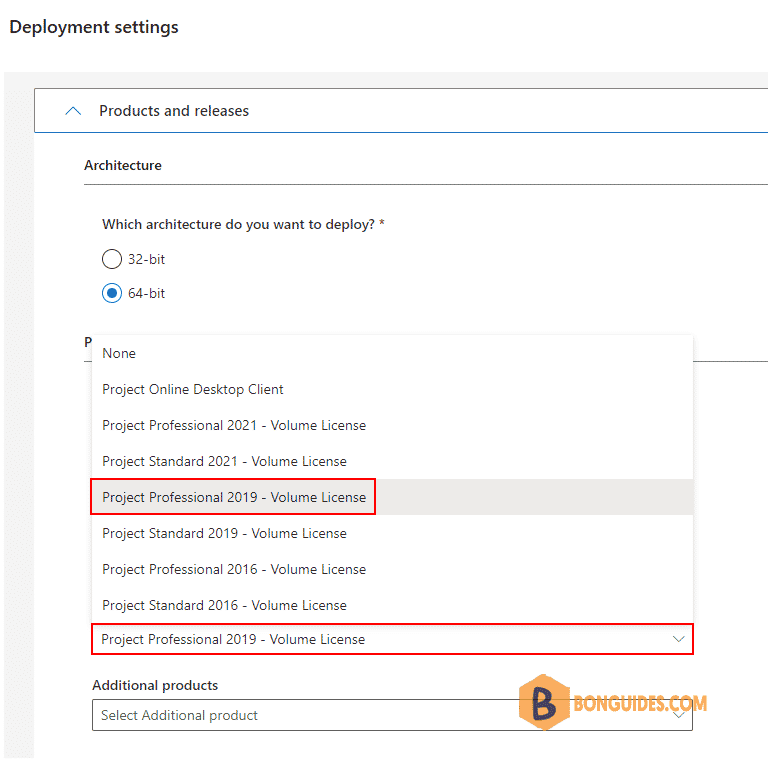
Products and release:
- Architecture: Select the architecture you want to deploy, Office 64bit or Office 32 bit.
- Products: Select Project products from the drop-down menu, in this guide, i’ll install Project Professional 2016.
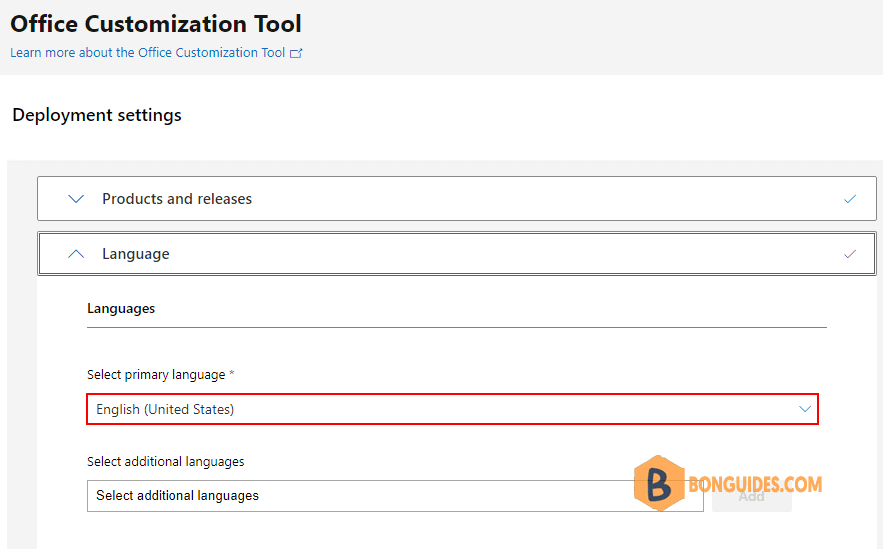
4. Select language for Office apps, you can specify more than one language for the deployment.

6. Select the checkbox to accept the terms in the license agreement then click .
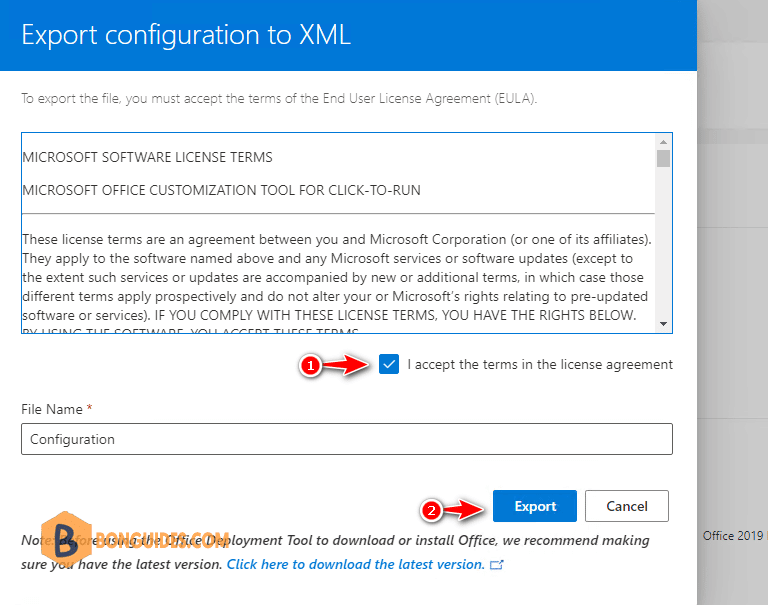
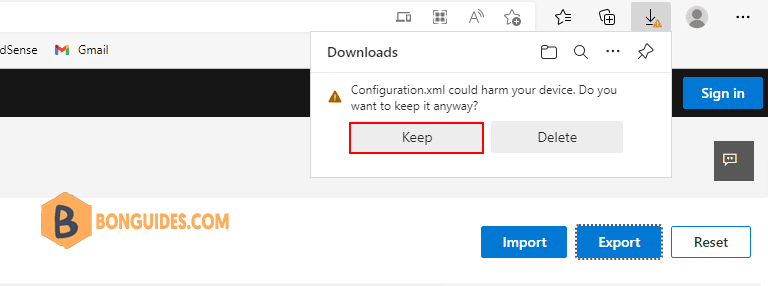
7. If you get this warning, let select button to download the xml configuration file.
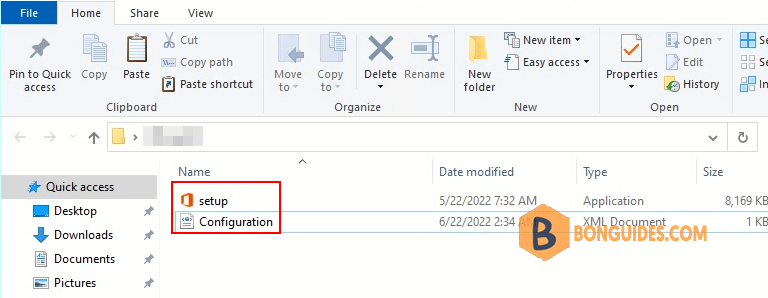
8. Now, copy downloaded xml configuration file to the extracted folder in the previous step. So, in this folder, we’ve setup.exe and configuration.xml.
9. Open the configuration file using Notepad then remove channel parameter, we don’t need it.
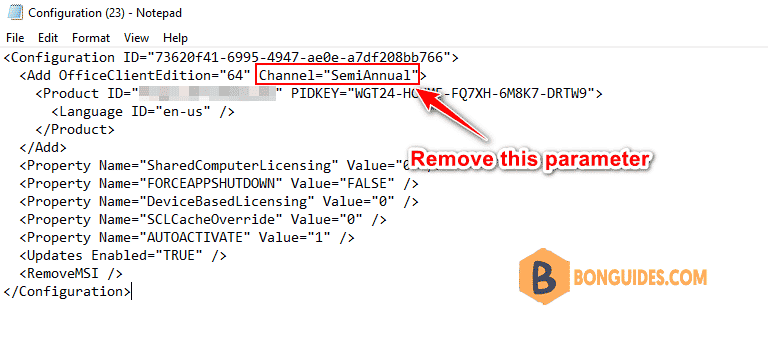
After remove the parameter, your configuration look like below. Don’t forget close the text editor then save the changes.
<Configuration ID="73620f41-6995-4947-ae0e-a7df208bb766">
  <Add OfficeClientEdition="64">
    <Product ID="ProjectProXVolume" PIDKEY="WGT24-HCNMF-FQ7XH-6M8K7-DRTW9">
      <Language ID="en-us" />
    </Product>
  </Add>
  <Property Name="SharedComputerLicensing" Value="0" />
  <Property Name="FORCEAPPSHUTDOWN" Value="FALSE" />
  <Property Name="DeviceBasedLicensing" Value="0" />
  <Property Name="SCLCacheOverride" Value="0" />
  <Property Name="AUTOACTIVATE" Value="1" />
  <Updates Enabled="TRUE" />
  <RemoveMSI />
</Configuration>
10. In the folder, right click on blank then create a new text document.
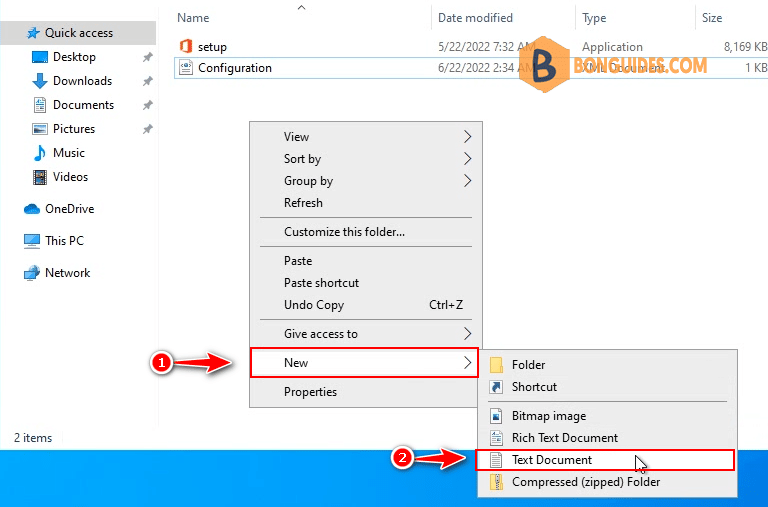
11. Open the New Text Document file then enter following code:
setup.exe /configure configuration.xml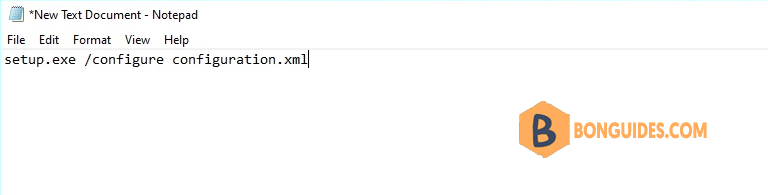
12. Next, save the text file as batch file. To do it, let’s navigate to the File menu | Save as…
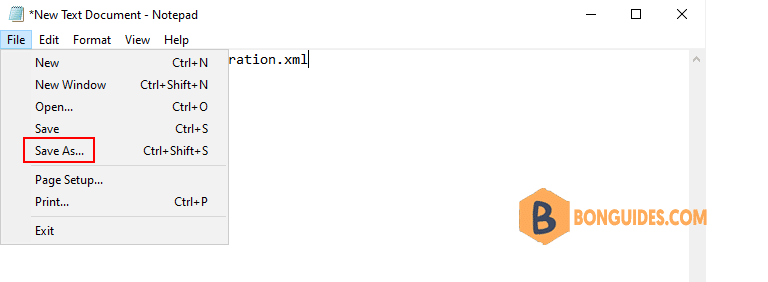
- Save as type: All Files
- File name: install.bat

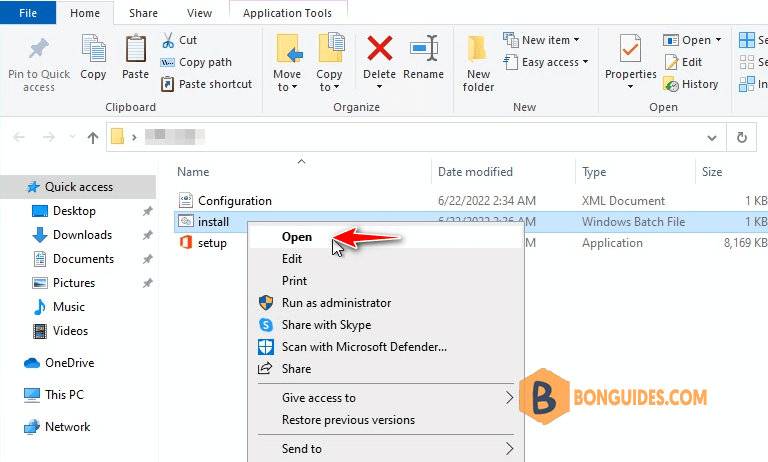
13. Finally, open the batch file to download and install Microsoft Project 2016. It could take several minutes to complete depending on the internet speed.
Downloading and installing Microsoft Project 2016 Click to Run.

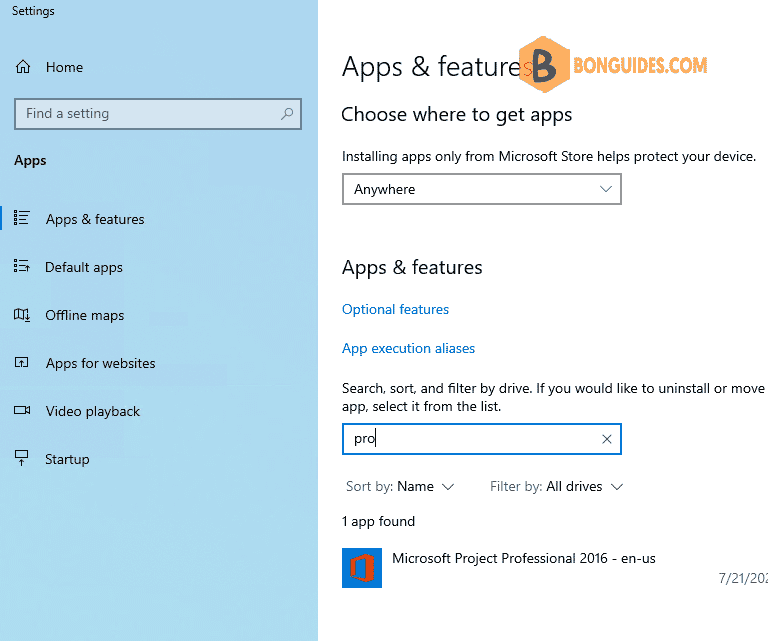
Once done, let open the app to verify it works, or you can find the app in Windows apps & features.