Table of Contents
As handy as touchpads are, they can cause issues while typing. If your hand keeps accidentally brushing the touchpad, it can make you type in the wrong part of the document or text.
So, you need to disable the touchpad entirely to prevent mishaps.
Method 1: Using Windows Settings
You can directly disable your touchpad from the available settings. Follow these steps:
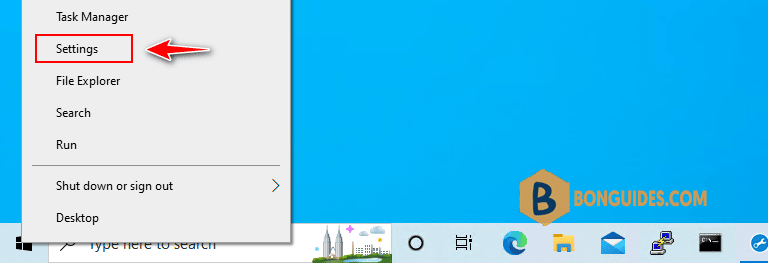
1. Right click on Windows start icon then select Settings. Or you can press Windows key + I to open Settings.
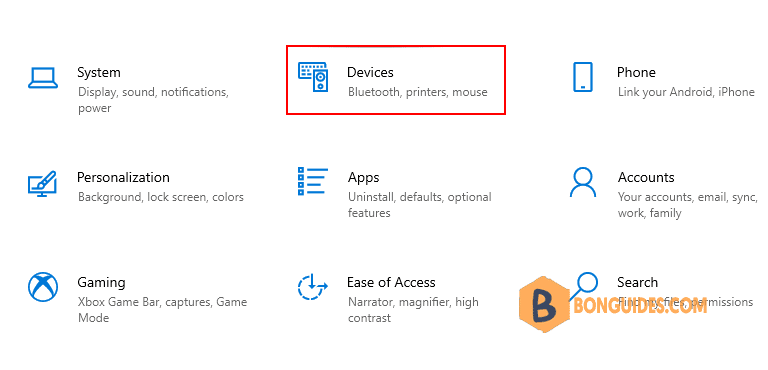
2. Go to Devices option.
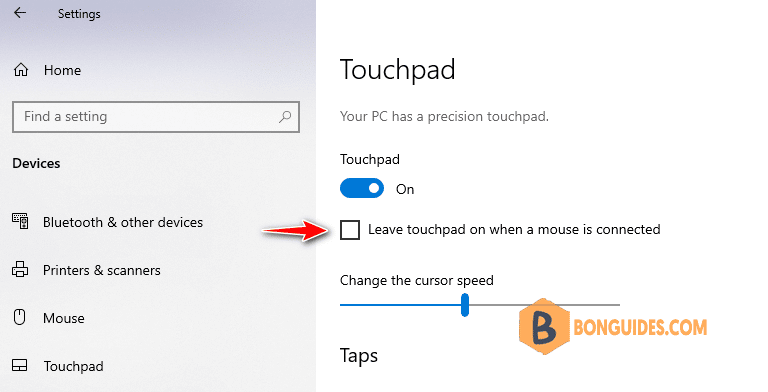
3. Navigate to the Touchpad on the left panel. Turn off the slider under the Touchpad. Your touchpad is now successfully disabled.
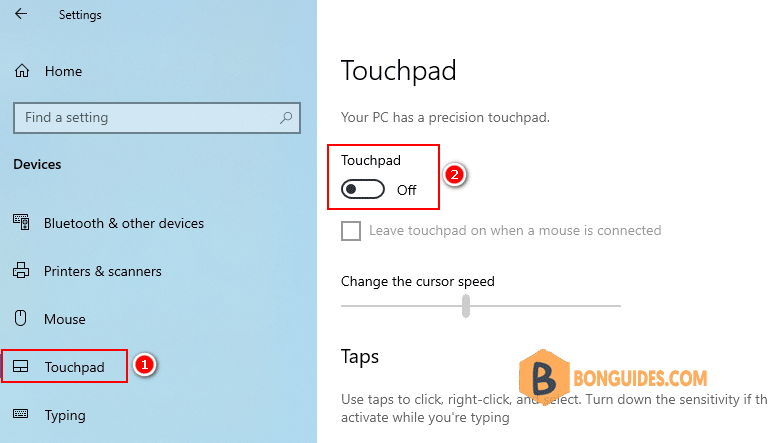
Alternatively, When Touchpad is on, you can also untick Leave touchpad on when a mouse is connected to automatically disable the touchpad whenever an external mouse is connected to the laptop.
Method 2: Disable the Touchpad from Device Manager
The Device manager contains all internal and external devices that are connected to your computer system. These steps will guide you on how to disable your touchpad using the device manager.
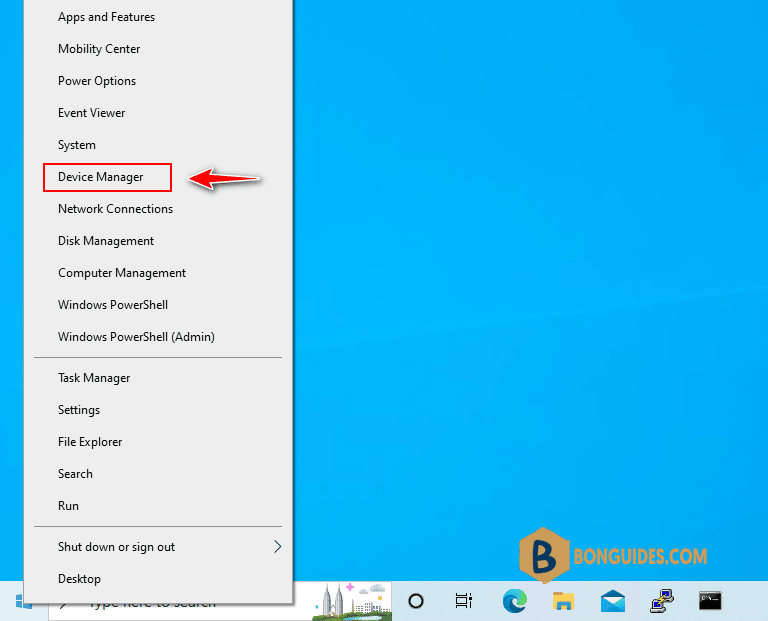
1. Right click on Windows start menu then select Device Manager.
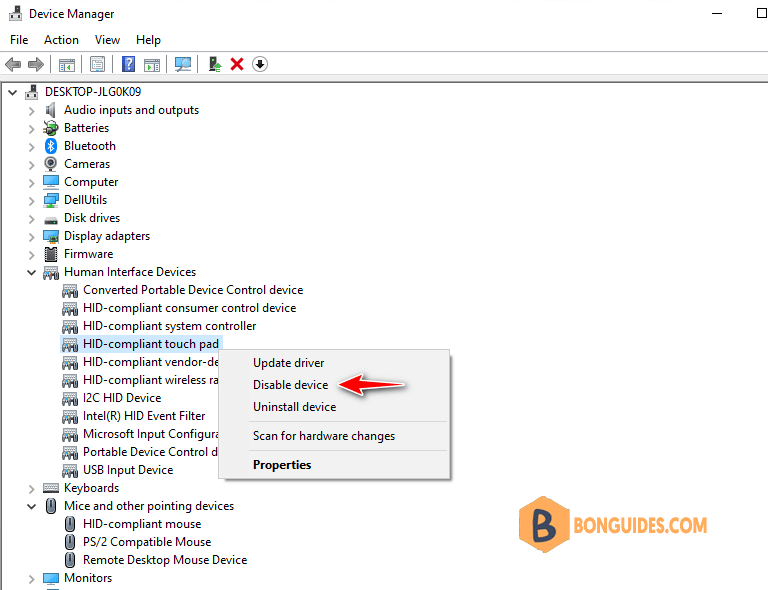
2. To find touchpad devices, select Human Interface Devices or Mice and other pointing devices.
3. Right click on the touchpad device then select Disable device.
Method 3: Disabling From the Registry
The Registry is the computer’s database that stores basic level data. You can also disable your touchpad from the registry editor app. It’s always safe to backup the registry before making changes to the registry value.
1. Press Windows key + R, type regedit, and press Enter.

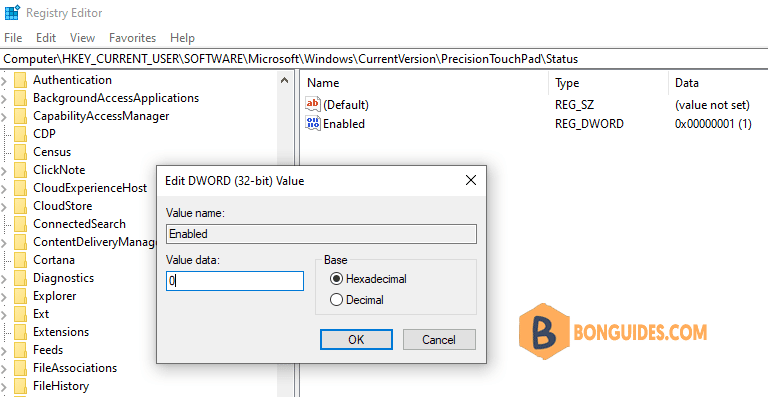
2. Go to this root in the registry:
HKEY_CURRENT_USER\SOFTWARE\Microsoft\Windows\CurrentVersion\PrecisionTouchPad\Status3. Open the Enabled key and replace the value data with 0. You can change it back to 1 to enable it again.
