Table of Contents
The Windows 7 image is available in Microsoft Azure and you can create a Windows 7 VM in Azure.
The steps to create a Windows 7 VM in Azure are easy and similar to that of Windows 10. You can also create Azure Virtual Machine using the Cloud Shell in Azure portal. However, I prefer creating a new VM from the Azure portal over the cloud shell method.
Create a Windows 7 VM in Azure Portal
1. You can try the following steps to create a Windows 7 VM in Azure:
- Sign in to the Azure portal at https://portal.azure.com.
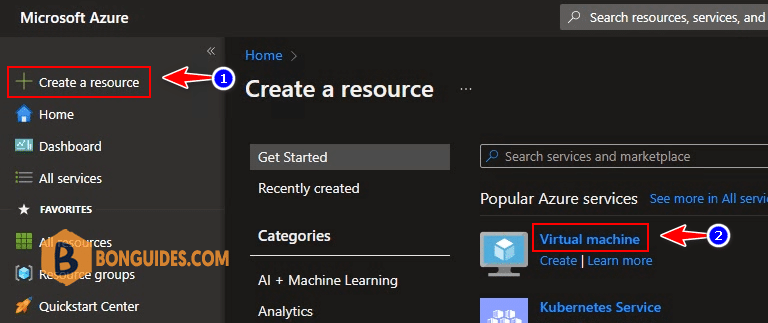
- Click Create a resource then select Virtual Machine.
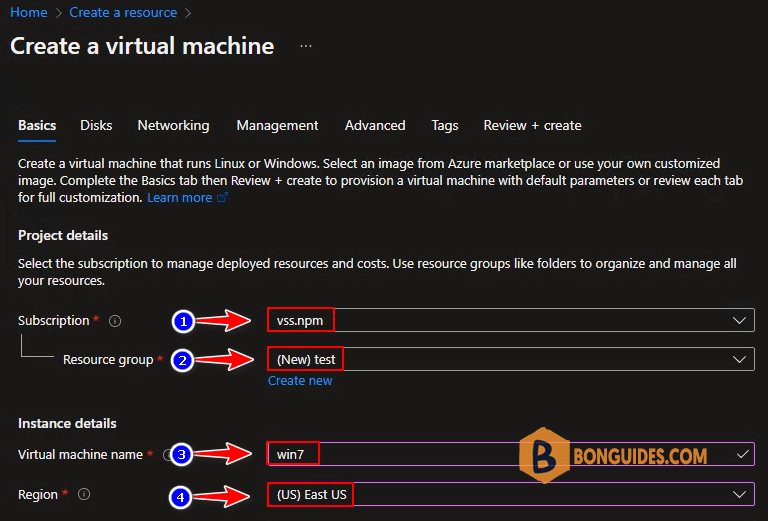
2. On the Create a virtual machine window, select the following.
- Subscription – Select your Azure subscription.
- Resource Group – Select the Azure resource group for Windows 7 VM or you can create a new one.
- Virtual Machine Name – Specify the VM name. This will be the computer name after you image VM with Windows 7.
- Region – Select the region.
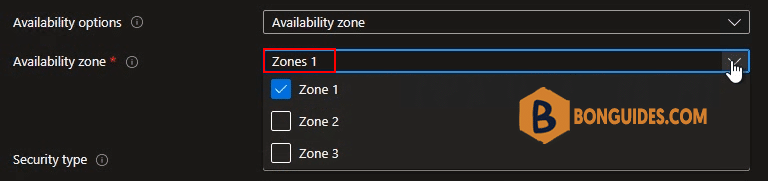
3. Availability options: Selecting multiple zones will create one VM per zone.
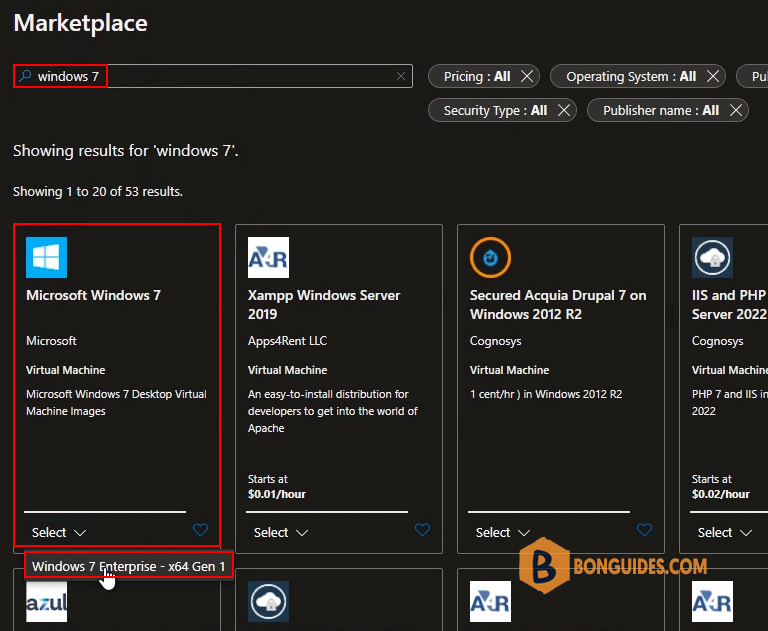
4. Image – Select the drop-down and select Windows 7 as image. If you don’t see the Windows 7 option, then select See all images.

5. On the Marketplace window, type Windows 7 as the search term and press Enter key. From the results, select Windows 7 and now select Windows 7 edition. I am going to select Windows 7 Pro – Gen2 here.
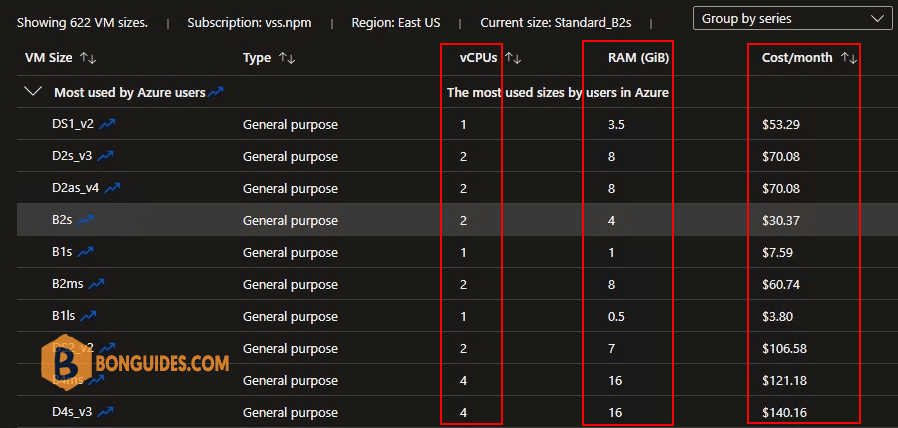
6. Size: You can custom VM size to increase or reduce RAM and CPU for the VM.
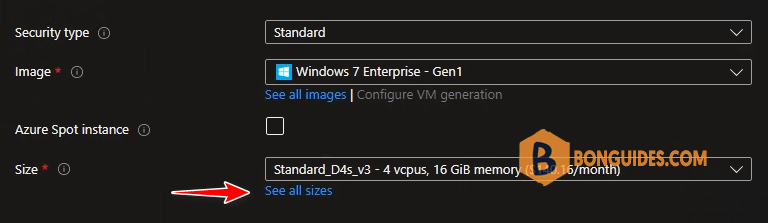
7. Select VM Size as you need, depending on RAM, CPU and Cost.
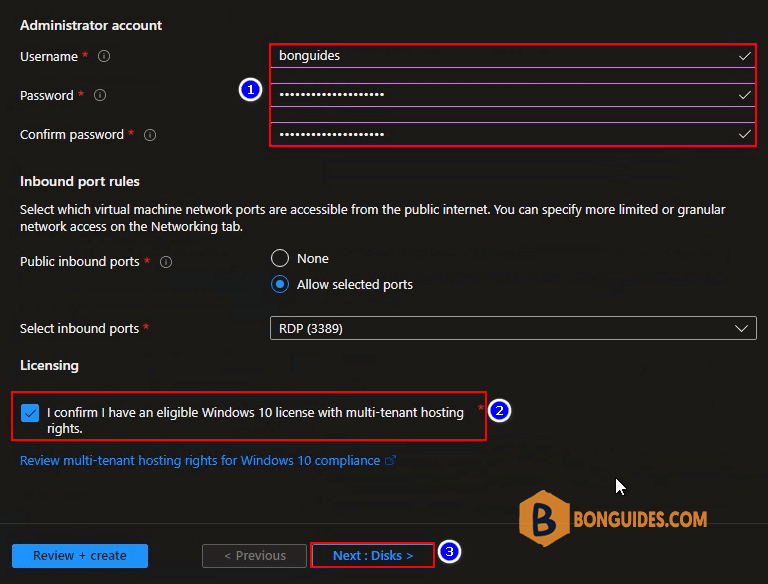
8. After you select Windows 7 edition, you should specify the Administrator account details. You cannot use Administrator as username, so specify another name for Administrator.
Since you’re going to use this Windows 7 VM for your work, you have to confirm if you have an eligible Windows 7 license with multi-tenant hosting. Check that box to confirm the license and click Disk.
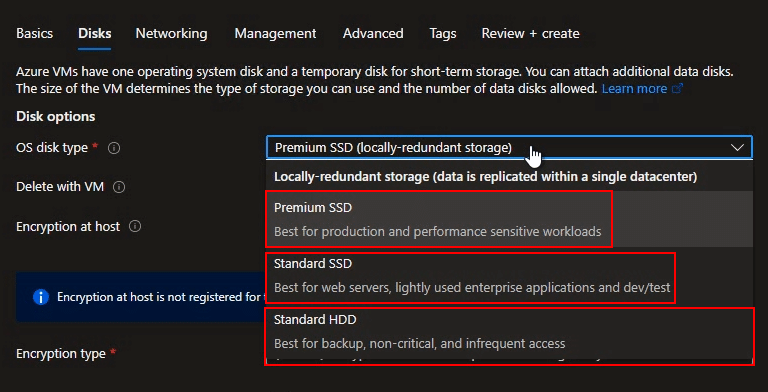
9. Select OS disk type: You can select Premium SSD, Stardard SSD or Standard HDD.
| Premium SSD | Standard SSD | Standard HDD | |
|---|---|---|---|
| Disk type | SSD | SSD | HDD |
| Scenario | Production and performance sensitive workloads | Web servers, lightly used enterprise applications and dev/test | Backup, non-critical, infrequent access |
| Max disk size | 32,767 GiB | 32,767 GiB | 32,767 GiB |
| Max throughput | 900 MB/s | 750 MB/s | 500 MB/s |
| Max IOPS | 20,000 | 6,000 | 2,000 |
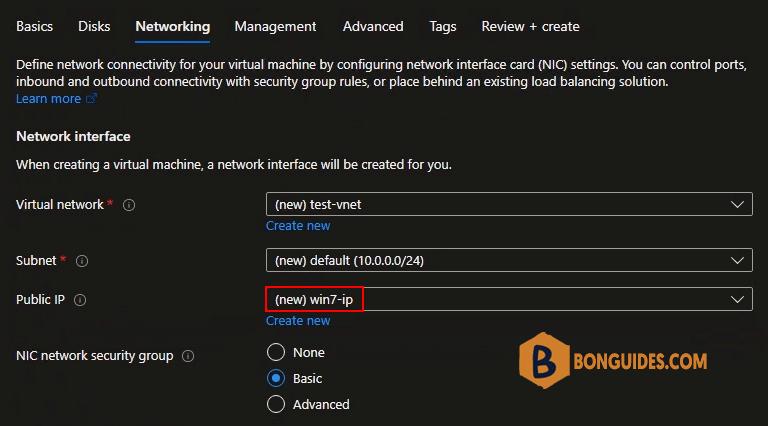
10. Network configuration: By default, an IP public will created with the VM.
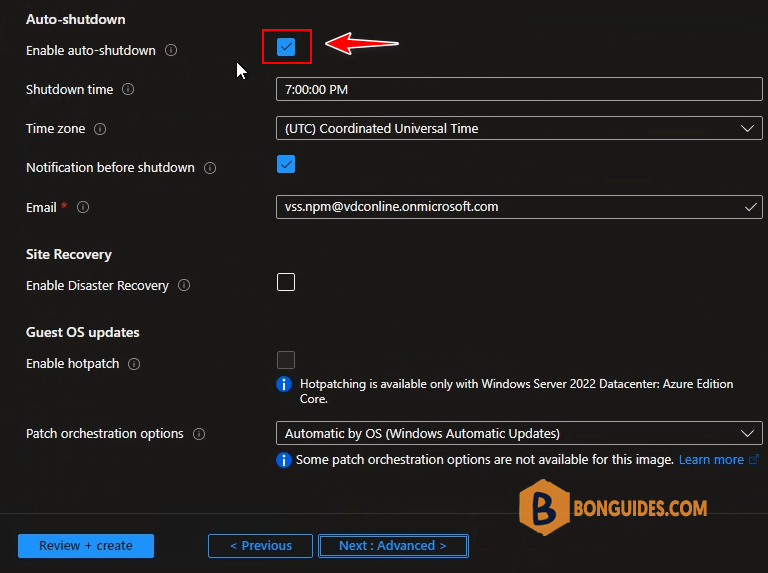
11. Management: Disable auto-shutdown feature by uncheck the checkbox.
12. Once you see Validation passed, create the Windows 7 virtual machine by selecting button.

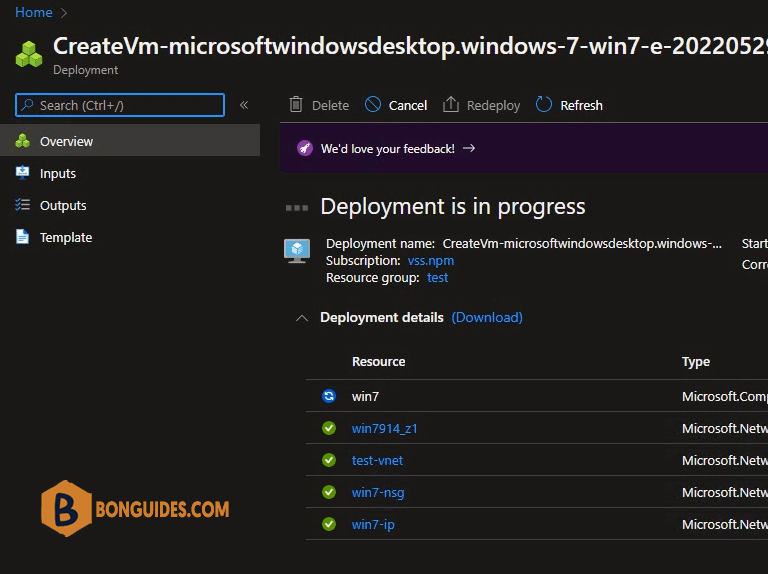
13. The Windows 7 Virtual Machine is now being created. You see the status as deployment is in progress. Wait for a few minutes while the VM is created.
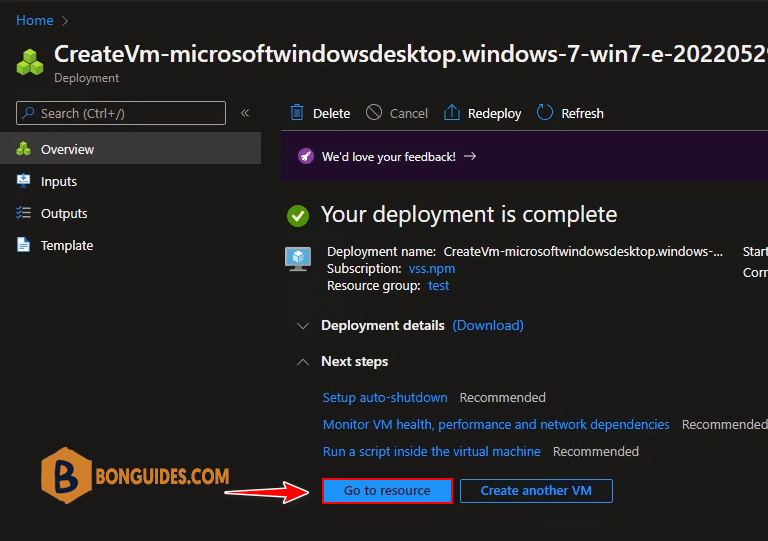
14. Your Deployment is complete – Congratulations, you have successfully created Windows 7 VM in Azure. From the same screen, you can download deployment details. Select Go to Resource.
Connect to Windows 7 VM in Azure using RDP
15. Once you create a Windows 7 VM in Azure, you can connect to the virtual machine and access it via RDP (3389) using IP Public. On the Windows 7 resource window, select Connect then select RDP.
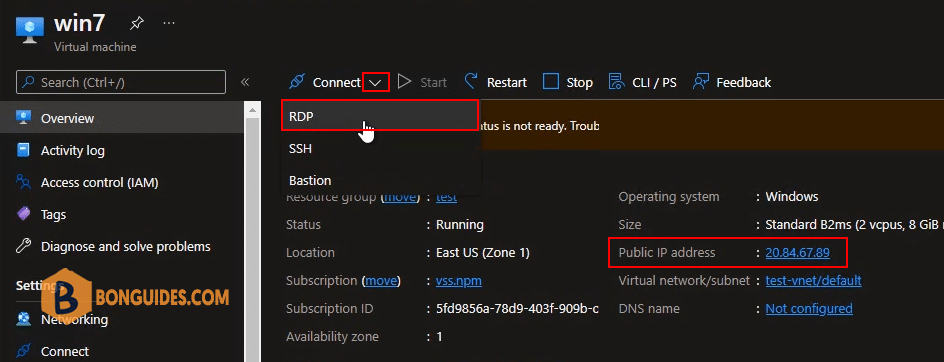
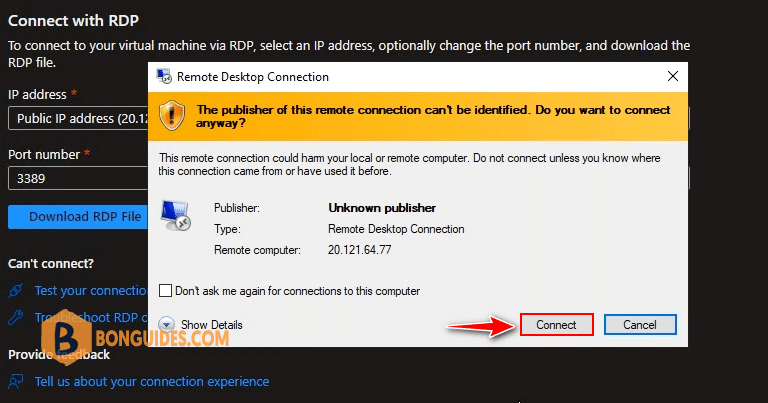
16. You should now see the public IP address of your Windows 7 VM and port number (by default 3389). To connect to your virtual machine via RDP select Download RDP File.

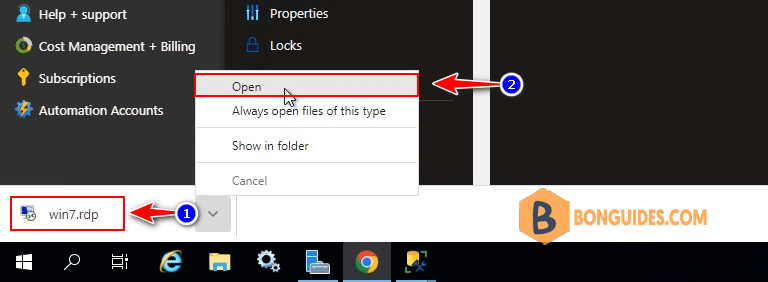
17. Open downloaded file then connect to your Windows 7 VM using the credential that you’ve created in previous step.
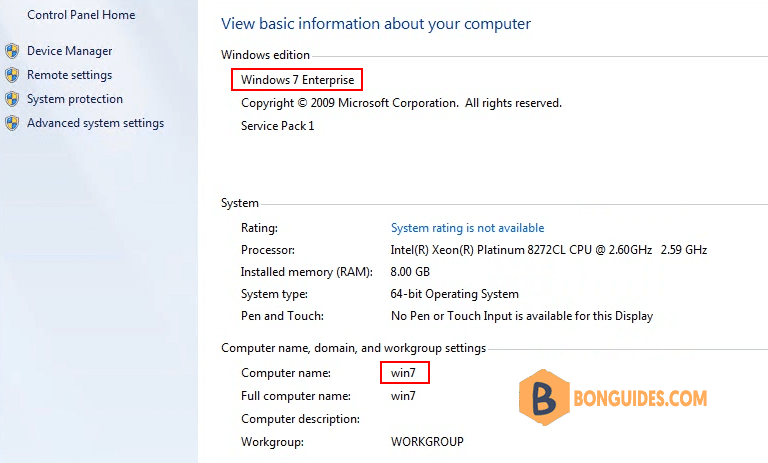
Finally, your Windows 7 VM is ready in minutes.
Not a reader? Watch this related video tutorial:


