Table of Contents
Requirements
- An 8-16GB or larger USB stick/flash drive.
- Microsoft Windows XP or later.
- baleanEtcher, they are free and open-source USB stick writing tool.
- A macOS dmg file.
Create a bootable macOS USB stick on Windows
1. Download a dmg file from this link. In this folder, you can download the installer from OSX Lion to macOS Monterey.
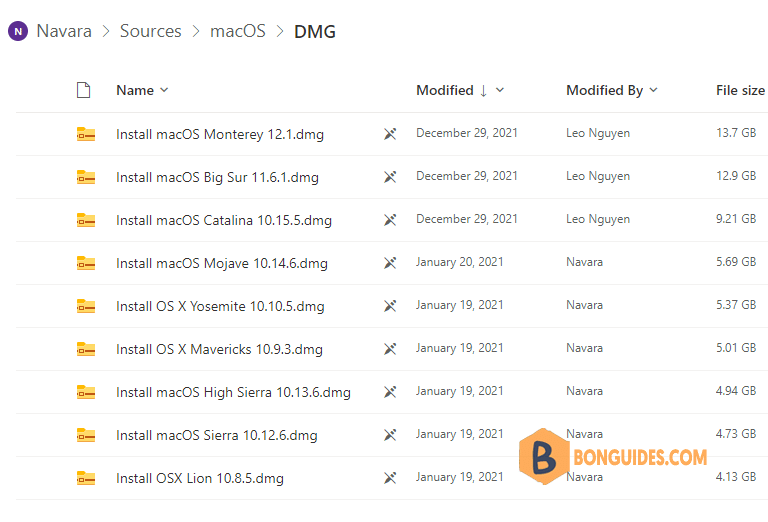
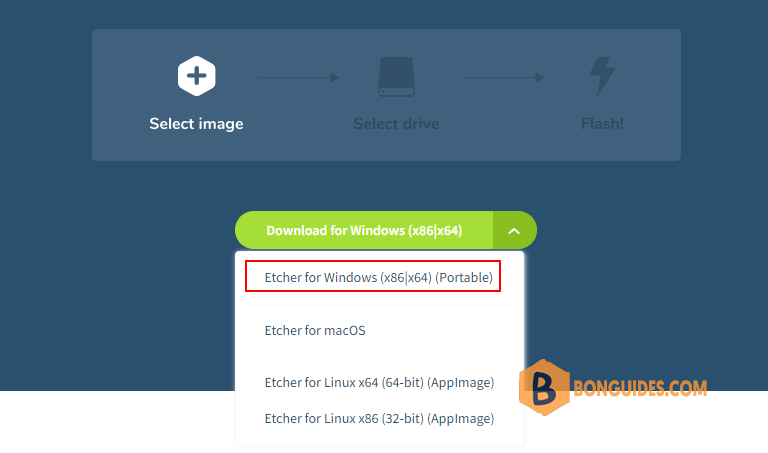
2. Download the balenaEtcher from their website. You just need download the portable version to run it once instead of installing that tool into your computer.
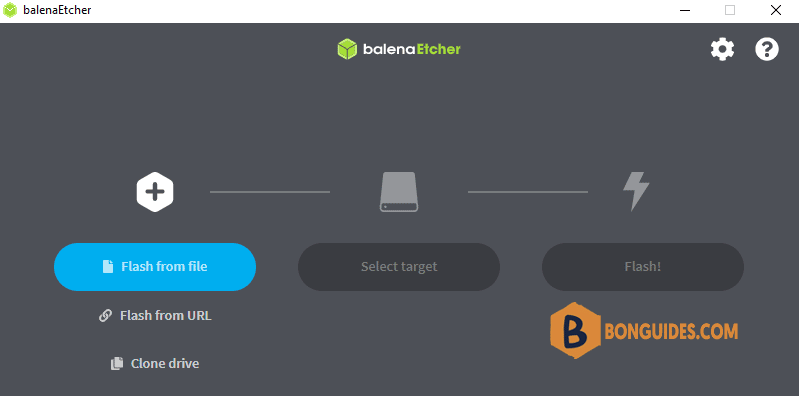
3. Open downloaded file to run balenaEtcher. Click on Flash from the file then browse to the downloaded dmg file in the first step.
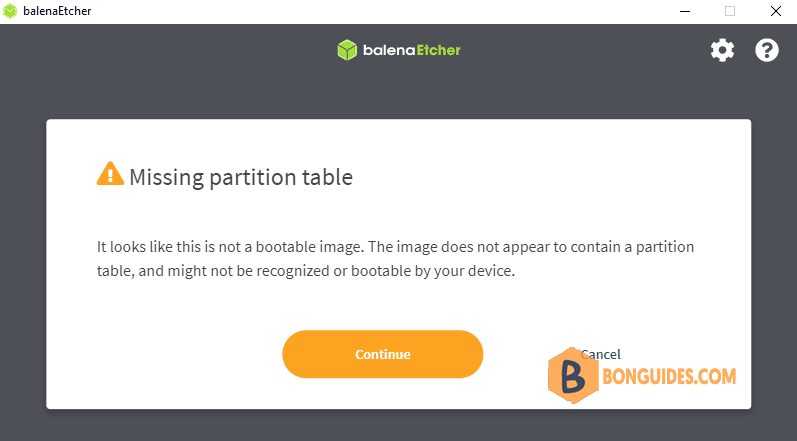
4. Click on the Continue button to ignore this warning.
5. Now, select your USB stick to create a bootable drive.
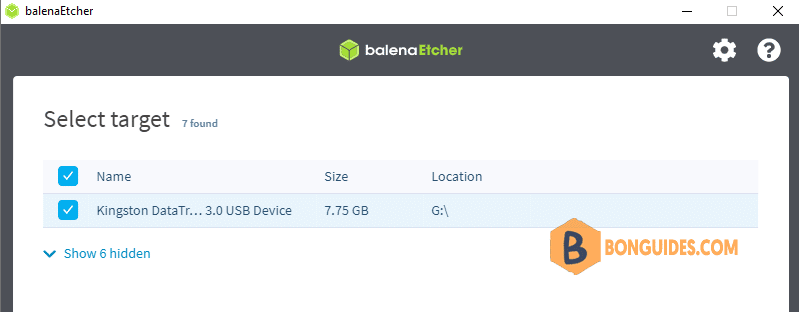
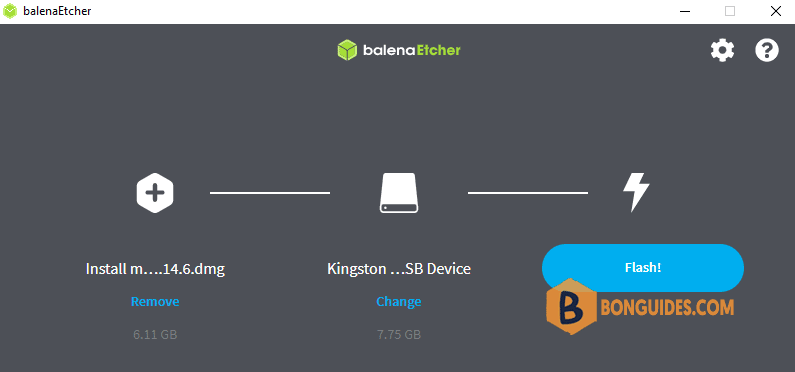
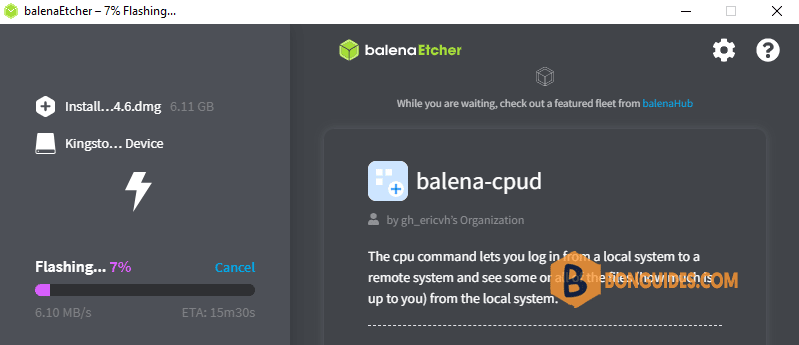
When balenaEtcher has finished flashing the USB device, you can plug the USB stick into a Mac then do a clean install macOS.
Install new macOS from a USB stick
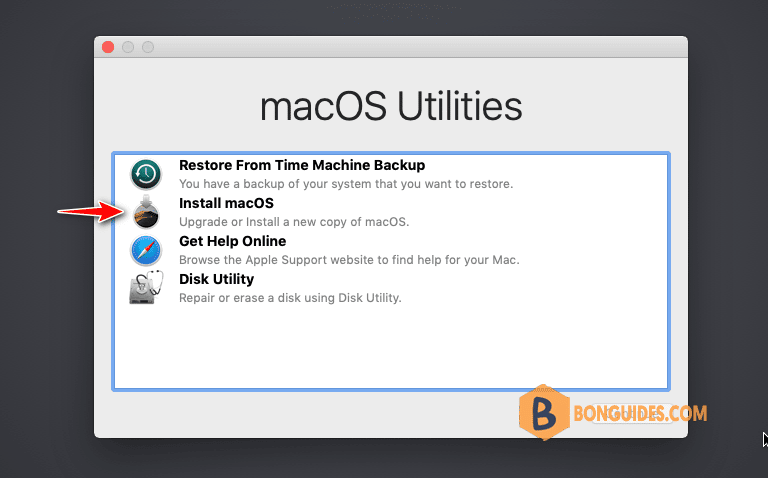
Plug the USB stick into your Mac then boot you Mac from USB depending on the Mac’s CPU:
Boot from installer on Apple silicon
- Turn on the Mac and continue to hold the power button until you see the startup options window, which shows your bootable volumes.
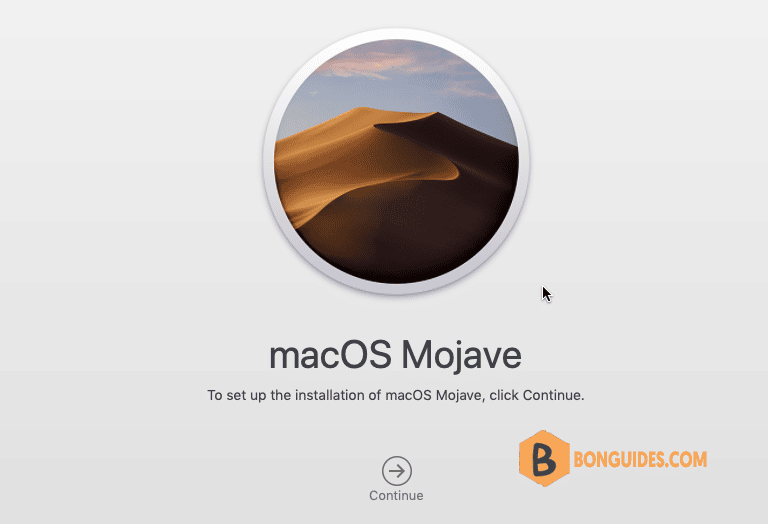
- Select the volume containing the bootable installer, then click Continue. When the macOS installer opens, follow the onscreen installation instructions.
Boot from installer on Intel processor
- Turn on your Mac, then immediately press and hold the Option (Alt) key.
- Release the Option key when you see a dark screen showing your bootable volumes.
- Select the volume containing the bootable installer. Then click the onscreen arrow or press Return.
Not a reader? Watch this related video tutorial:


