Table of Contents
In this post, how to create a virtual network and subnet on Microsoft Azure using PowerShell.
Azure Virtual Networks (VNET)
Azure Virtual Networks (VNET) is important to any Azure security best practices. The VNET infrastructure can support any deployment topology, meet evolving application business needs, and offer scalability at the data center level. This also includes the ability to monitor, control, and optimize costs across all networks available in Azure.
The most common topologies that are supported by Azure Virtual Networks (VNETs) include having multiple cloud services in a single VNET, hosting virtual machines across different host servers, and distributing network traffic among data centers.
Virtual networks are the foremost component in Azure unified networking. They provide network isolation, traffic monitoring and control using both security groups and network security groups (NSG), as well as basic connectivity management, bandwidth throttling for data transfer between virtual machines (VMs), VM-to-VM connection configurations, endpoint services to create VPNs or ExpressRoute connections.
Connect to Microsoft Azure PowerShell
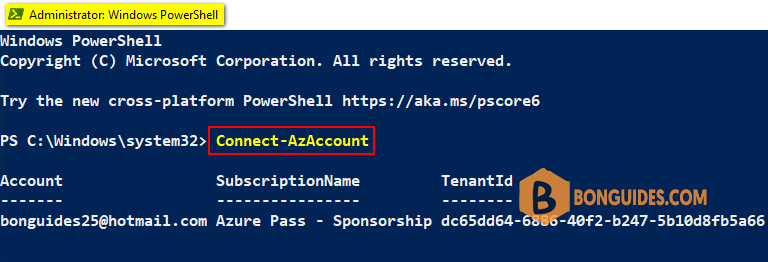
First, you need connect to Microsoft Azure PowerShell, there’re two ways to run PowerShell commands in Microsoft Azure:
Method 1: From Azure PowerShell modules installed in a computer.
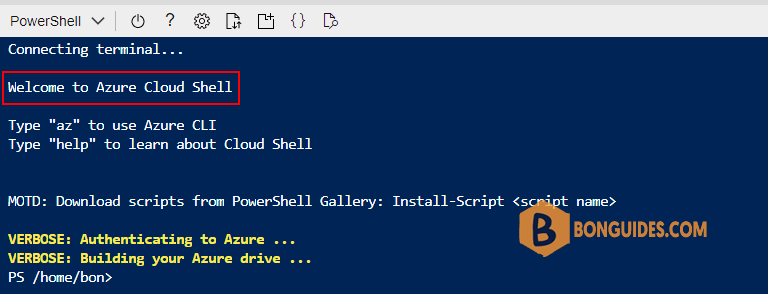
Method 2: From Azure Cloud Shell using browsers.
Create a new Azure vNet
1. In this case, we will first create a resource group. You can skip this step and fill in your resource group details in the next cmdlets if you have one.
New-AzResourceGroup -Name 'Backup-RG' -Location westus2. Before creating the vNet, we need to create a subnet and store it in a variable. The subnet will not be created in Azure yet.
$subnet = New-AzVirtualNetworkSubnetConfig -Name 'default' -AddressPrefix "172.16.1.0/24"3. The below cmdlet will create a vNet and add the above subnet to it.
New-AzVirtualNetwork `
-Name 'backup-vnet' `
-ResourceGroupName 'Backup-RG' `
-Location westus `
-AddressPrefix "172.16.0.0/16" `
-Subnet $subnet
Output:
New-AzVirtualNetwork `
>> -Name 'backup-vnet' `
>> -ResourceGroupName 'Backup-RG' `
>> -Location westus `
>> -AddressPrefix "172.16.0.0/16" `
>> -Subnet $subnet

Name                   : backup-vnet
ResourceGroupName      : Backup-RG
Location               : westus
Id                     : /subscriptions/089d4ee9-0b8d-4bac-ab78-c120f115e79e/resourceGroups/Backup-RG/providers/Microsoft.Network/virtualNetworks/backup-vnet
Etag                   : W/"b9182ff5-cf6d-4497-9691-21a2f6a28e72"
ResourceGuid           : f4c88141-7e04-4017-ac2c-6e7edd271a64
ProvisioningState      : Succeeded
Tags                   :
AddressSpace           : {
                           "AddressPrefixes": [
                             "172.16.0.0/16"
                           ]
                         }
DhcpOptions            : {}
FlowTimeoutInMinutes   : null
Subnets                : [
                           {
                             "Delegations": [],
                             "Name": "default",
                             "Etag": "W/\"b9182ff5-cf6d-4497-9691-21a2f6a28e72\"",
                             "Id": "/subscriptions/089d4ee9-0b8d-4bac-ab78-c120f115e79e/resourceGroups/Backup-RG/providers/Microsoft.Network/virtualNetworks/backup-vnet/subnets/default",
                             "AddressPrefix": [
                               "172.16.1.0/24"
                             ],
                             "IpConfigurations": [],
                             "ServiceAssociationLinks": [],
                             "ResourceNavigationLinks": [],
                             "ServiceEndpoints": [],
                             "ServiceEndpointPolicies": [],
                             "PrivateEndpoints": [],
                             "ProvisioningState": "Succeeded",
                             "PrivateEndpointNetworkPolicies": "Disabled",
                             "PrivateLinkServiceNetworkPolicies": "Enabled",
                             "IpAllocations": []
                           }
                         ]
VirtualNetworkPeerings : []
EnableDdosProtection   : false
DdosProtectionPlan     : null
ExtendedLocation : nullHow do you know it works ?
Run the following command to get vNet information from PowerShell.
Get-AzVirtualNetwork | Select-Object name, ResourceGroupName, Location -ExpandProperty AddressSpace
Name : backup-vnet
ResourceGroupName : Backup-RG
Location : westus
AddressPrefixes : {172.16.0.0/16}
AddressPrefixesText : [
"172.16.0.0/16"
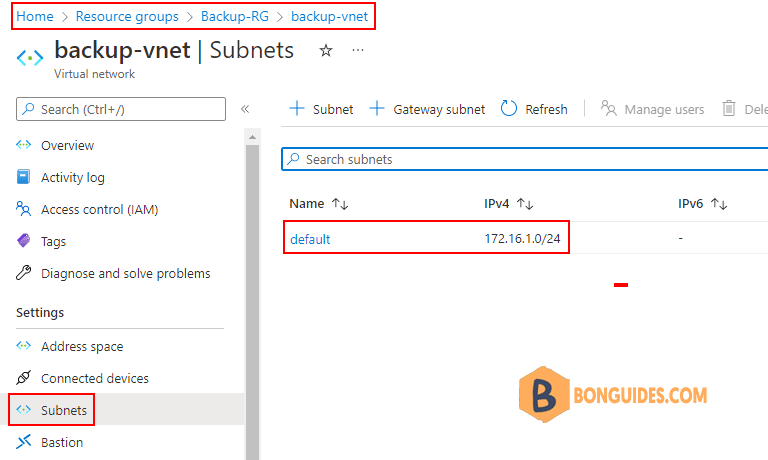
]Or, you can visit Azure Portal to verify it works.
Conclusion
The process to create a VNET in Azure using PowerShell happens in reverse order as we first create the subnet in memory and after creating the actual subnet.


