Table of Contents
In some cases, you need reset activation state for Microsoft 365 Apps for enterprise when:
- Repurpose a device for a different user.
- Change the license mode for Microsoft 365 on a device,
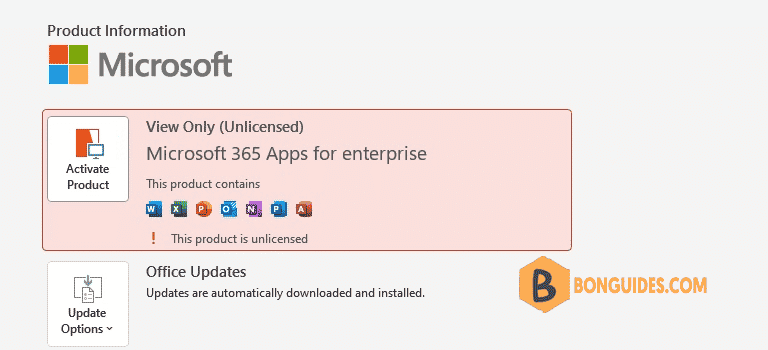
- Installed Office 2019/2021 but when you open an app, it shows Office 365.
This removal will reset the applications to a clean state. You can then activate them with a different Office account or change to a different license mode. To reset the activation state, close all Office applications and use one of the following methods.
Use Microsoft Support and Recovery Assistant
The Assistant fully automates all the steps required to reset Office activation, and is available in two versions. Use the version that’s appropriate for your requirement.
Command-line version
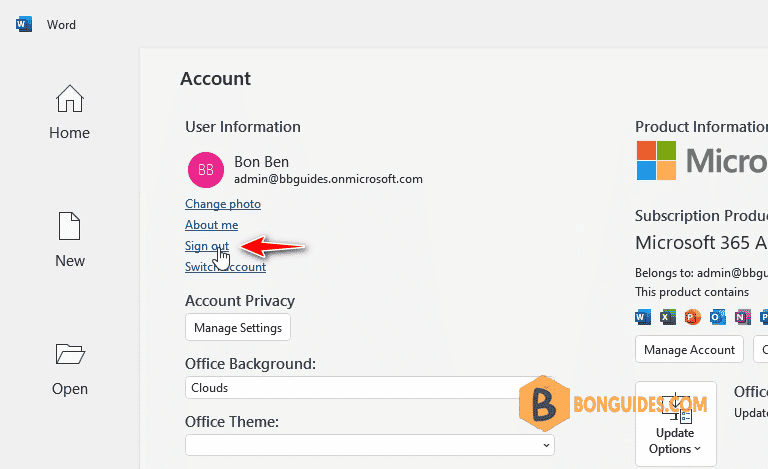
1. Open any Office app then sign out your account from Microsoft Office.
2. The command-line version of the Assistant can be scripted and is recommended to reset Office activation on multiple devices and on devices that you can’t access immediately.
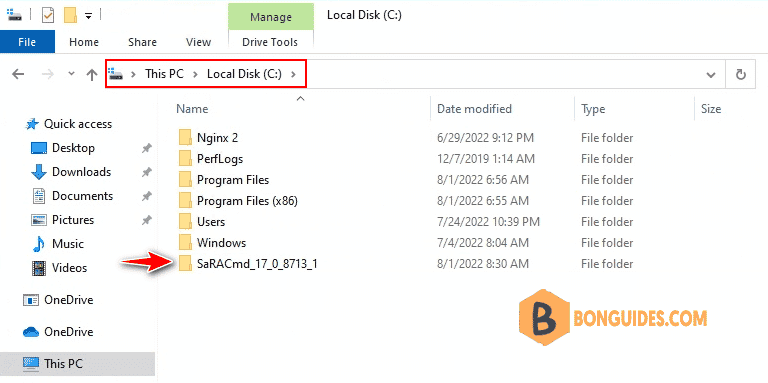
3. Extract downloaded file to a folder then copy the extracted folder to root of system drive C.
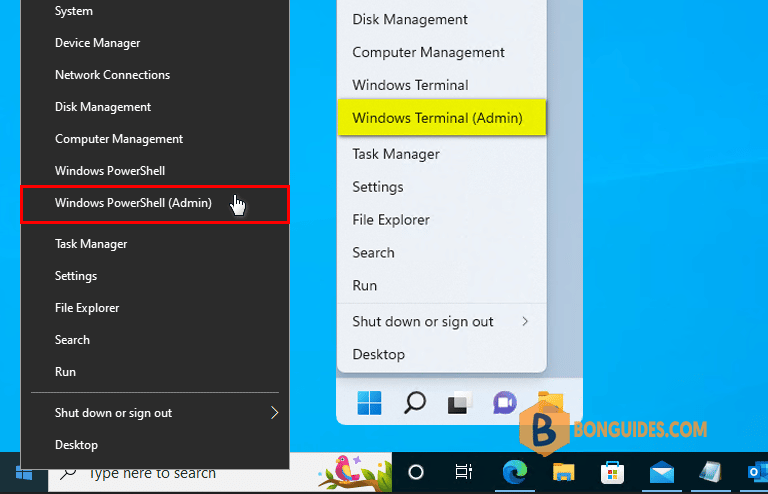
4. Right click on Windows Start icon then open Windows PowerShell Admin.
5. Navigate to the copied folder in C drive using cd command.
cd C:\SaRaCmd_xxxxx
6. Run the following command to reset Microsoft 365 Apps license cache.
.\SaRAcmd.exe -S ResetOfficeActivation -AcceptEula -CloseOfficePS C:\SaRACmd_17_0_8713_1> .\SaRAcmd.exe -S ResetOfficeActivation -AcceptEula -CloseOffice
Starting Microsoft Support and Recovery Assistant Command Line (17.00.8713.001).
Running Scenario ResetOfficeActivation...
80: Successful run. Start any Office app and sign-in to activate.
Scenario finished with exit code: [80].
SaRA Command Line is closing, Please wait...7. Once done, reopen any Office app to verify it works.
UI version
The UI version of the Assistant is recommended if you need to reset Office activation on a single device, or on a small number of individual devices.
1. Download Microsoft Support and Recovery Assistant UI version from the link.
2. Open downloaded file then install Microsoft Support and Recovery Assistant following the installation wizard.
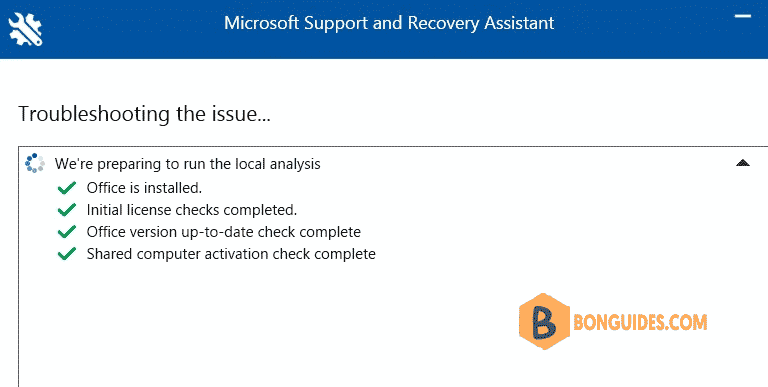
3. Once the tool is installed, let’s sign-in using your Office 365 account and then the tool will run automatically.
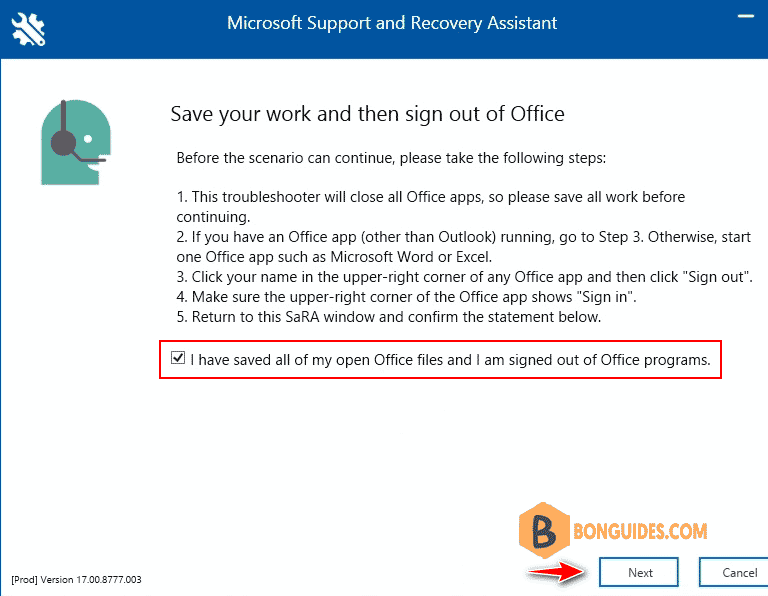
4. Select the checkbox then be certain you’ve sign out your account from Microsoft Office apps. Click Next.

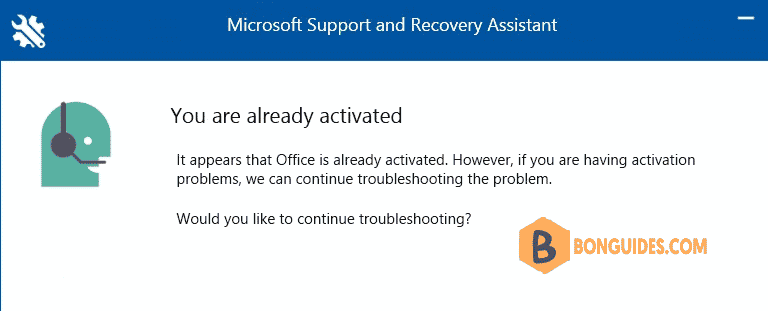
5. Finally, you got the window. Let’s reopen any Office app to verify it works.
Use scripts to automate the cleanup process
Run the following scripts that automate each section of the process. We recommend that you run the OLicenseCleanup.vbs and signoutofwamaccounts.ps1 scripts listed below.
1. Download these files from Microsoft:
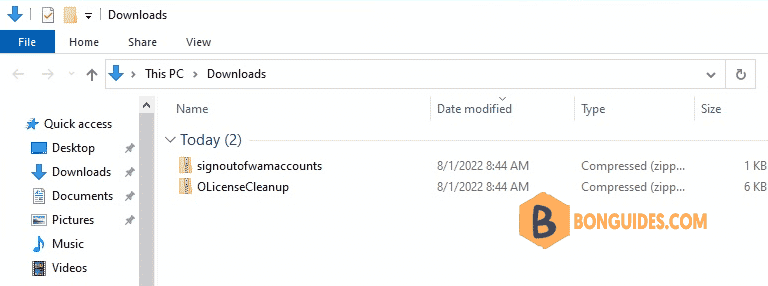
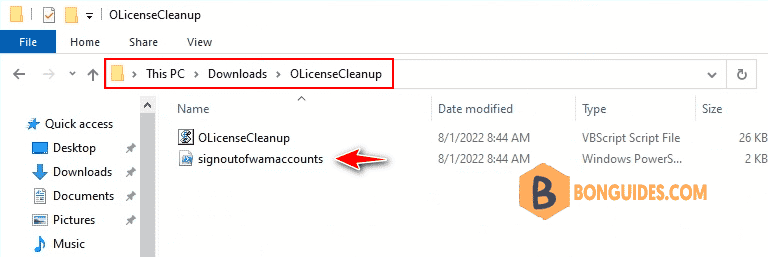
2. Extract downloaded files to your computer. Then copy signoutofwamaccounts.ps1 to the OLicenseCleanup folder. Now, in this folder we’ve two files.
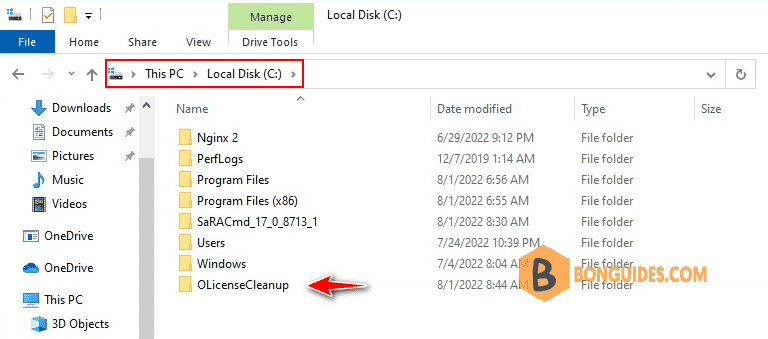
3. Copy folder named OLicensCleanup to root of C drive.
4. Right click on Windows Start icon then select Windows PowerShell Admin.

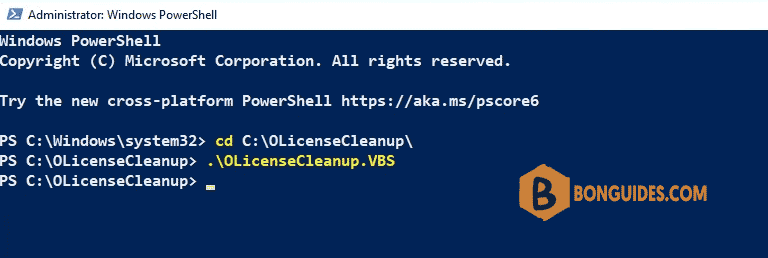
5. Navigate to the folder using cd command cd C:\OLicenseCleanup
6. Run the script using this command .\OLicensCleanup.vbs
7. Reopen any Office app to verify it works.


