Table of Contents
Connect to Microsoft Azure PowerShell
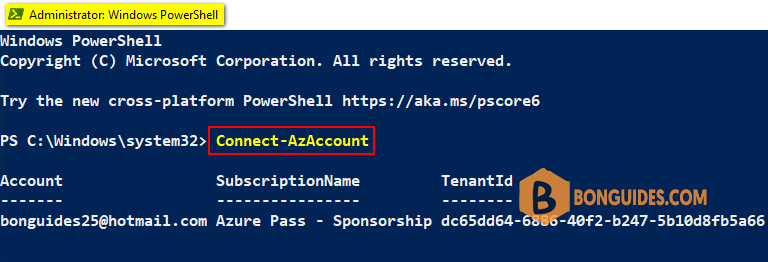
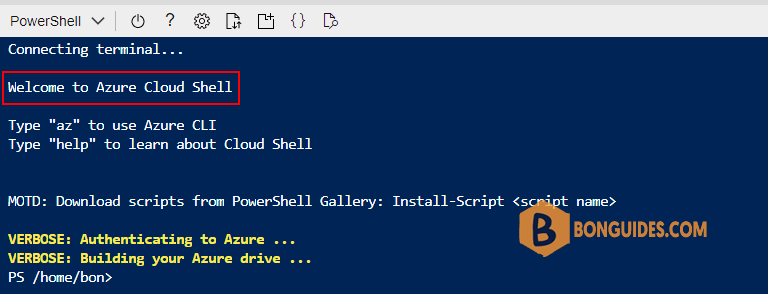
First, you need connect to Microsoft Azure PowerShell, there’re two ways to run PowerShell commands in Microsoft Azure:
Method 1: From Azure PowerShell modules installed in a computer.
Method 2: From Azure Cloud Shell using browsers.
ADVERTISEMENT
Change or Switch Azure Subscription in PowerShell
To change the azure subscription using PowerShell, we can use the Select-AzSubscription command. When you use this command, you can use either the subscription ID, Subscription Name, or the Tenant ID.
With Subscription Name
Select-AzSubscription -SubscriptionName 'Visual Studio'With TenantID
Select-AzSubscription -Tenant 'XXXX-XXXXX-XXXXXXX-XXXX'With Subscription ID
Select-AzSubscription -SubscriptionId 'XXXX-XXXXX-XXXXXXX-XXXX'Sometimes on console messages will appear that one or more subscriptions are active. In that case, you can switch the other subscription using the Set-AzContext command and you can use subscription ID or the Name for it.
Set-AzContext -SubscriptionId "xxxx-xxxx-xxxx-xxxx"Set-AzContext -SubscriptionName "Visual Studio"ADVERTISEMENT
5/5 - (1 vote)


