Table of Contents
Adding and removing subnets using the GUI is simple however when it comes to automating Azure and keeping all changes in a source control repository using PowerShell, Ansible or Terraform require a bit of coding.
Microsoft Virtual Network
Azure vNet is a cloud service that enables you to create a private network in the Microsoft Azure cloud. This can be used to connect your on-premises networks with Azure or to create a separate, isolated network for your applications and resources.
The Microsoft Virtual Network supports full Layer 3 connectivity between subnets within different virtual networks. This means that a subnet in one virtual network can be connected to a subnet in another virtual network over the public Internet.
Connect to Microsoft Azure PowerShell
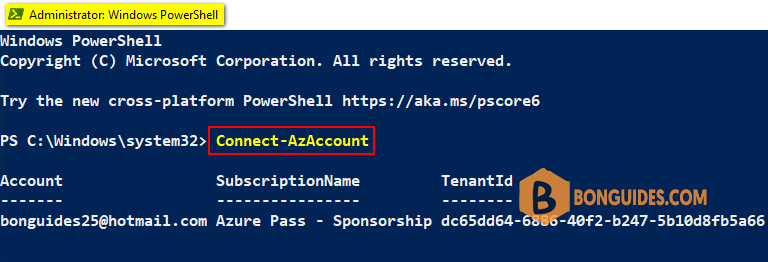
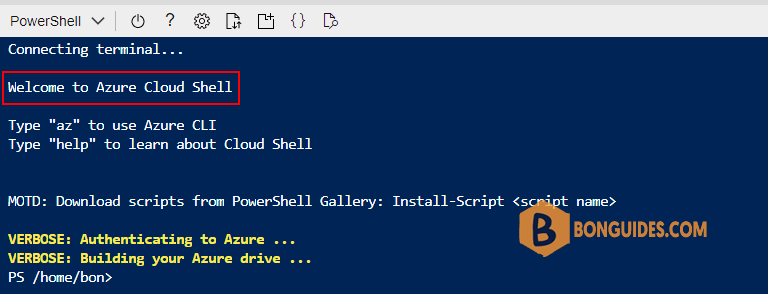
First, you need connect to Microsoft Azure PowerShell, there’re two ways to run PowerShell commands in Microsoft Azure:
Method 1: From Azure PowerShell modules installed in a computer.
Method 2: From Azure Cloud Shell using browsers.
Add Subnets to Existing Azure vNet
Modifying an existing Azure vNet with PowerShell is not a simple process sadly. In order to modify an existing vNet, we need first recreate the vNet with the changes in variables via PowerShell and then apply the changes.
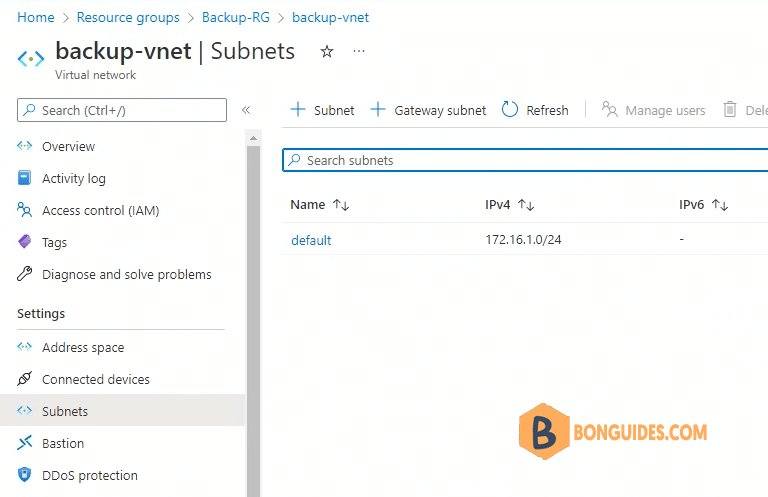
So first before we make changes, we need to make sure we know what we have in the current vNet.
Get-AzVirtualNetwork -ResourceGroupName 'backup-rg'

Name                   : backup-vnet
ResourceGroupName      : Backup-RG
Location               : westus
AddressSpace           : {
                           "AddressPrefixes": [
                             "172.16.0.0/16"
                           ]
                         }
Subnets                : [
                           {
                             "Delegations": [],
                             "Name": "default",
                             "Etag": "W/\"76aba1ae-2e3c-4bb8-8cdb-d9a36f7b9009\"",
                             "Id": "/subscriptions/089d4ee9-0b8d-4bac-ab78-c120f115e79e/resourceGroups/Backup-RG/provid
                         ers/Microsoft.Network/virtualNetworks/backup-vnet/subnets/default",
                             "AddressPrefix": [
                               "172.16.1.0/24"
                             ],
                             "IpConfigurations": [],
....
                           }
                         ]
The default subnet is already exist in the vNet however we still need to add it to a variable to update in next step.
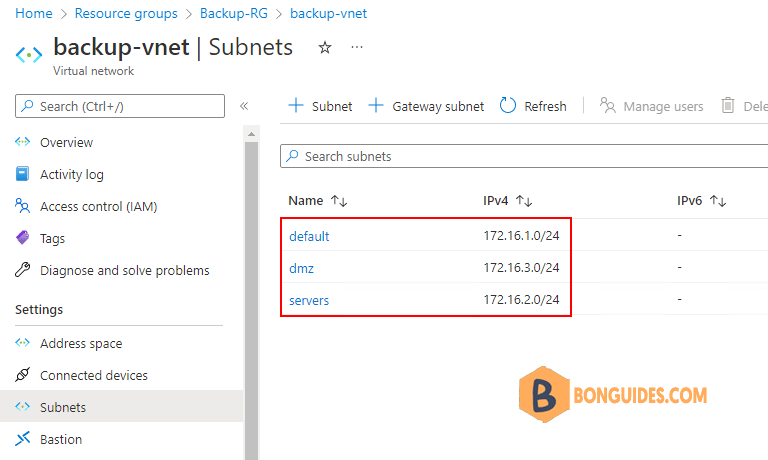
$default = New-AzVirtualNetworkSubnetConfig -Name default -AddressPrefix "172.16.1.0/24"In the cmdlets below, we’re going to add two subnets ( servers and dmz) to our existing vNet.
$servers = New-AzVirtualNetworkSubnetConfig -Name servers -AddressPrefix "172.16.2.0/24"
$dmz = New-AzVirtualNetworkSubnetConfig -Name dmz -AddressPrefix "172.16.3.0/24"
The updated vNet with the modified subnets is called updatedvnet.
$updatedvnet = New-AzVirtualNetwork -Name 'backup-vnet' `
-ResourceGroupName 'Backup-RG' `
-Location 'westus' `
-AddressPrefix "172.16.0.0/16" `
-Subnet $default, $dmz, $servers `
-Force:$true
To wrap up all the changes and apply them using PowerShell I’m using the last line in the below code and use the Set-AzVirtualNetwork command.
$default = New-AzVirtualNetworkSubnetConfig -Name default -AddressPrefix "172.16.1.0/24"
$servers = New-AzVirtualNetworkSubnetConfig -Name server -AddressPrefix "172.16.2.0/24"
$dmz = New-AzVirtualNetworkSubnetConfig -Name dmz -AddressPrefix "172.16.3.0/24"
$updatedvnet = New-AzVirtualNetwork -Name 'backup-vnet' `
-ResourceGroupName 'Backup-RG' `
-Location 'westus' `
-AddressPrefix "172.16.0.0/16" `
-Subnet $default, $dmz, $servers `
-Force:$true
$updatedvnet | Set-AzVirtualNetwork