Table of Contents
UEFI stands for Unified Extensible Firmware Interface. It works in a similar fashion as a BIOS, but with one basic difference: it stores all data about initialization and startup in an .efi file, instead of storing it on the firmware.
In this post, we will be discussing the steps to fix this issue EFI network time out when installing Windows client or Windows Server VM. The reason for this specific error is the VM is set to boot from the UEFI.
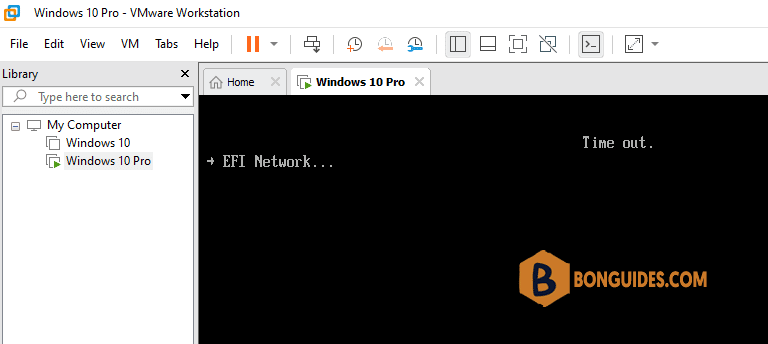
Method 1: Change boot mode from UEFI to BIOS
The first way, you can change the VM boot mode from UEFI to BIOS to bypass the error. To do it:
1. Turn off the VM.
2. Edit the VM settings.
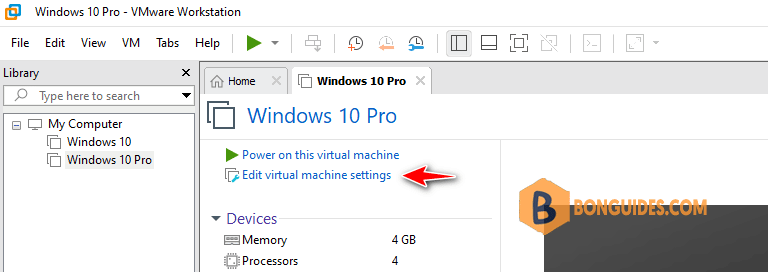
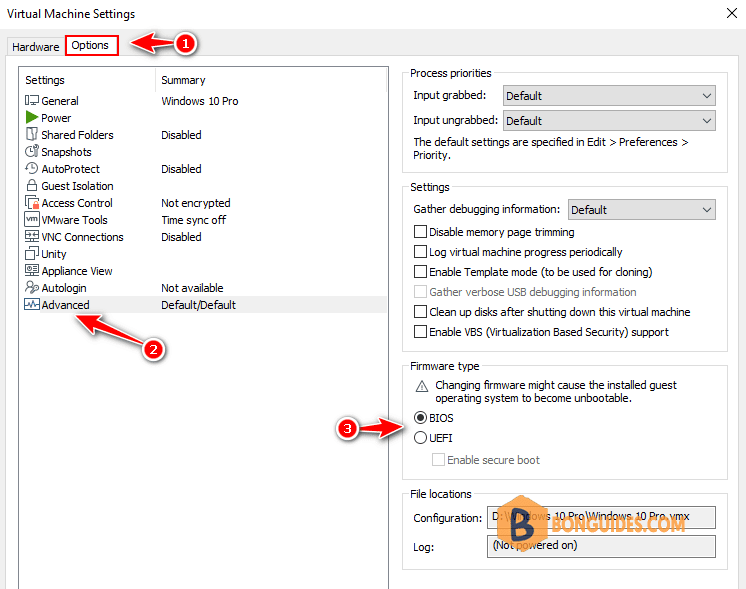
3. In the Virtual Machine Settings window:
- Select Options tab
- Select Advanced
- Under Firmware type, change from UEFI to BIOS
4. Click OK to save the changes then try to turn on the VM to verify it works.
Method 2: Boot from UEFI
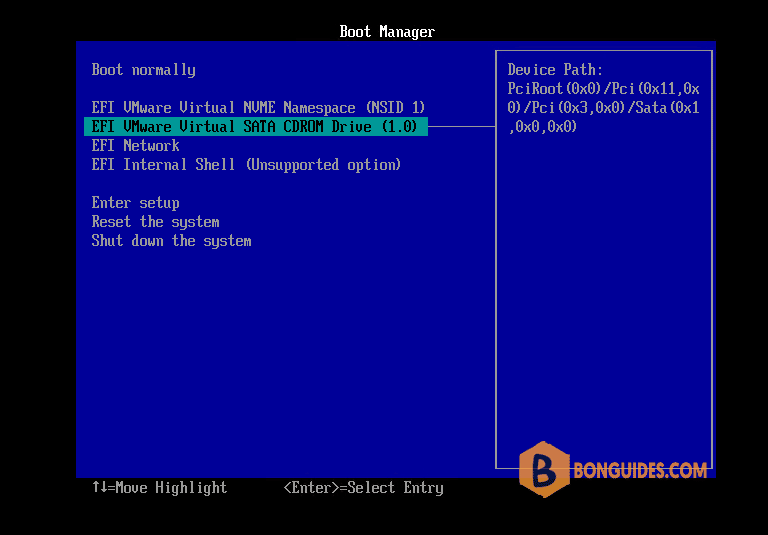
If you still need the firmware type of the VM is UEFI. For example, you want to install Windows 11 VM with Secure Boot. Let’s reset the VM then press any key when you get the below screen.
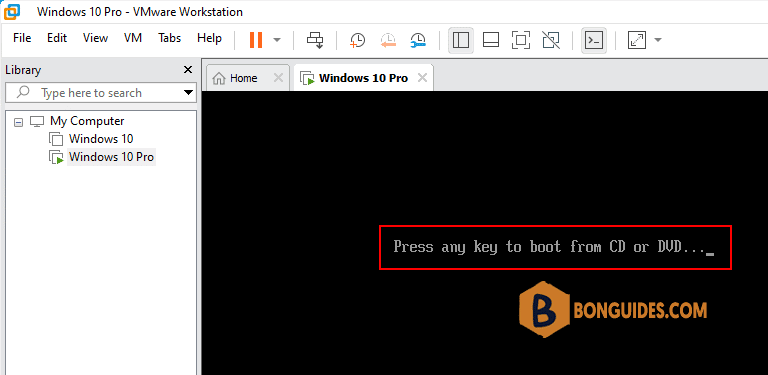
The last way, in the new VMware Workstation, you can wait approximately 30 seconds and then get the below screen. Move the highlight to EFI VMware Virtual SATA CDROM Drive then hit Enter.
Not a reader? Watch this related video tutorial:


