
Table of Contents
In this post, we’ll deploy Autodesk products via Microsoft Intune.
Before you begin
Things must be ready before you begin:
- Have access to https://accounts.autodesk.com to download the Autodesk products.
- Have access to https://endpoint.microsoft.com with an administrative account.
- Devices are enrolled in Intune
Creating the AutoCAD installation package
1. Access to https://accounts.autodesk.com to download an Autodesk product for deployment. For example, we’ll download and then deploy the latest version of AutoCAD.
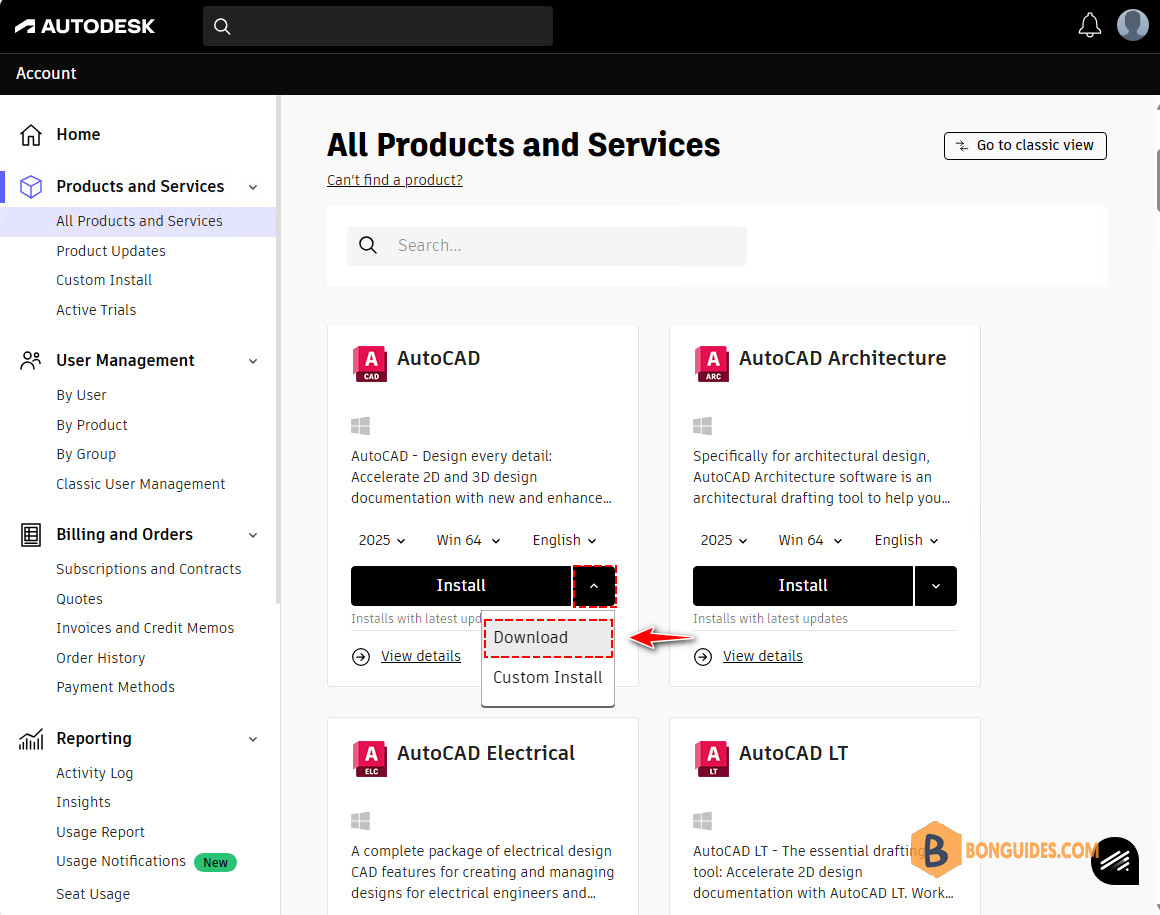
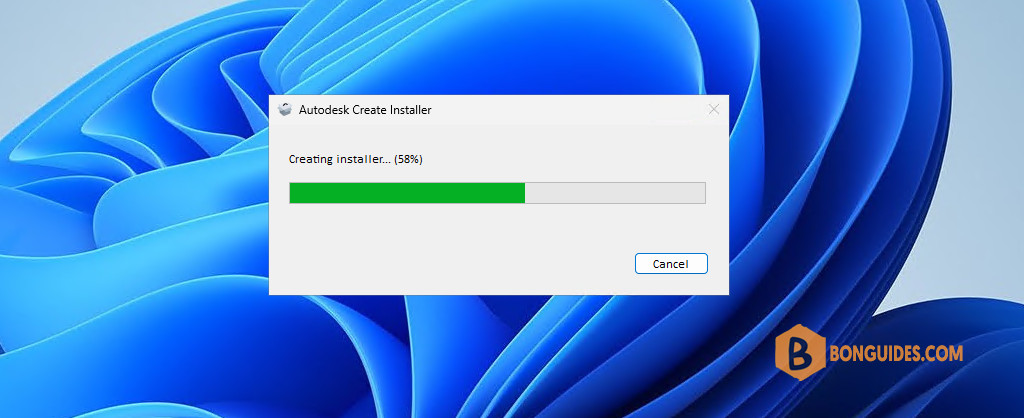
2. Open the downloaded file, the Autodesk Deployment Tool will open then create the installer for you. It could take several minutes to complete depending on the internet speed.
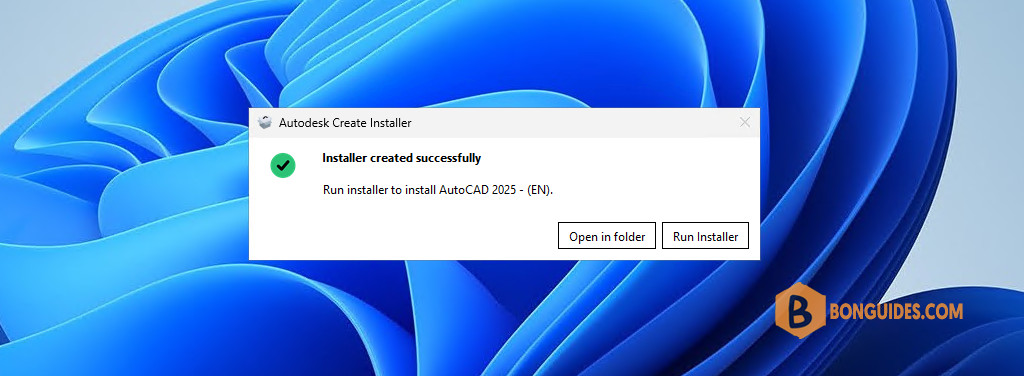
3. Once done, click Open in folder to open the package folder.
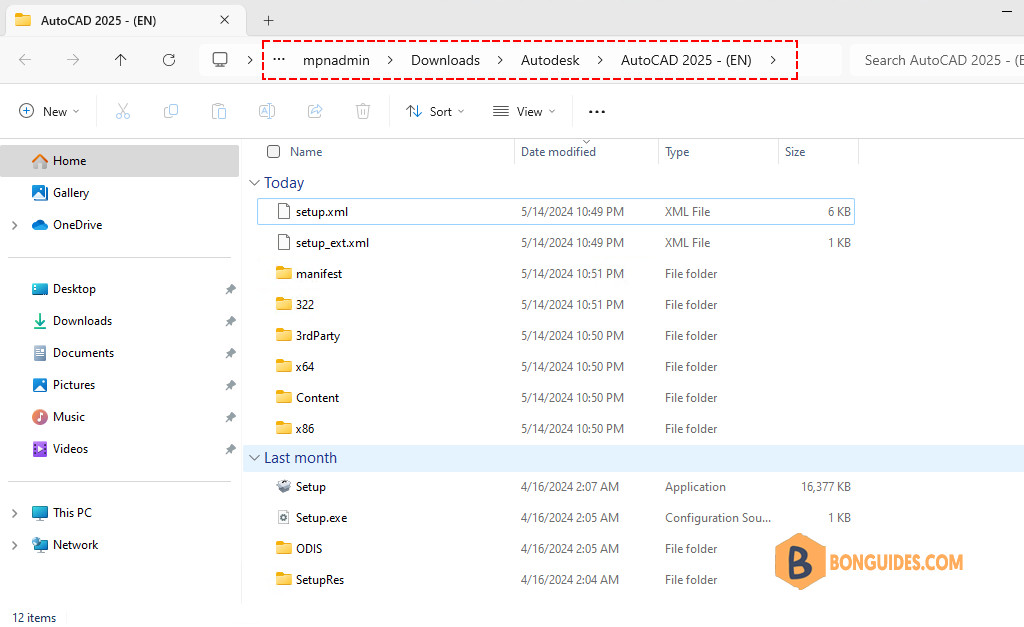
The AutoCAD installation package has been created. All files and folders will be used in the next steps to create an Intune deployment package.
Creating the Intune package
Now that you have the custom package downloaded you can create the Intune package. We’ll use the Microsoft Win32 Content Prep Tool to preprocess Windows classic (Win32) apps. The tool converts application installation files into the .intunewin format.
1. Download the Microsoft Win32 Content Prep Tool from Microsoft.
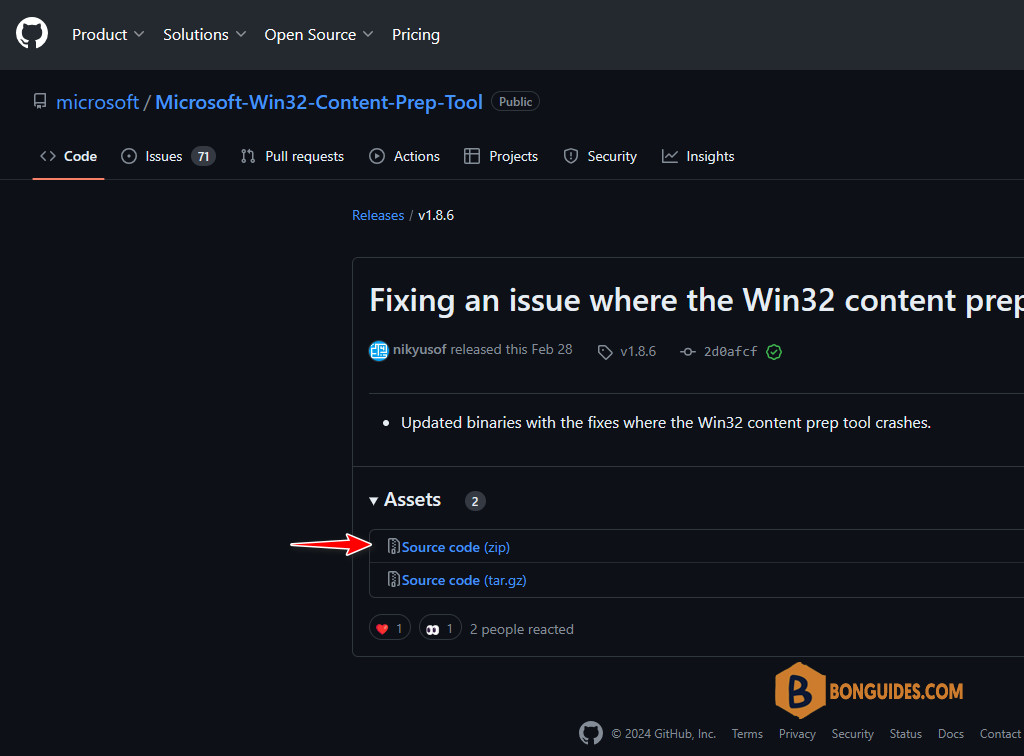
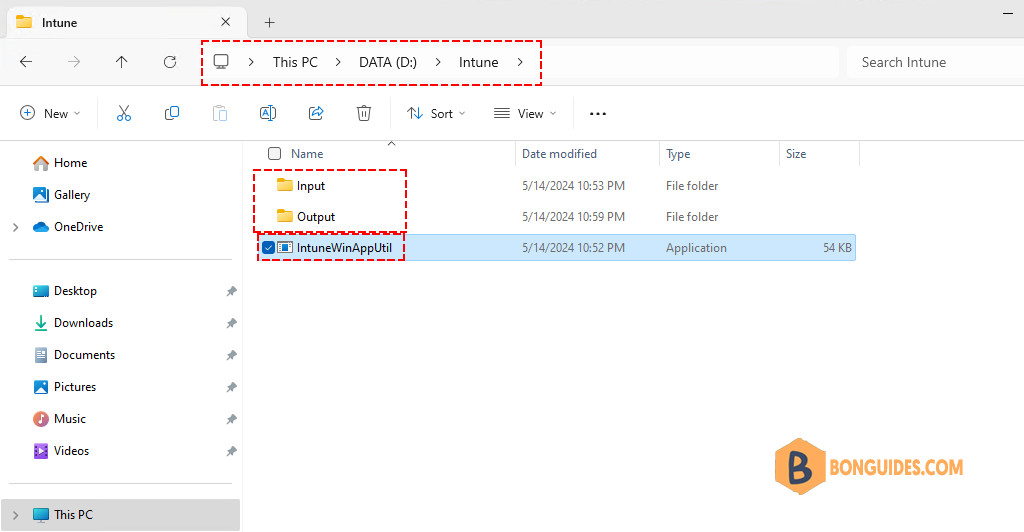
2. Extract the downloaded zip file then copy IntuneWinAppUtil.exe to D:Intune folder. We’ve created folders for Intune package creation.
- Create the D:IntuneInput folder, all files and folders in this folder will be compressed into an .intunewin file.
- Create the D:IntuneOutput folder, the compressed file would be saved in this folder.
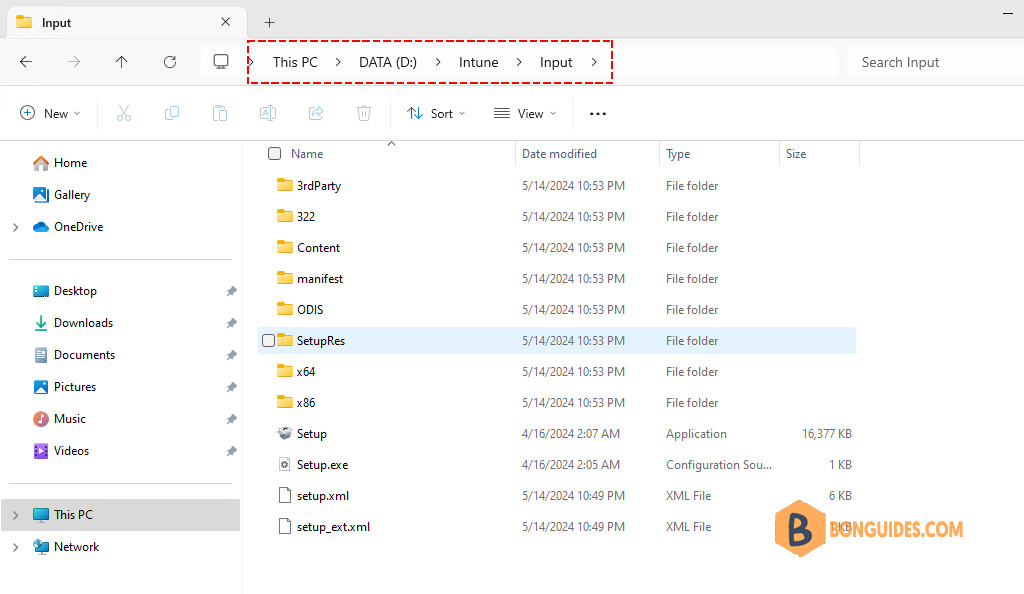
3. Copy all files and folders in the AutoCAD package folder to the D:IntuneInput folder.
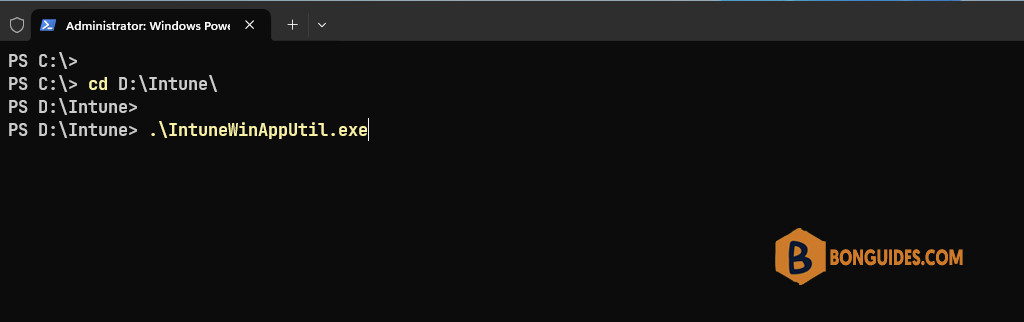
4. Open PowerShell as administrator, navigate to the D:Intune folder then run the Microsoft Win32 Content Prep Tool.
5. Specify the required information to create the Intune package.
- Enter the path of the source (input) folder.
- Enter the path of the setup.exe file (inside the source folder).
- Enter the path of the output folder.

6. It could take a while to create the Intune package. Once done, you can go to the D:IntuneOutput folder to verify the Intune package is created.
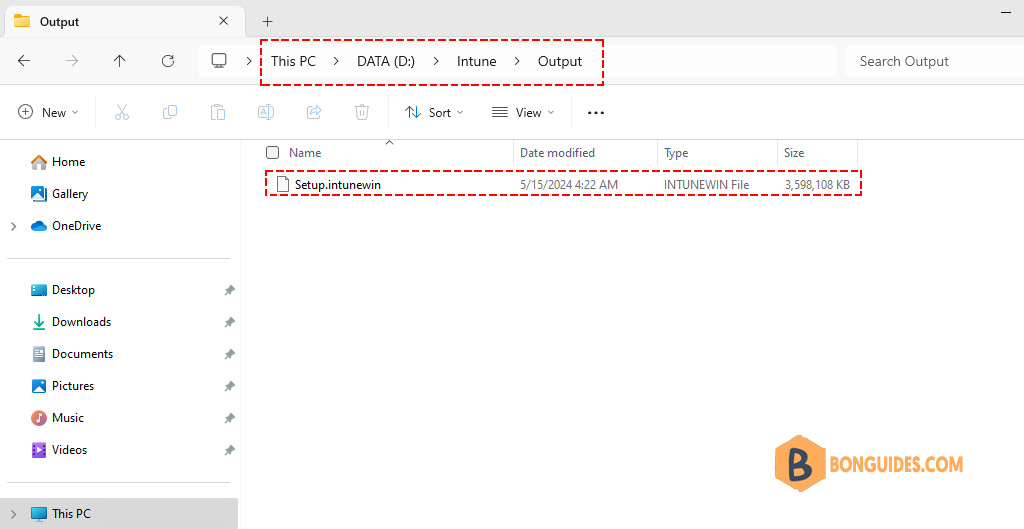
The Intune package is ready, in the next steps, we’ll add it into Intune to deploy it to the manage devices.
Deploy AutoCAD using Microsoft Intune
1. Go to the Microsoft Intune admin center and add a Win32 app.
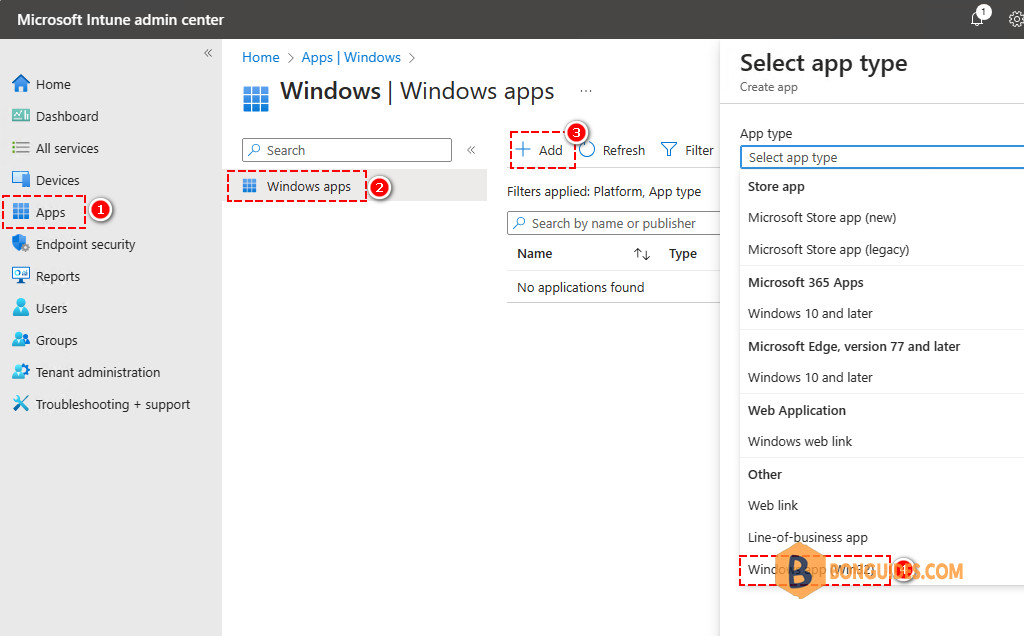
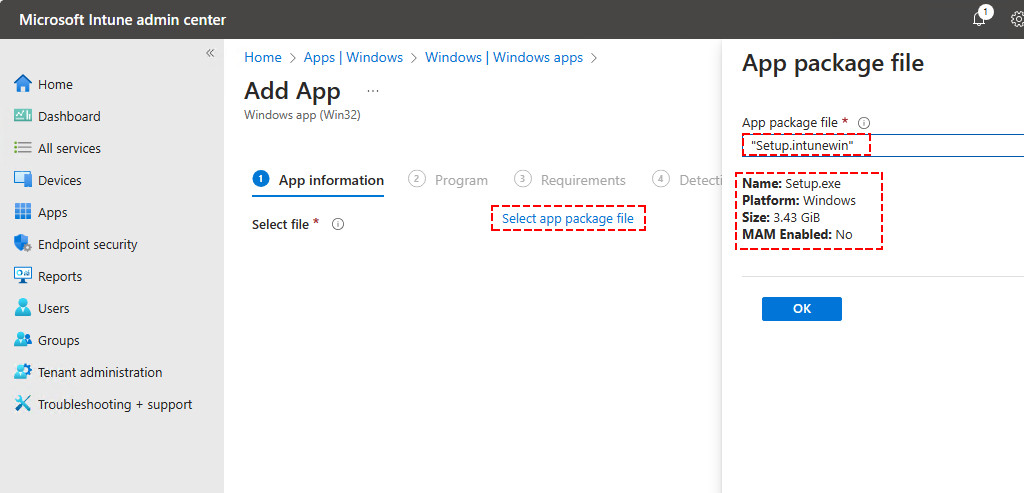
2. Select the .intunewin package we created in the previous steps. The file is located in D:IntuneOutput.
3. Next, we need to enter the install and uninstall command as follows.
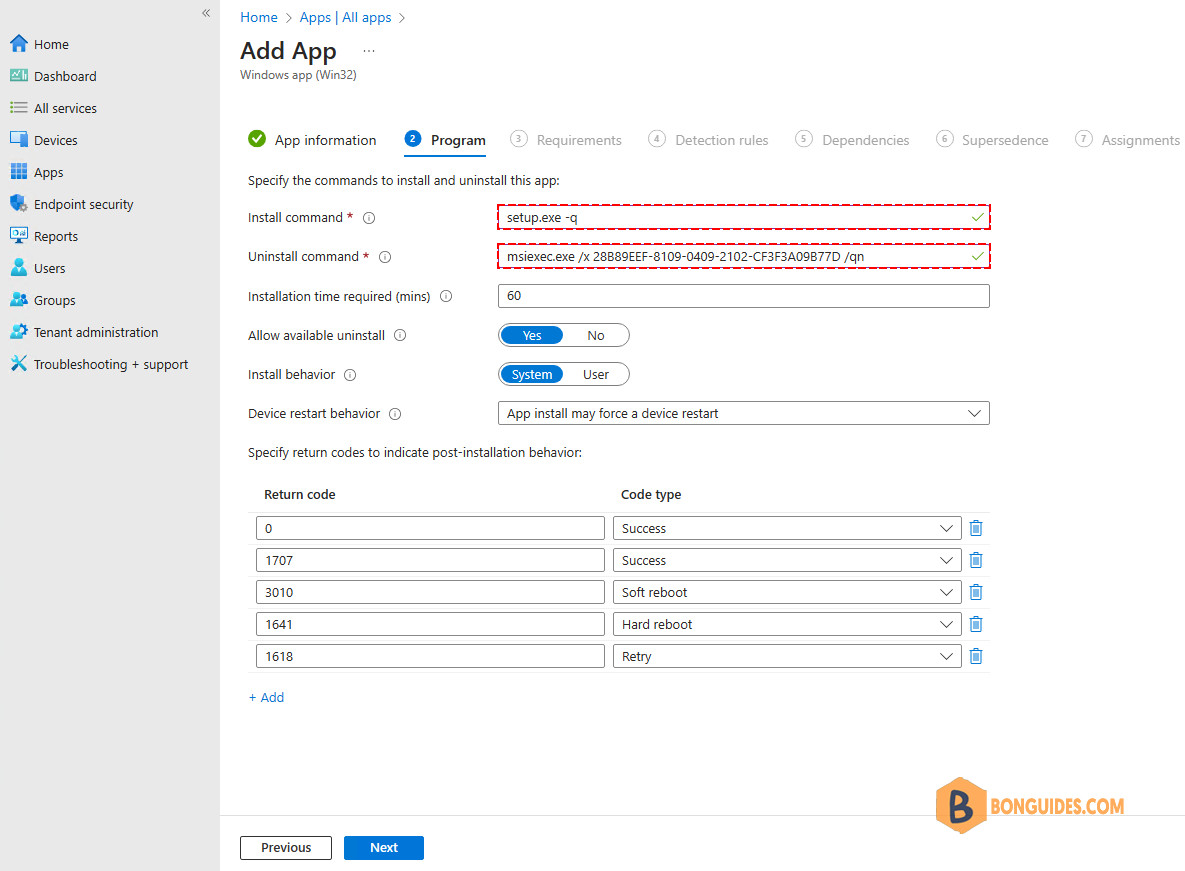
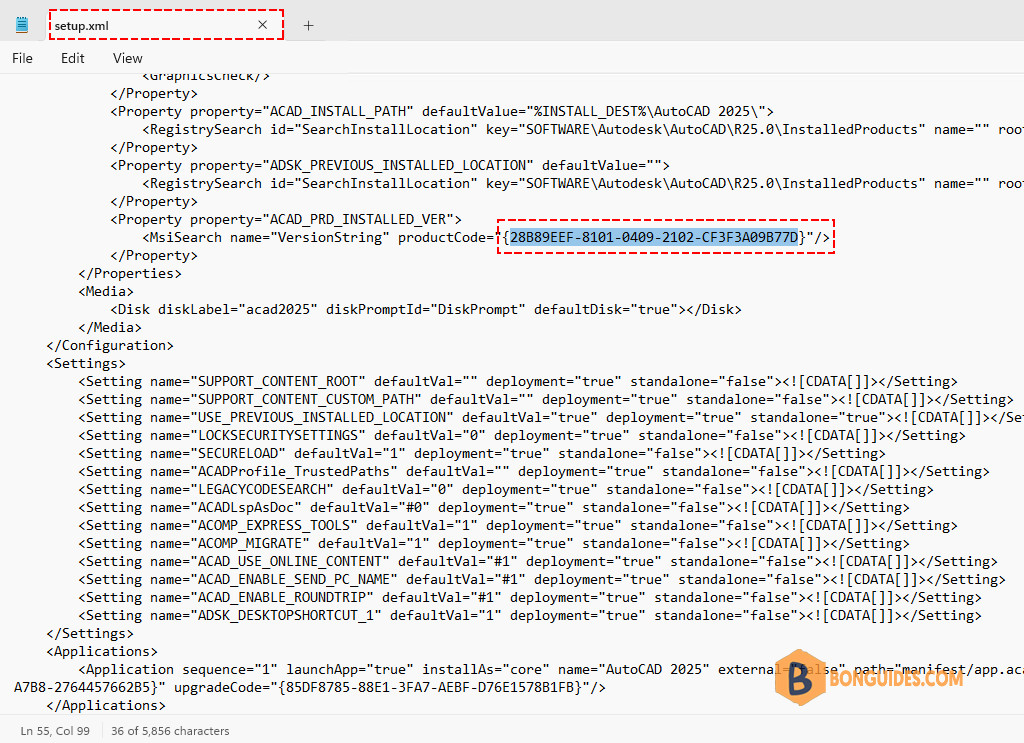
For the uninstall command, we use the MSI product code. The code can be found in the xml file in the input folder “D:IntuneInputsetup.xml”. The code may vary depending on the Autodesk products and versions.
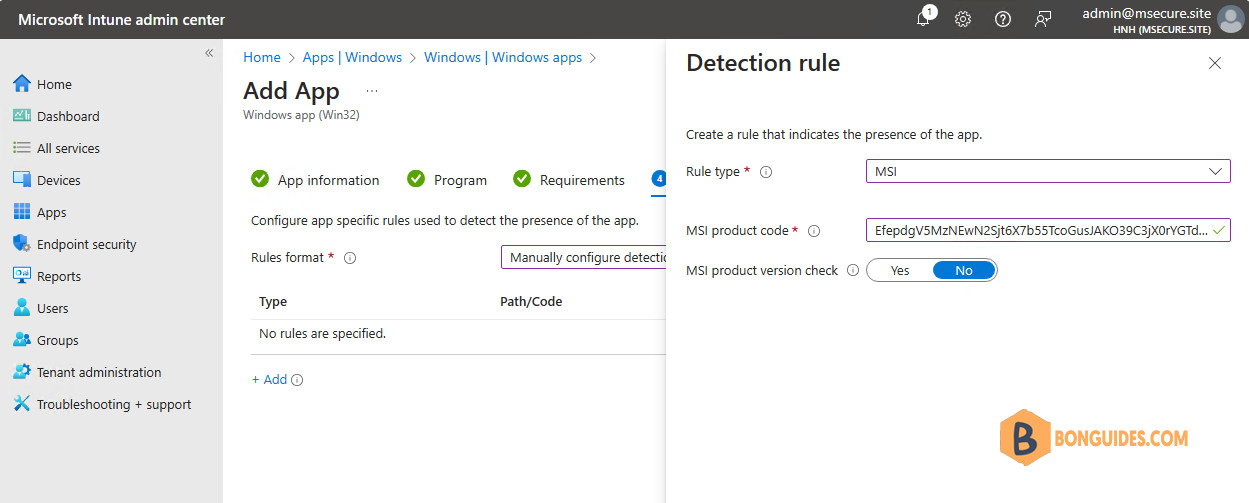
4. We can use the MSI product code for the detection rule as well.
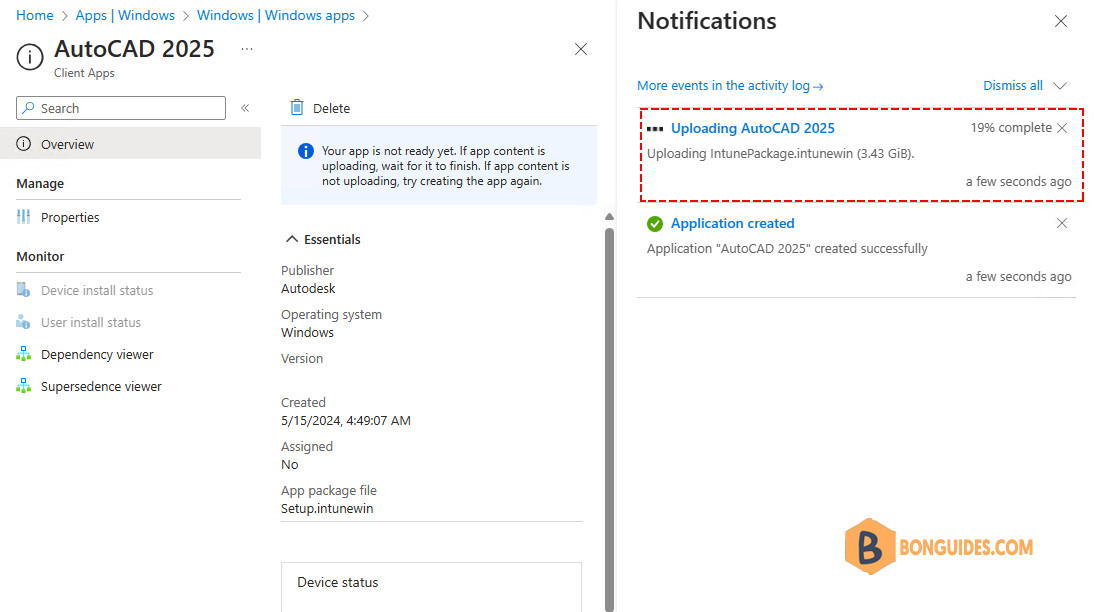
5. Finish the app creation process then wait for the app to be uploaded into Intune.
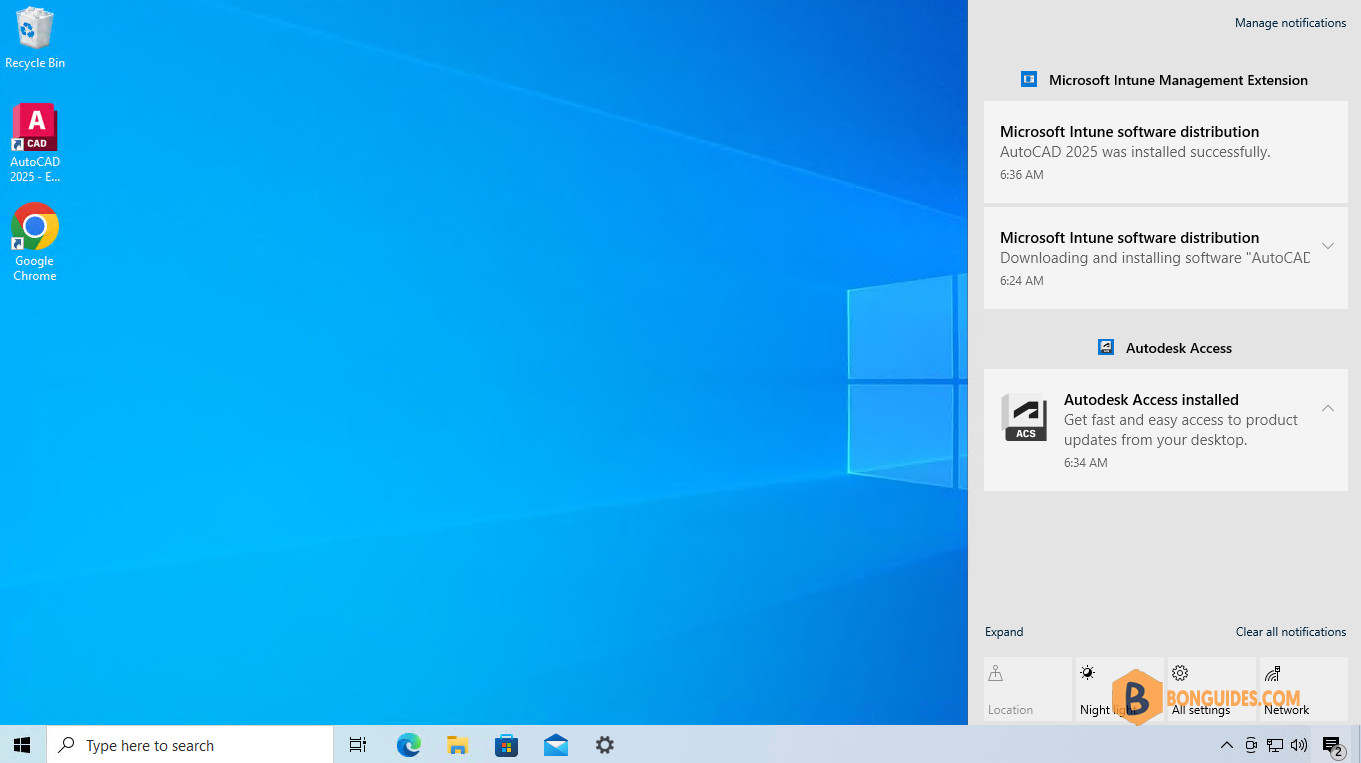
6. Once the app is uploaded, when a managed device checked-in with Intune. The app should be deployed automatically.
Feel free to leave your comments below, and I will respond as soon as possible.


Hi,
Thank you for all the steps. I have done all the steps above but it does not want to install for me. It keeps saying that it is downloading and when you look in task manager nothing happens.
Is it perhaps the installation command? installation command is now
setup.exe -q
You need to wait for downloading…