Table of Contents
Requirements
- USB pen drive (8GB or more).
- Root password (or sudo privileges).
- The disk image for Windows 10.
Ventoy is a great free and open source tool wherewith you can simply copy iso images to a USB pen drive and then mount and run them easily, directly from your computer without the need of another operating system.
Download the Windows 10 disk image
Download the Windows 10 disk image from the official Microsoft website: https://www.microsoft.com/en-gb/software-download/windows10
Prepare your USB drive
Ventoy formats the USB disk while creating the bootable disk. However, we noticed it failed to do so for an already bootable Linux disk. For this reason, we advise you to format the USB disk before you proceed further.
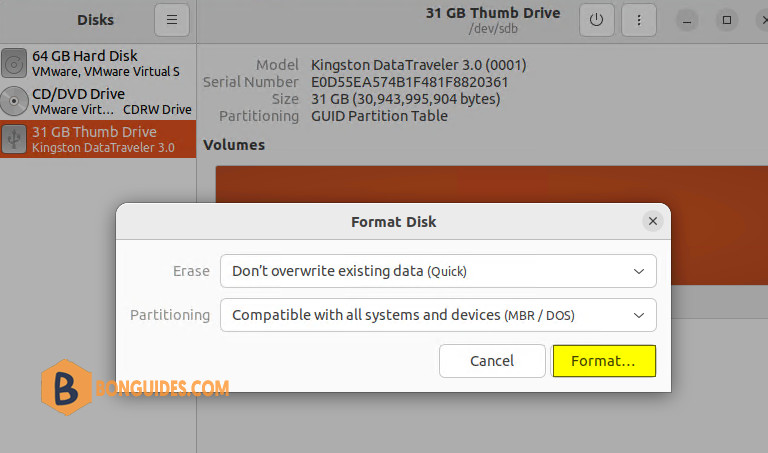
1. Insert and then format the USB disk. You can do that from the Disks utility.
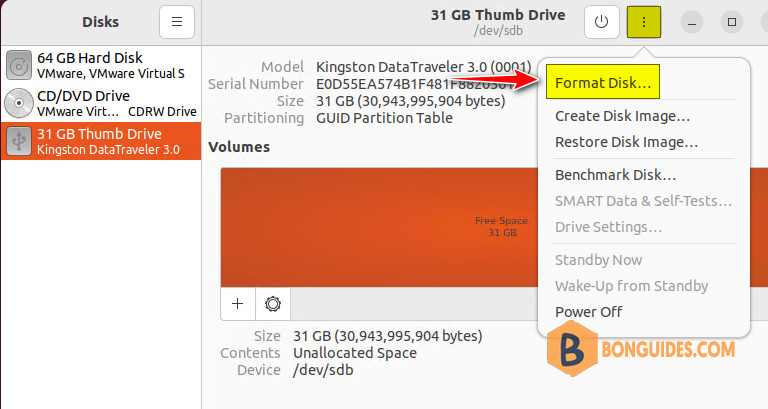
It doesn’t matter which filesystem you choose during formatting. It will be formatted again by Ventoy in the later steps. Once it is formatted, keep it plugged in and go on to the next step of installing Ventoy.
Download and run Ventoy
1. Ventoy is a mix of GUI and CLI tool. It can be used on any Linux distribution. Download Ventoy for Linux from their website https://www.ventoy.net/en/download.html
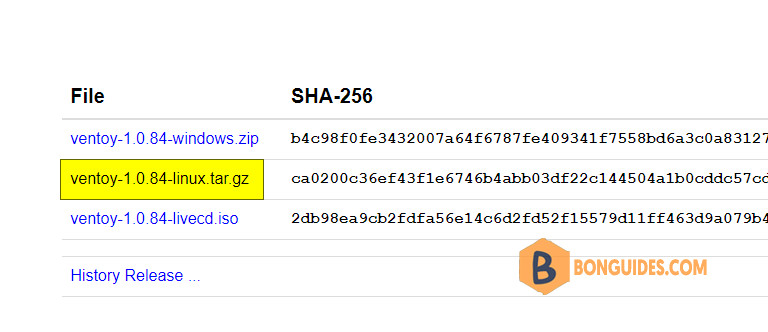
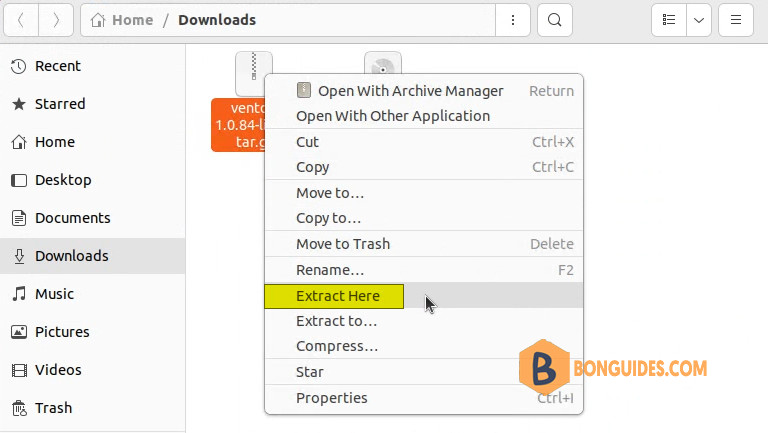
2. It is recommended to download the latest version. The file that should be downloaded ends with tar.gz. Once downloaded, extract the tar.gz file. Simply right-click on it and extract it.
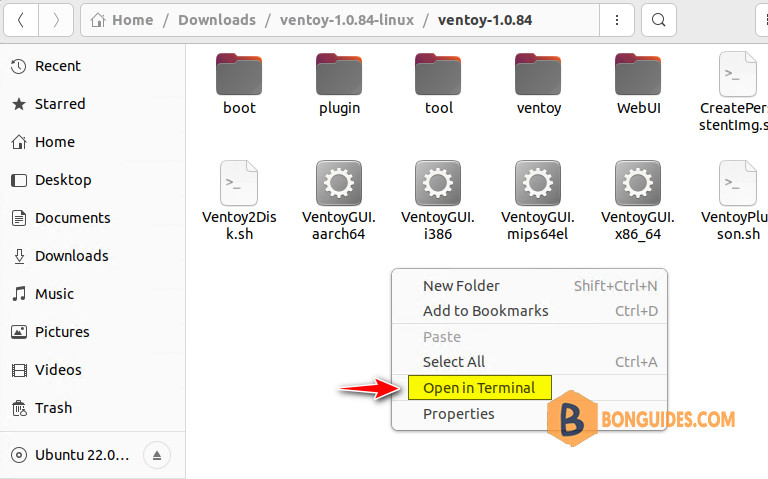
3. Go inside the extracted folder, and you’ll find a few scripts in it. You need to execute the file named VentoyWeb.sh. To do that, you’ll have to use the command line.
You can use the Open in Terminal feature of the File Manager to open Terminal in the current location.
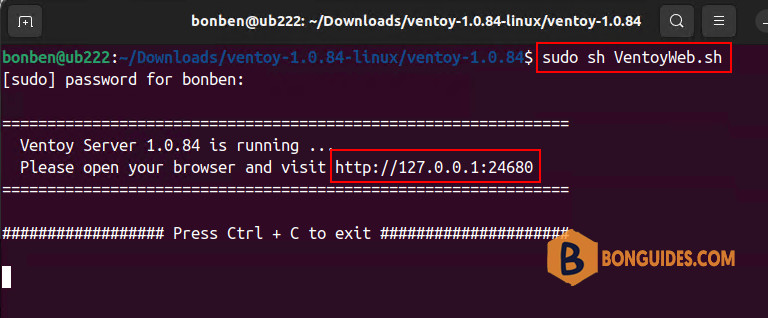
4. Once you are in the correct directory in the Terminal, use the following command to run Ventoy:
sudo sh VentoyWeb.sh5. Ventoy runs inside a browser. It will give you the URL when you run it. Copy this URL and paste it in a browser.
Flash Ventoy on the USB pen drive
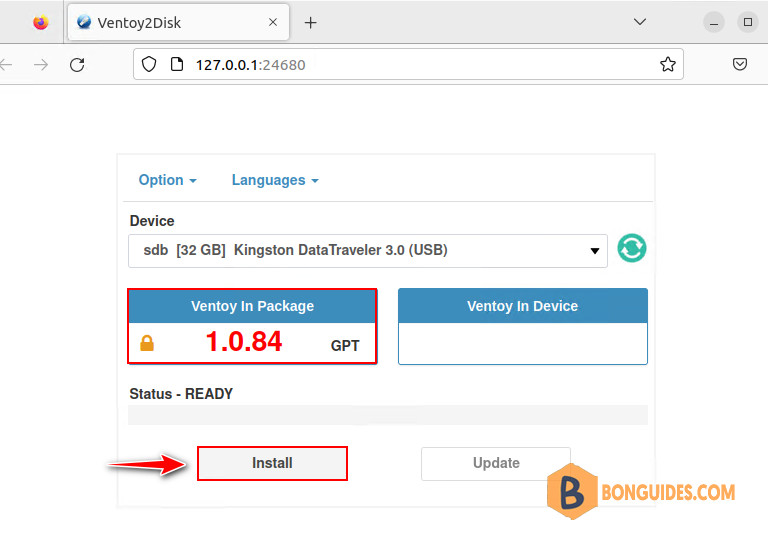
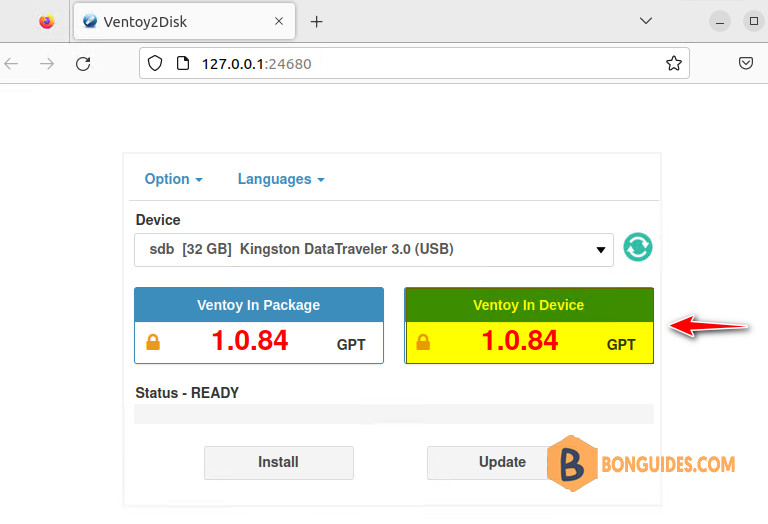
1. Open Firefox (if not open yet as you are reading that page) and navigate to http://127.0.0.1:24680.
2. It will open a web page with Ventoy running in it and if the USB is already plugged in, it should recognize it. If not, press the refresh button.

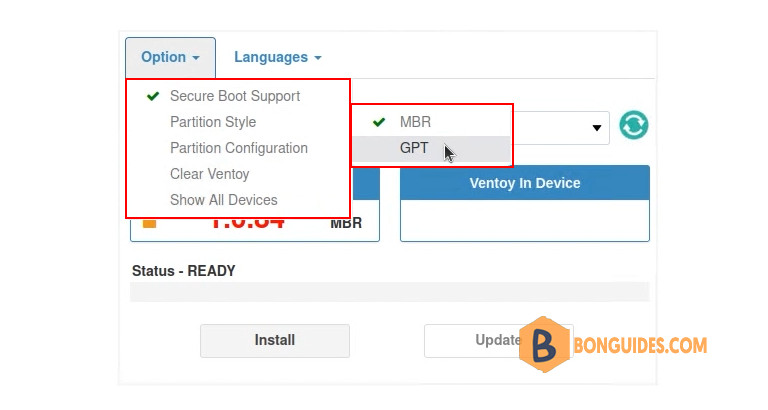
3. Nows day, almost computers are support UEFI boot mode. So, you need change the partition schema from the Option menu Considering you are going for a UEFI installation, it will be wise use GPT for partitioning scheme.
4. Once the things are set, hit the Install button. It will show you a couple of obligatory warnings. Confirm your action by clicking on Continue twice. The USB pen drive will be formatted. Wait for at least a minute after the operation has been completed.
5. If the installation completes successfully, you should see a success message.
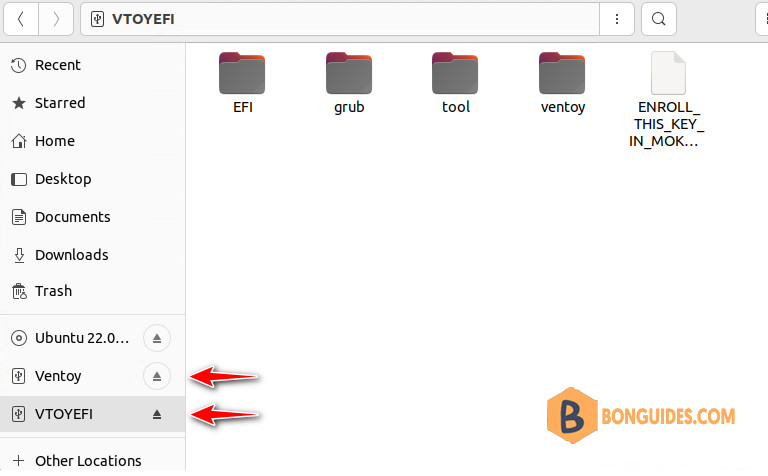
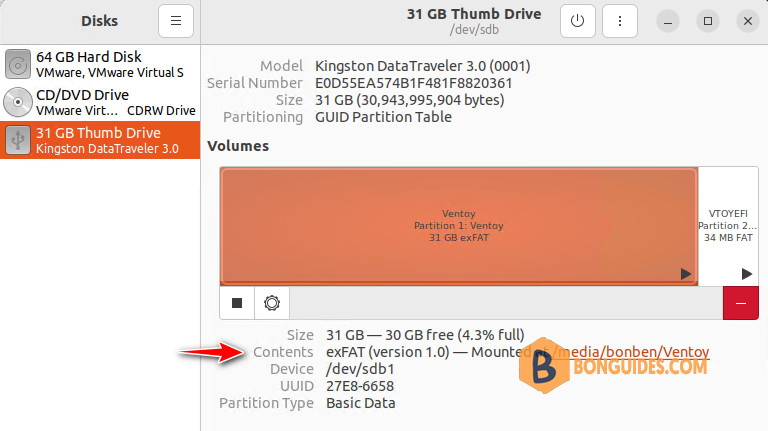
When you hit the install button, it creates two partitions on the USB disk.
- VTOYEFI: A small partition for the UEFI files for booting.
- Ventoy: A big and empty partition in ExFAT format where you’ll copy the ISO image into it.
6. Now, copy the ISO image of the Windows 10 into the bigger ExFAT partition on the USB disk.
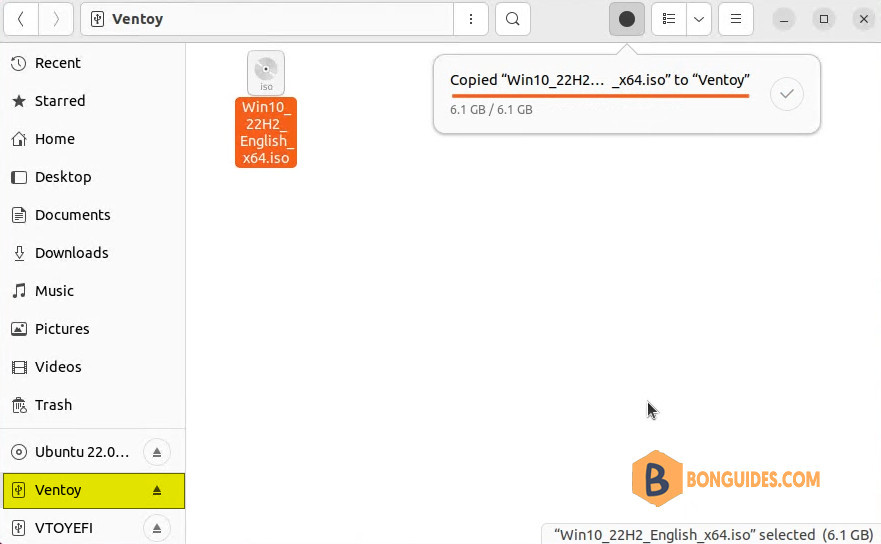

Wait for a few more minutes and you should see a message that it is safe to remove the disk. Now you can unplug it and use it on whichever system you want.

Using the bootable Windows 10 disk
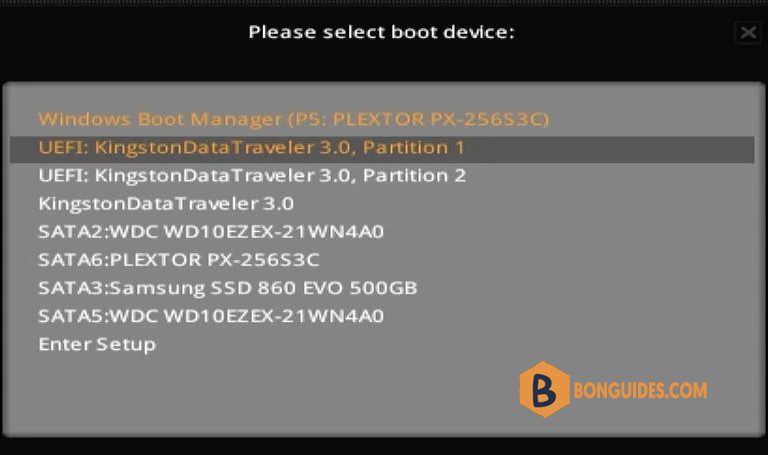
1. You are almost there. Insert your bootable Windows USB key you created in the previous section. Start the computer and at boot time, press F2 or F10 or F12 repeatedly to go to the boot settings. In here, select to boot from your USB.
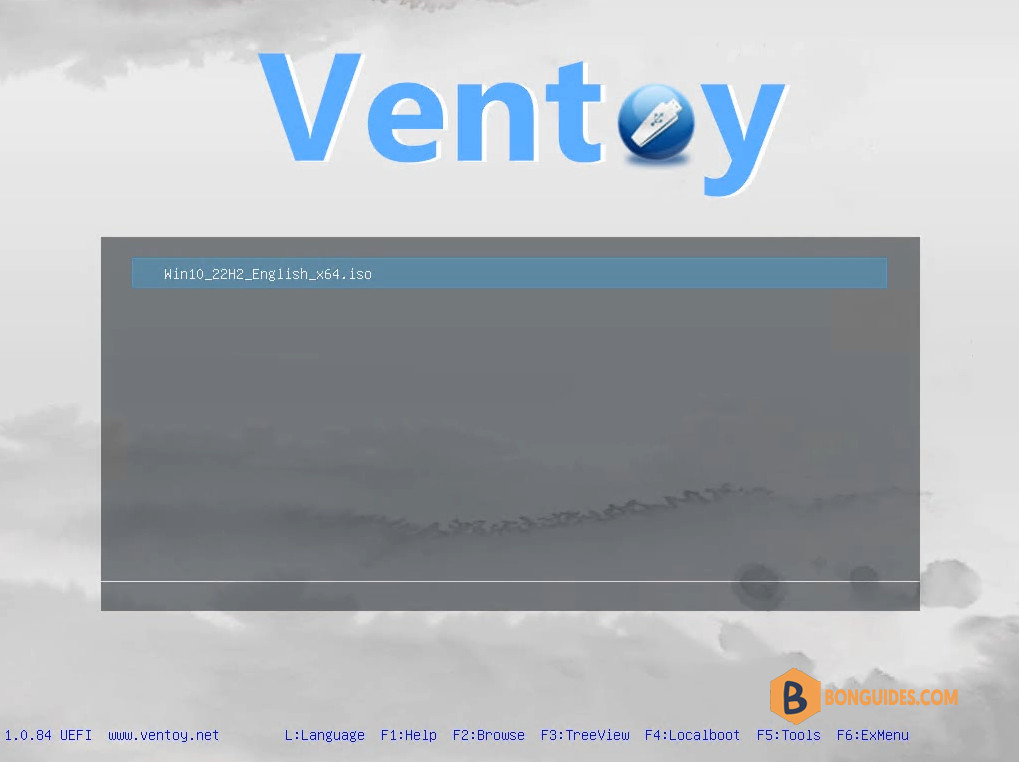
2. It takes a couple of minutes to start the Windows disk. You should see a screen like this, and it will give you the option to install Windows.
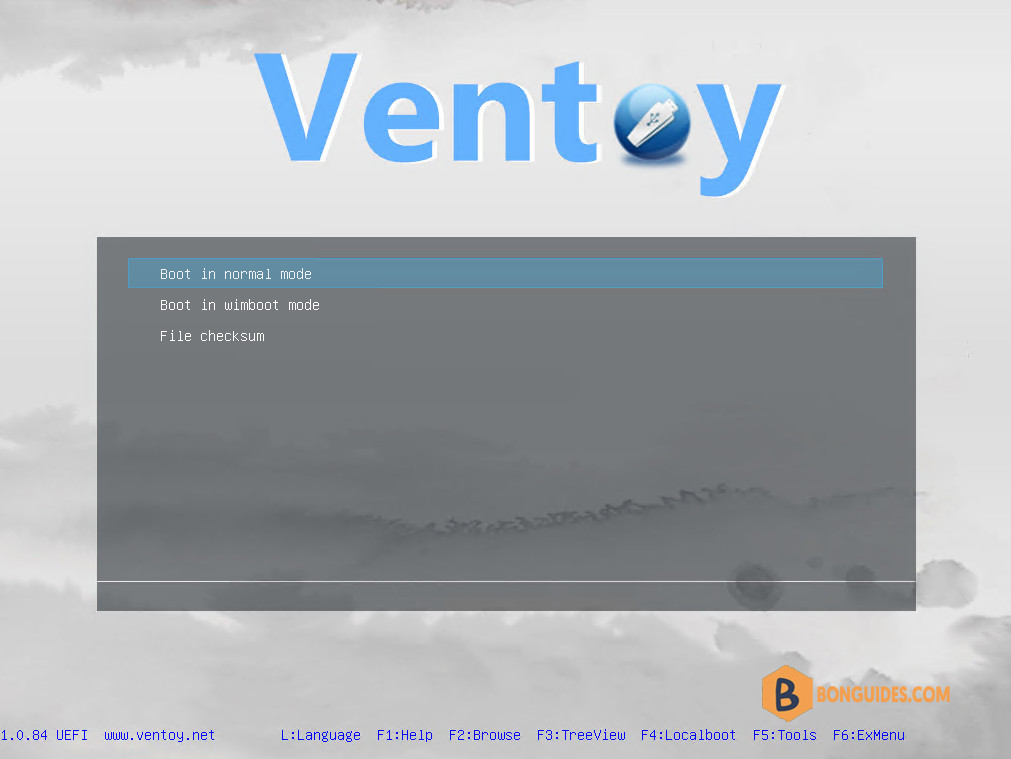
3. Select the option Boot in normal mode.
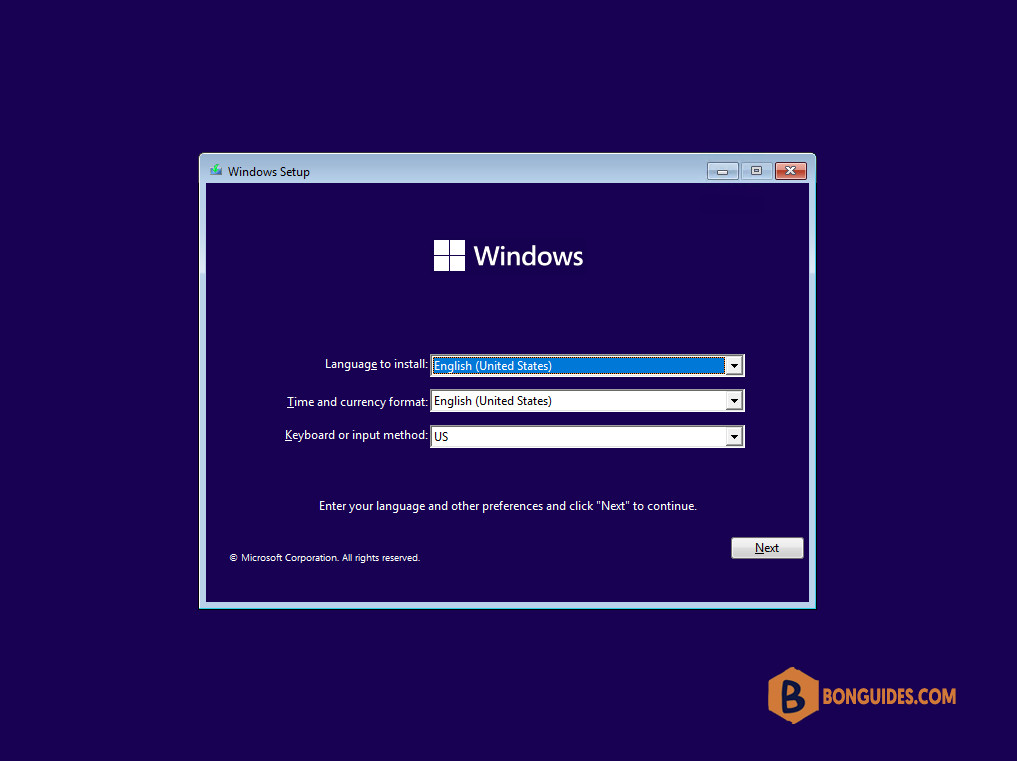
4. You’ll see that Windows 10 is being booted and it gives you the option to install or repair your system. You know what to do now from here.
That’s it! You can now simply use your USB pen drive to boot to Windows 10. You can even copy other images of operating systems to your Ventoy USB pen drive to create a personal library of operating systems.
Additionally, if you just want to create the Windows bootable USB disk only once. You can close the Terminal window then delete Ventoy from your system.
Not a reader? Watch this related video tutorial: