
Table of Contents
Completely Uninstall the Subsystem for Linux (PowerShell)
In some cases, you want to completely uninstall WSL Windows Subsystem in Linux in Windows 10.
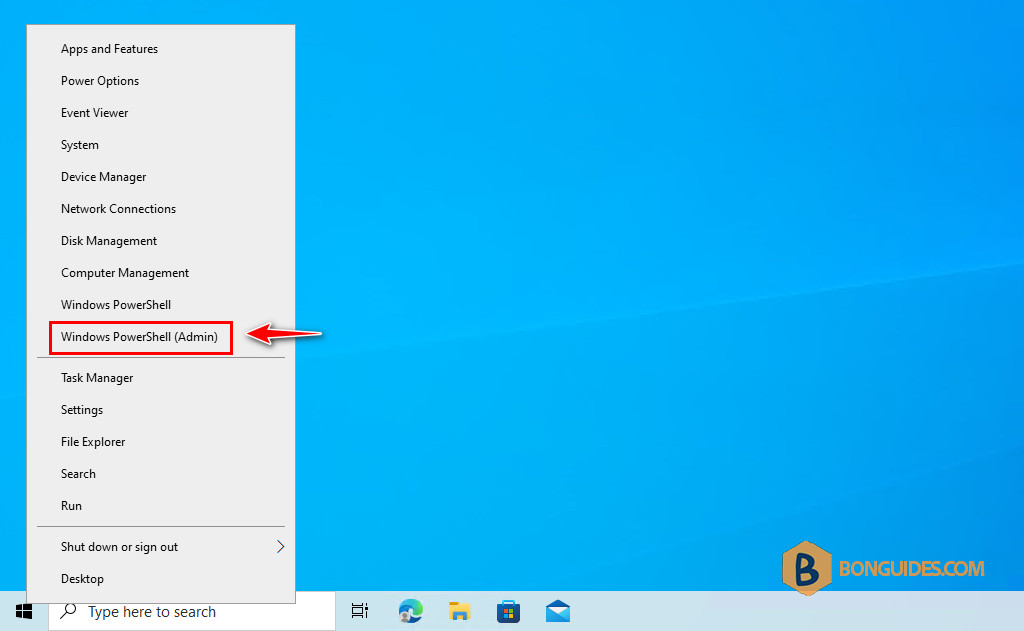
1. First, right-click on the Windows Start icon then open PowerShell administrator.
2. Run wsl -l -v to get the list of the installed WSL instances on your computer.
PS C:\> wsl -l -v
  NAME      STATE           VERSION
* Ubuntu    Stopped         2
  Debian    Stopped         2
3. Next, remove the installed distributions using –unregister parameter.
PS C:\> wsl --unregister ubuntu
Unregistering...

PS C:\> wsl --unregister Debian
Unregistering...
PS C:\>
4. Re-run the wsl -l -v command to check if all the WSL instances got removed.
PS C:\> wsl -l -v
Windows Subsystem for Linux has no installed distributions.

Use 'wsl.exe --list --online' to list available distributions
and 'wsl.exe --install <Distro>' to install.

Distributions can also be installed by visiting the Microsoft Store:
https://aka.ms/wslstore
Error code: Wsl/WSL_E_DEFAULT_DISTRO_NOT_FOUND
5. After ran the unregister command, you can check the virtual hard disk is removed from this location:
C:\Users\<username>\AppData\Local\Packages<linux-distribution>LocalState6. Search for feature then open Turn Windows features on or off.

7. Finally, remove Virtual Machine Platform and Windows Subsystem for Linux features from Windows Features then restart your computer.

Completely Uninstall the Subsystem for Linux (Windows Settings)
Alternatively, you can remove the installed distributions from Apps and Features in Windows Settings.
1. Right click on the Windows start icon then select Apps and Features.

2. Under App & features, select the linux distribution that you want to remove then select Uninstall button.

3. Once done, remove Virtual Machine Platform and Windows Subsystem for Linux features from Windows Features to completely uninstall WSL in Windows 10.


