Table of Contents
This article provides a step-by-step guide on how to attach a new managed data disk to a Windows virtual machine (VM) using the Azure portal. Keep in mind that the number of data disks you can attach depends on the size of the VM.
Add a data disk
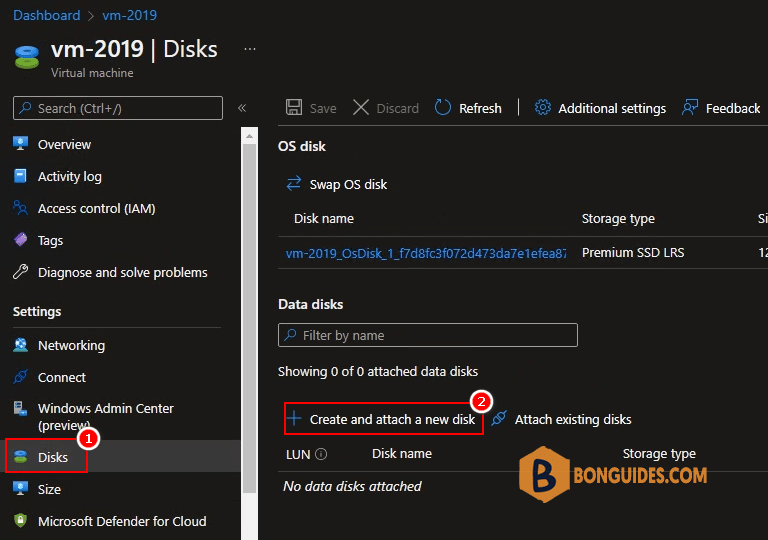
1. Sign in to the Azure portal, select a virtual machine from the list. On the Virtual machine pane, select Disks.
2. On the Disks pane, select Create and attach a new disk.
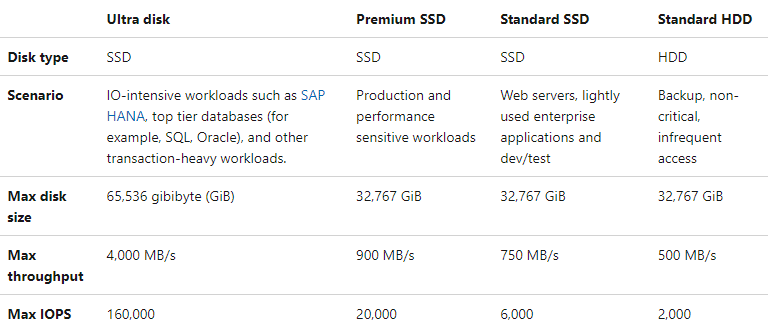
3. In the drop-downs for the new disk, make the selections you want, and name the disk.
4. Select Save to create and attach the new data disk to the VM.

Initialize a new data disk
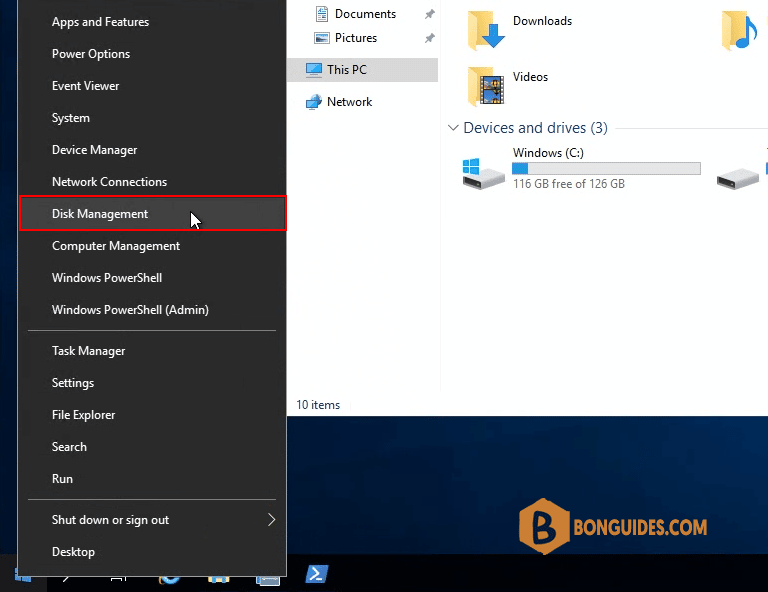
5. Connect to the VM using remote desktop, right click on Windows Start button then select Disk Management.
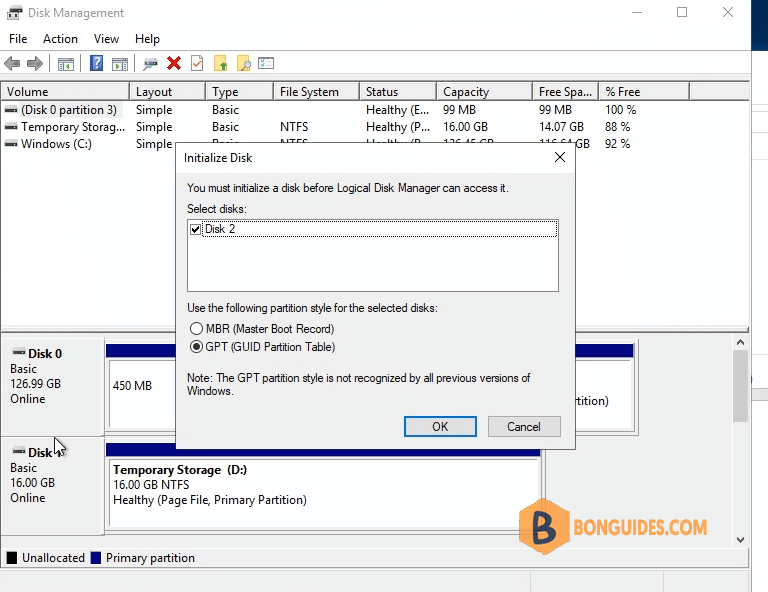
6. Disk Management recognizes that you have a new, uninitialized disk. Verify the new disk is selected and then select OK to initialize it.
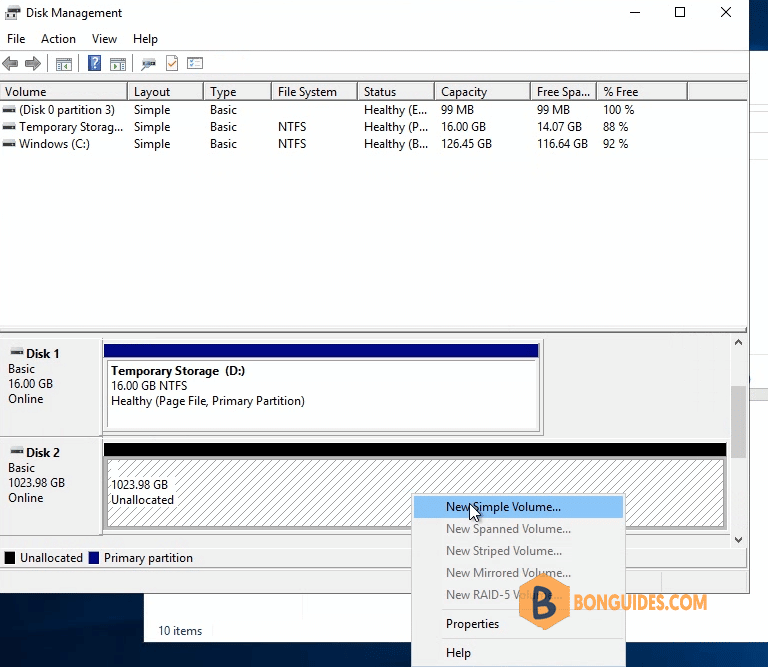
7. The new disk appears as unallocated. Right-click anywhere on the disk and create a New volume. Proceed through the wizard, keeping all of the defaults, and when you’re done select Finish.
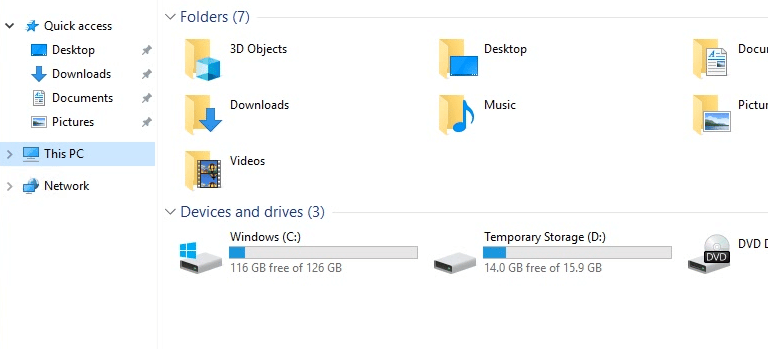
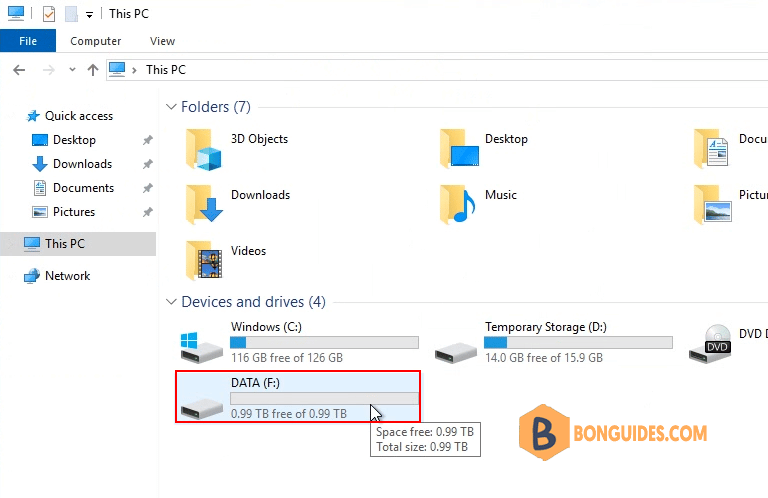
8. Once done, open Windows Explorer to verify the disk was added into the VM.
Not a reader? Watch this related video tutorial: