Table of Contents
Understanding the Red Underlines
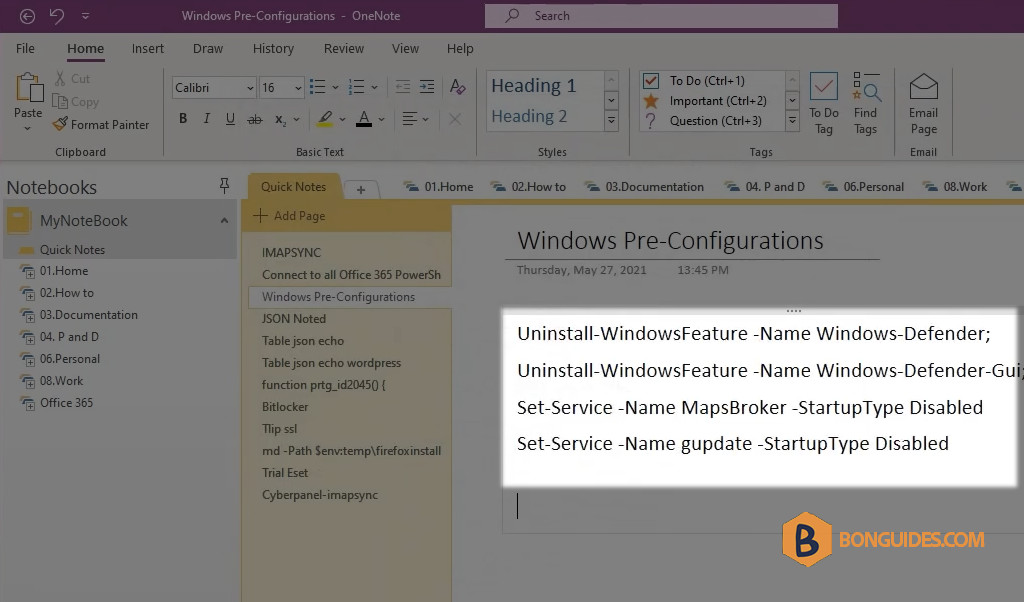
Tired of seeing those pesky red underlines in Microsoft OneNote? In this quick and easy tutorial, I’ll show you how to remove those spelling error indicators so you can focus on your notes without distractions. Whether you’re using OneNote for work, school, or personal projects, this simple trick will help you create cleaner, more professional-looking notes.
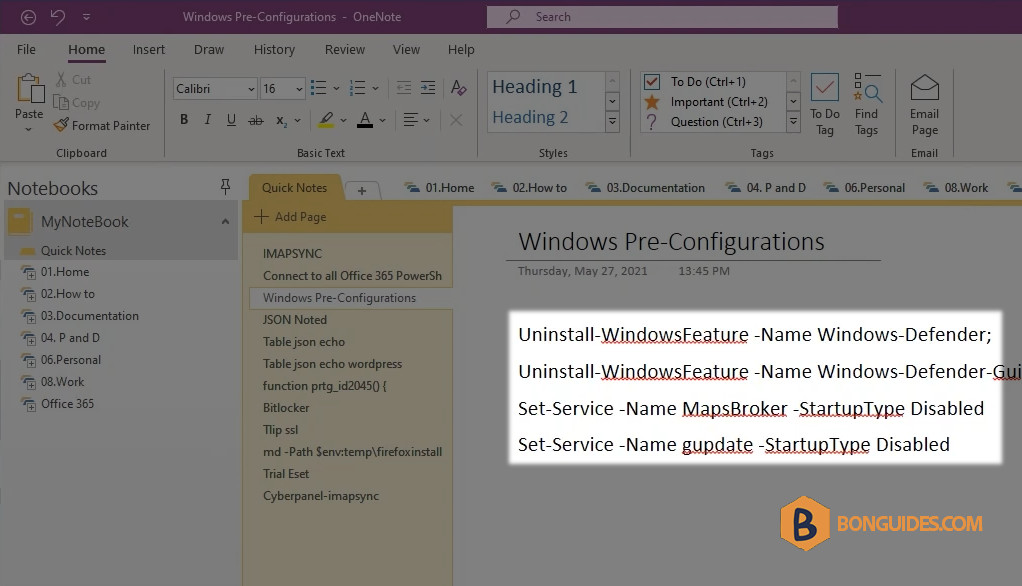
Before we dive into solutions, it’s essential to understand what those red underlines might mean:
- Spelling errors: The most common reason.
- Formatting issues: Sometimes, copied text might bring along unwanted formatting.
Turn Off Spell Check (OneNote 2016 and Unified OneNote)
To remove the red underlines in Microsoft OneNote, which indicate spelling errors, you can follow these steps:
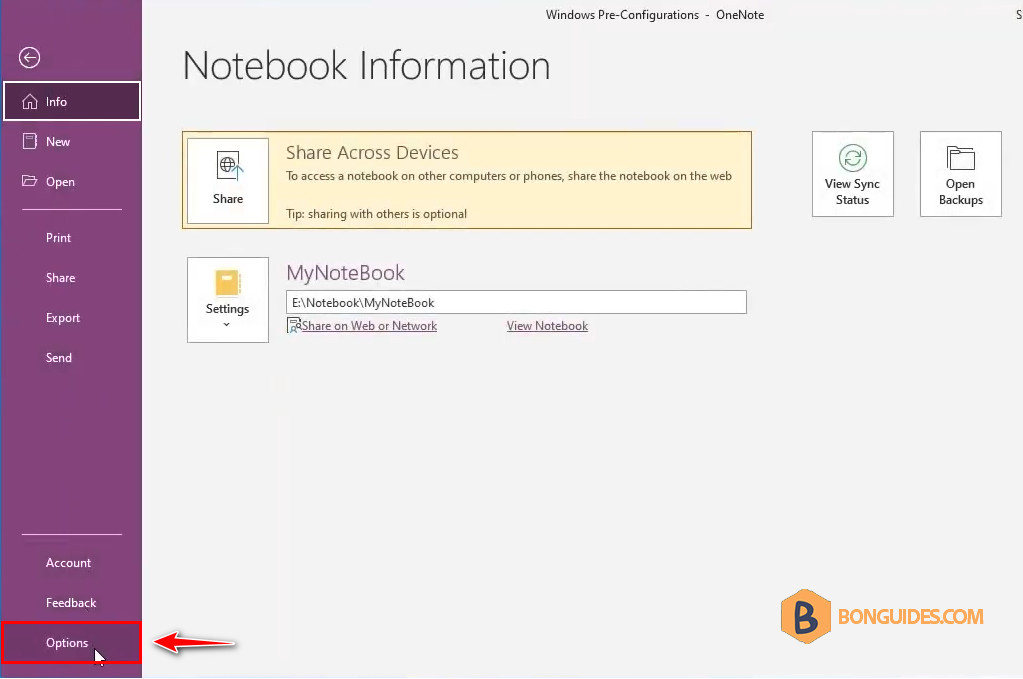
1. Open OneNote → Click on File → Select Options.
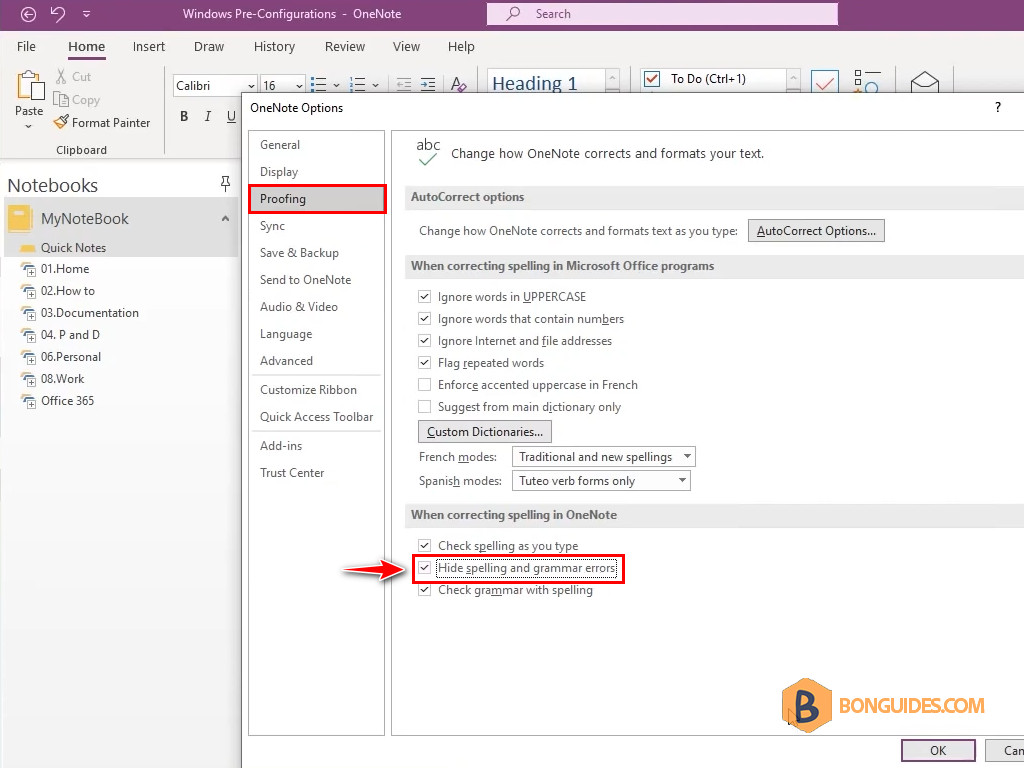
2. Select Proofing → Uncheck the boxes for “Check spelling as you type” and “Check grammar with spelling.“
Hide Spelling Errors (OneNote for Windows 10/11)
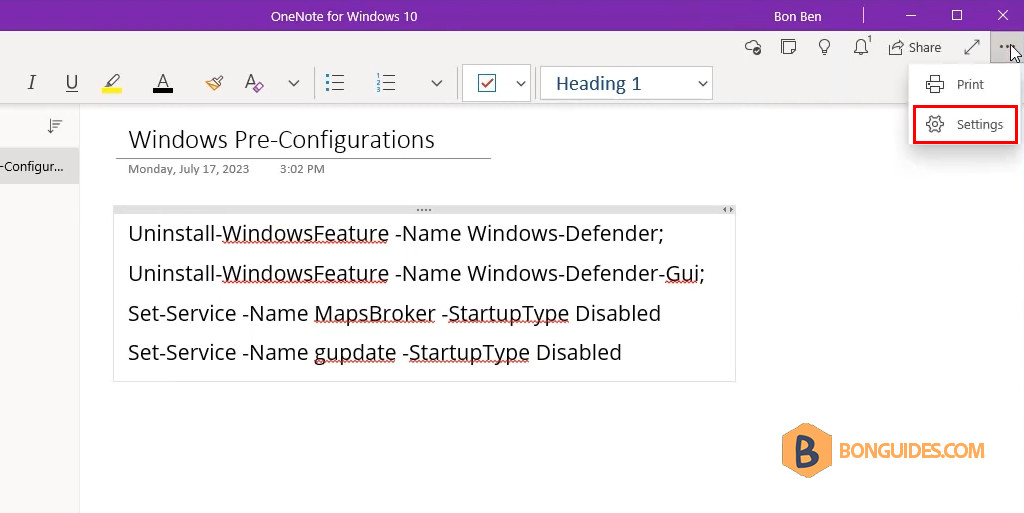
1. Click the three-dot menu in the top right corner → Select Settings.
2. Choose Options.
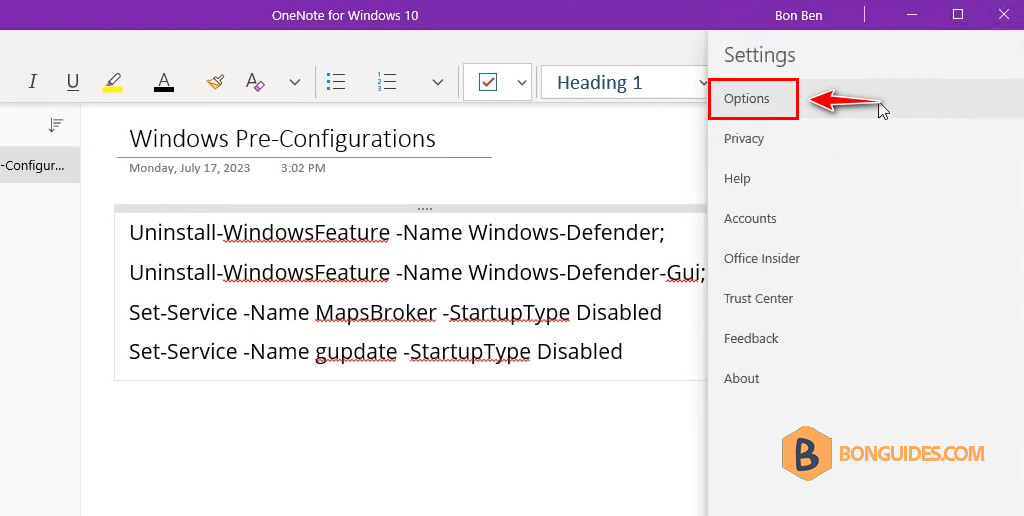
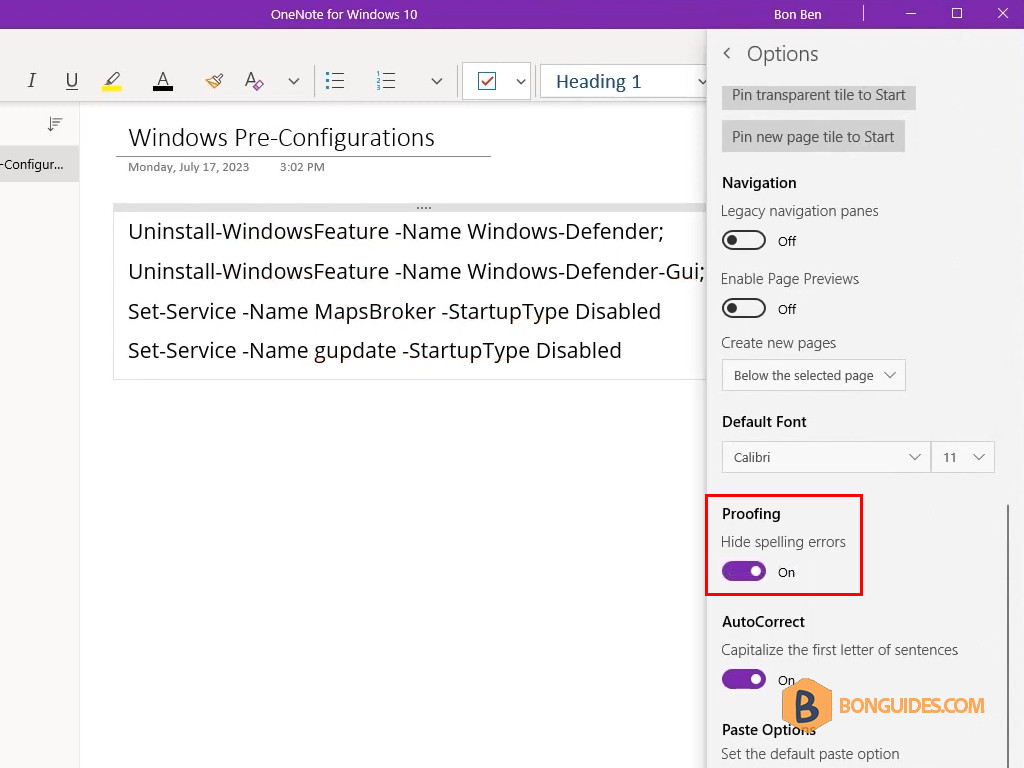
3. Toggle on the Hide spelling errors option.