
Table of Contents
Introduction
In some cases, you want to install the Office apps automatically:
- You want to install Office on multiple computers.
- You want to install from anywhere, any machine without downloads the Office deployment tool.
- You want to install like a professional 😁.
Install Microsoft Office 2019 using PowerShell
My PowerShell script is safe, but you should verify the security and contents of any script from the internet you are not familiar with.
1️⃣ Right click on the Windows Start icon then open Windows PowerShell Admin or Windows Terminal Admin in Windows 11.

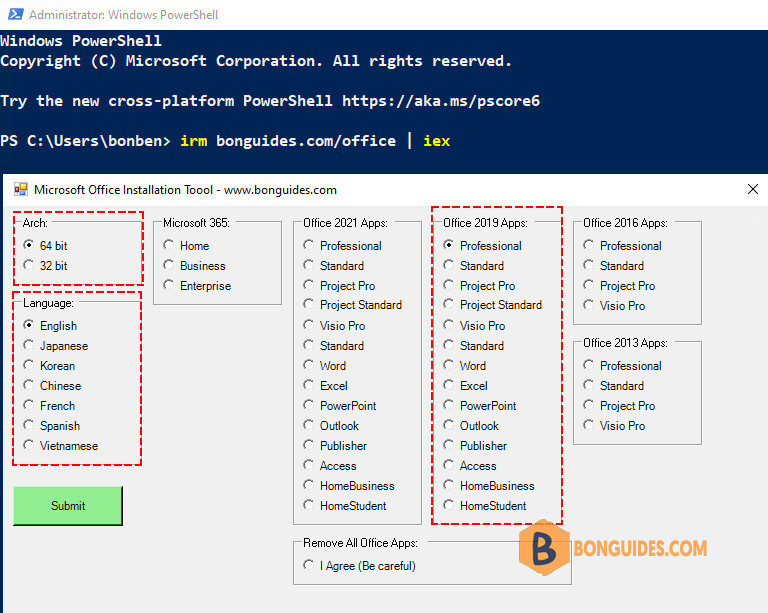
2️⃣ Copy and paste below command into the PowerShell windows then hit Enter.
irm bonguides.com/office | iex3️⃣ Select architect, language and Office version as you need then click on the Submit button. In this case, we’ll install Microsoft Office 2019 Professional Plus.
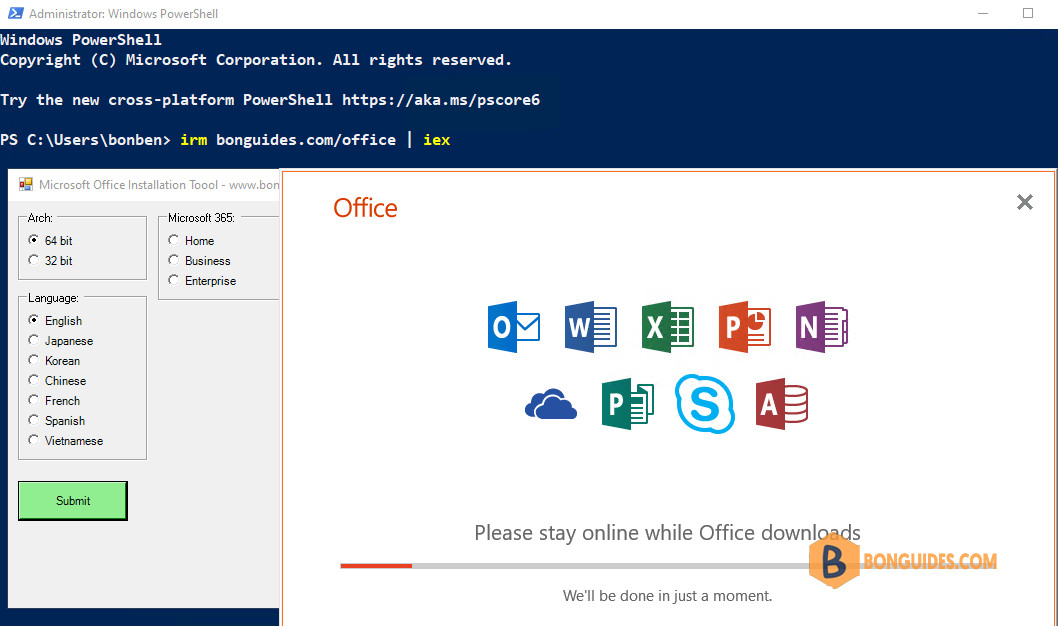
4️⃣ Once done, the installation starts automatically. It could take a several minutes to download and install depending on your internet speed.
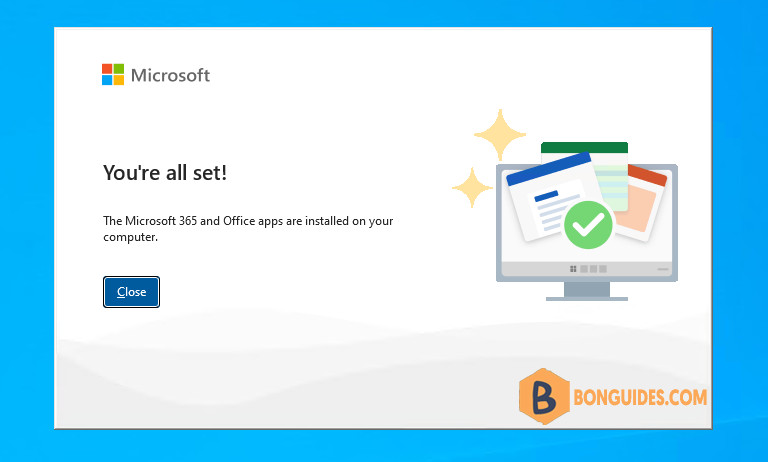
5️⃣ Finally, close the PowerShell window then open any office apps to verify it was installed.
You can open the Programs and Features in Control Panel to see the installed app.


