Table of Contents
System administrators appreciate a useful shortcut, particularly for reducing the frustration associated with managing computers, addressing user problems, and handling emergencies in the office. This is where PowerShell comes into play.
While dozens of excellent scripting languages are available, PowerShell stands out among them. Its cross-platform capabilities make it an invaluable tool regardless of the operating environment. System administrators, burdened with numerous tasks, are finding automation increasingly essential. Starting with the basics of PowerShell is an excellent first step in this direction.
Create a new file and add a cmdlet
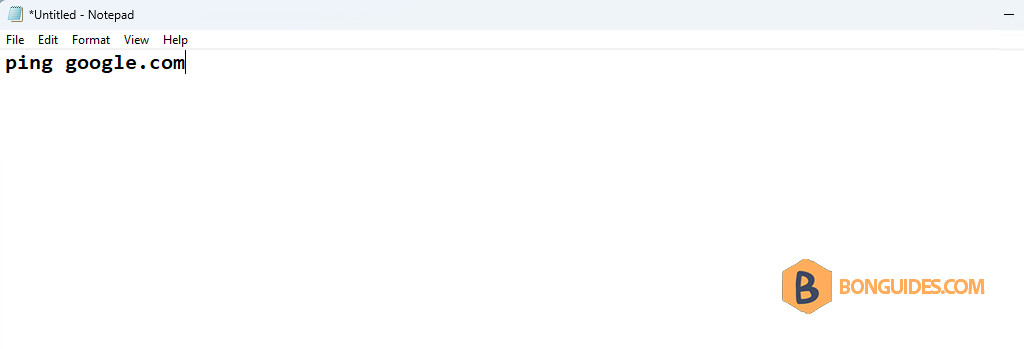
1. Open the Notepad or any your favorite text editor in your computer.
2. Write a new or paste your script in the text file. For example:
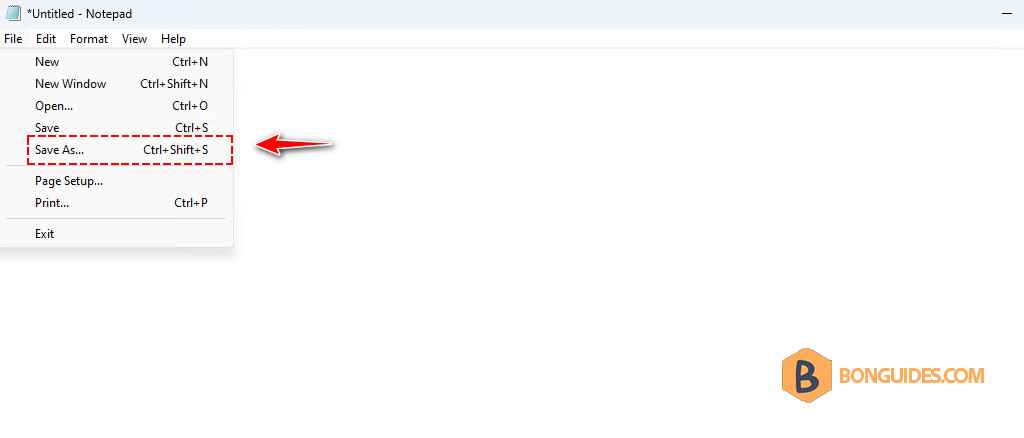
3. Click the File menu then select the Save As option
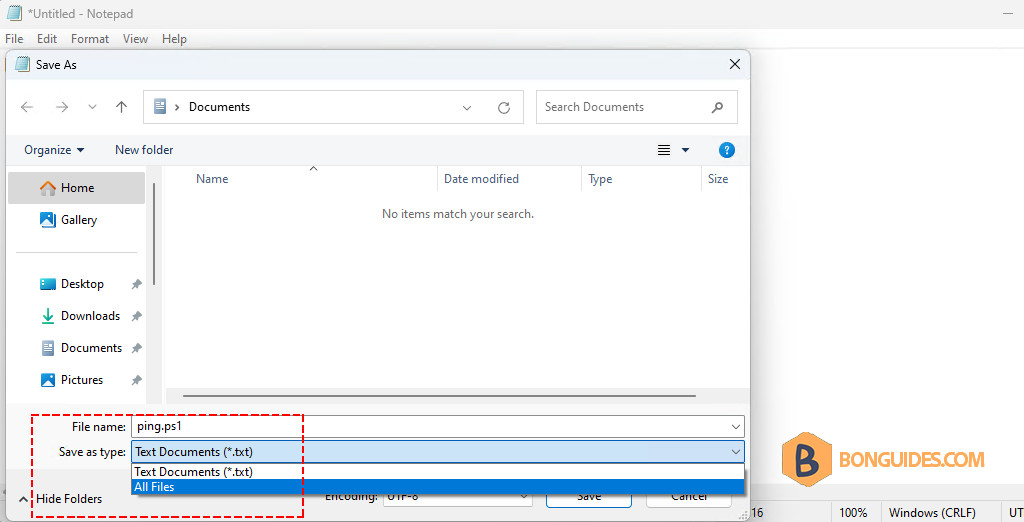
4. Save the script in the .ps1 file format:
- Select the location to save the script. For example, we’ll save it in D:\scripts folder.
- File name: Confirm a descriptive name for the script, for example, ping.ps1.
- Save as type: Select All Files to save the file with a custom extension instead of the text file format.
5. Click the Save button.
Save and try to run the script
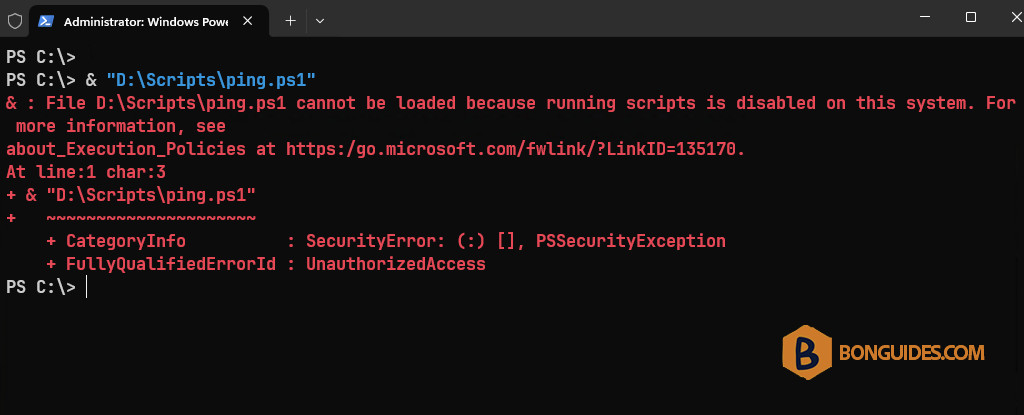
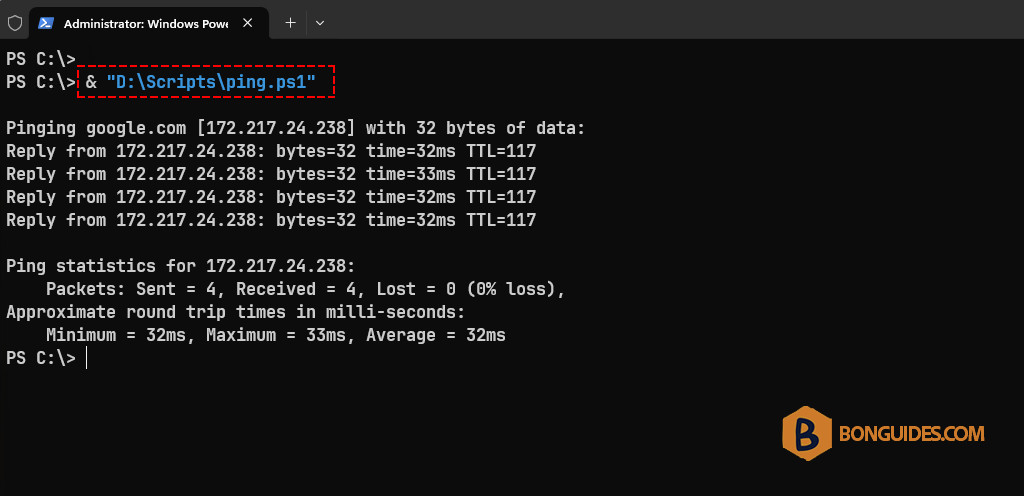
To run the script, the most common method is to call it in the PowerShell terminal. (You can also use the PowerShell ISE or VS CodeVS Code.)
& "D:\Scripts\ping.ps1"Go ahead and try that command. You should get an error that says scripts are disabled on your system. This is for security reasons.
Modify the execution policy
To safeguard your system against malicious scripts, PowerShell implements an execution policy. To execute our new script, we must adjust this policy to permit the running of our example PowerShell script. There are four distinct execution policies:
- Restricted: Scripts won’t run. Period. (Default setting in Windows 10/11).
- RemoteSigned: Locally created scripts run. Scripts that were created on another machine won’t run unless they are signed by a trusted publisher. (Default setting in Windows server).
- AllSigned: Scripts (including locally created scripts) only run if signed by a trusted publisher.
- Unrestricted: All scripts run regardless of who created them and whether they’re signed.
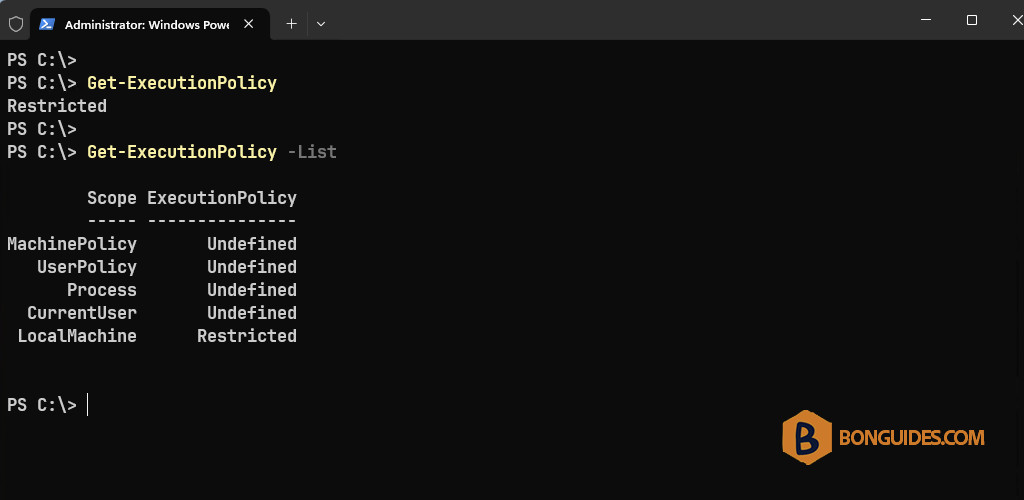
To get the execution policy applied to the computer. Let’s run the following command. To get a list of available execution policies, run the command with the -List parameter.
Get-ExecutionPolicySince we have not digitally signed our new PowerShell example script, our options for the execution policy are limited to RemoteSigned and Unrestricted. We are recommended to change it to RemoteSigned.
To change the execution policy, reopen PowerShell as an administrator (the command fails otherwise), and run the following command:
Set-ExecutionPolicy RemoteSignedThe Set-ExecutionPolicy cmdlet asks to verify that you really want to change the execution policy. Go ahead and select Y for yes, then close and reopen your PowerShell window.
Run your script
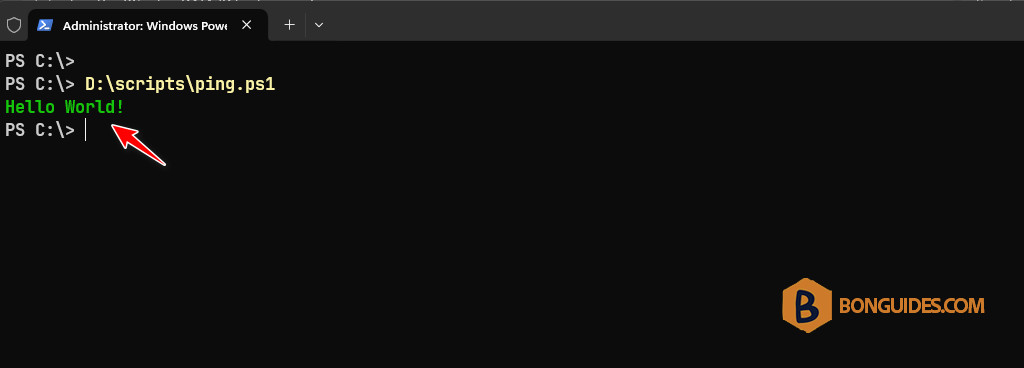
After restarting the PowerShell window, try running your .PS1 script again. It should print the results into the window.
Congratulations, you just wrote your first PowerShell script!
PowerShell examples for beginners
When looking for ideas on what you can do with beginner scripts, just think about things you need to do manually and see if can grab the information.
Print the ‘Hello World’ string to the output with a custom color:
Write-Host "Hello World!" -ForegroundColor GreenGet a running process on the window system:
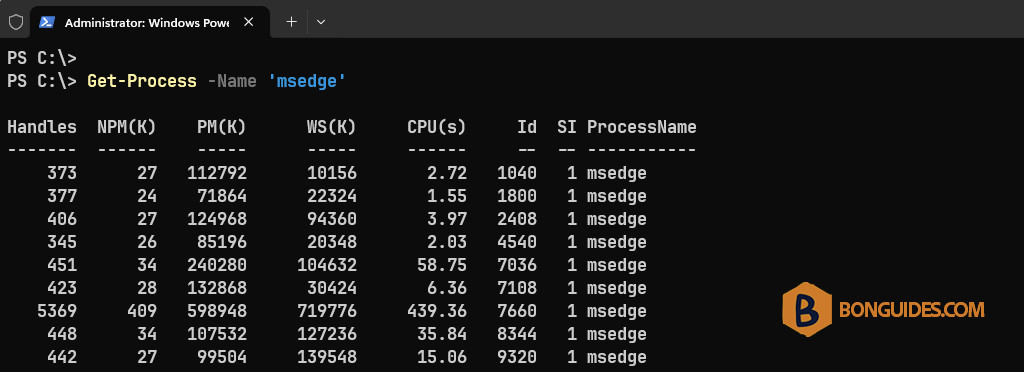
Get-Process -Name 'msedge'Or try clearing out a temp folder that is taking up space with unneeded documents:
Remove-Item -Path C:\Windows\Temp\ -Recurse -ForceThese are immediate advantages that you can utilize straight away. The possibilities become endless once you delve into modules and begin scripting for critical systems such as Azure, VMWare, AWS, or Active Directory.
Not a reader? Watch this related video tutorial:

